17
You can set the CONTROL LOCK function to disable control
buttons and knobs on the front panel, except for the power
switch.
This function is set in the <SET-UP MENU> screen.
1 While pressing the
SELECT
button, press
the VOLUME/ENTER
button.
The <SET-UP MENU> screen
appears.
2 Press the SELECT
button to select the
[CONTROL LOCK] item.
The selection mark (
4
) moves to
the [CONTROL LOCK] item.
* When the <SET-UP MENU> screen is
displayed with the CONTROL LOCK
function turned on, the selection mark (
4
) appears where
the [CONTROL LOCK] item is displayed. In this case, the
selection mark (
4
) cannot be moved to other items.
3 Perform adjustment with the VOLUME/
ENTER
/ buttons.
ON : Control of front panel functions is turned off.
OFF : Control of front panel functions is turned on.
4 After adjustment is complete, press the
MENU
button to exit the menu screen.
* The screen automatically disappears after about 30 seconds
if the MENU button is not pressed to exit the menu screen.
CONTROL LOCK OF BUTTONS
AND KNOBS
<SET-UP MENU> screen
<SET-UP MENU> screen
Notes:
● When the CONTROL LOCK function is turned on, if control
knobs or buttons on the front panel (except for the power
switch) are operated, “Control lock on!” is displayed for
about three seconds.
● When the <SET-UP MENU> screen is displayed with the
CONTROL LOCK function turned on, the selection mark (
4
)
appears where the [CONTROL LOCK] item is displayed. In
this case, the selection mark (
4
) cannot be moved to other
items.
● When the CONTROL LOCK function is turned on, other
menu screens cannot be displayed.
(The CONTROL LOCK function is effective from the
moment it is switched “ON.”)
● Items that cannot be set or adjusted in the current input
mode (INPUT SELECT) are not displayed.
This function (STATUS DISPLAY) is set in the <SET-UP MENU>
screen.
1 While pressing the
SELECT
button, press
the VOLUME/ENTER
button.
The <SET-UP MENU> screen
appears.
2 Press the SELECT
button to select the
[STATUS DISPLAY] item.
The selection mark (
4
) moves to
the [STATUS DISPLAY] item.
3 Perform adjustment with the VOLUME/
ENTER
/ buttons.
ON : The present input status is displayed when the input
is changed.
OFF : The present input status is not displayed when the
input is changed.
4 After adjustment is complete, press the
MENU
button to exit the menu screen.
* The screen automatically disappears after about 30 seconds
if the MENU button is not pressed to exit the menu screen.
SETTING DISPLAY OF PRESENT
INPUT STATUS WHEN INPUT IS
TURNED ON/OFF
<SET-UP MENU> screen
<SET-UP MENU> screen
Notes
Items that cannot be set or adjusted in the current input mode
(INPUT SELECT) are not displayed.
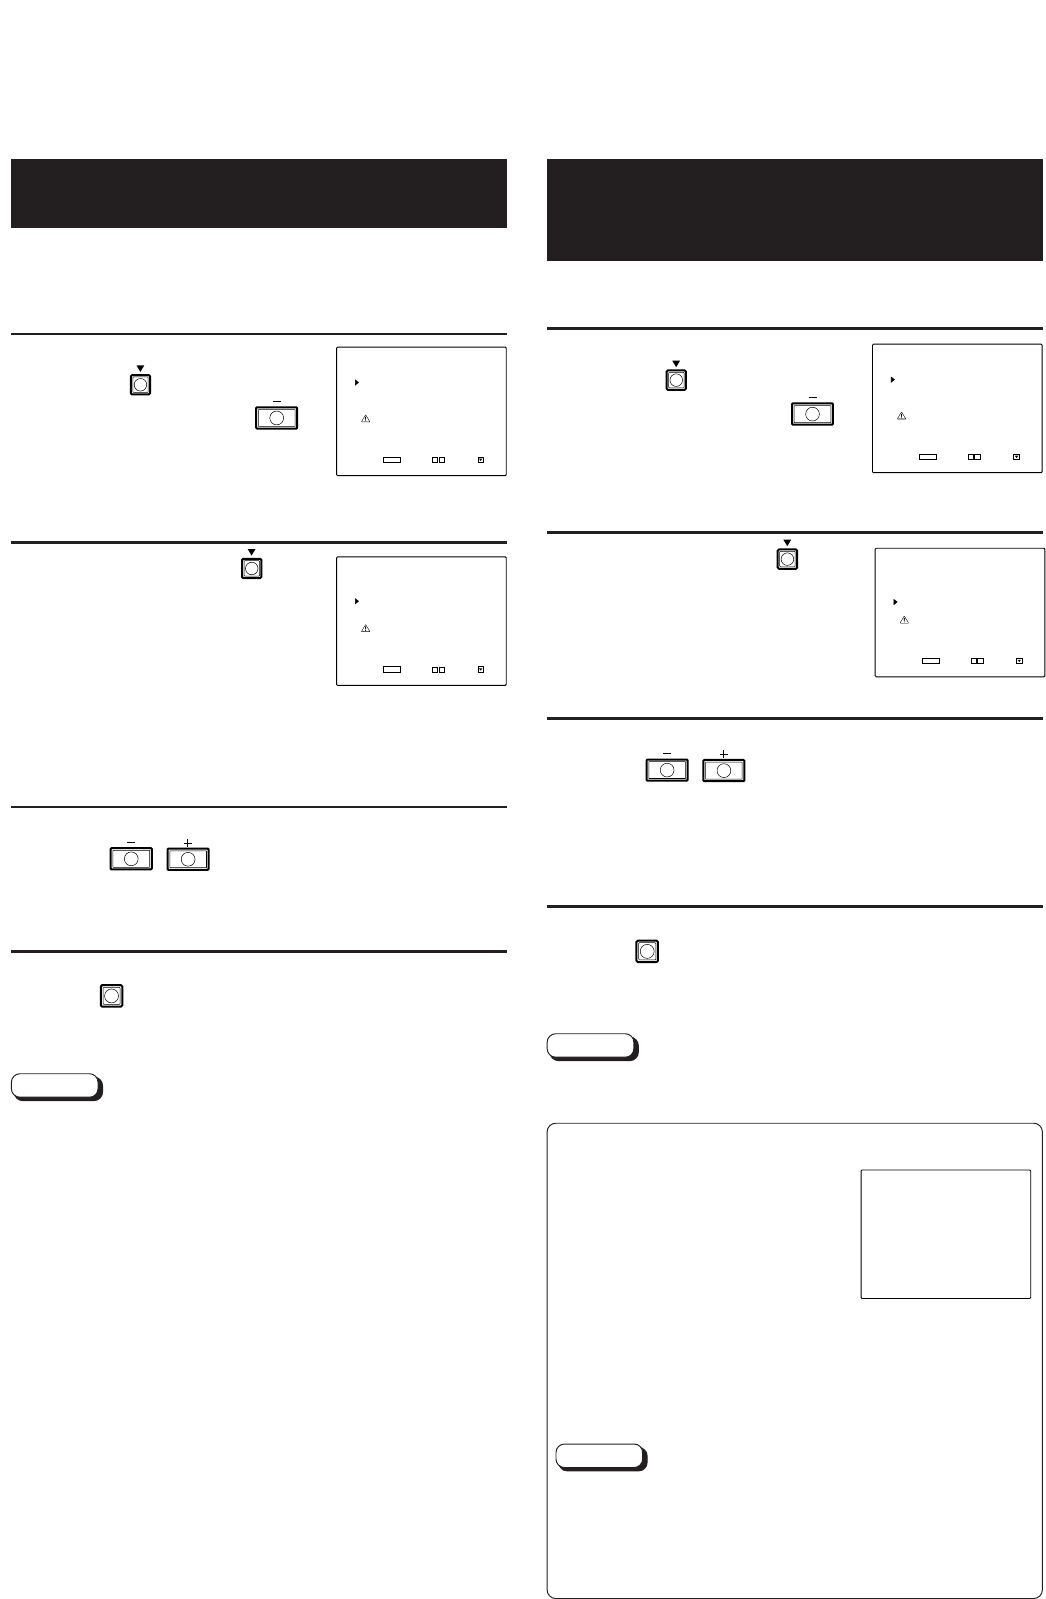
Ⅵ <STATUS DISPLAY> Screen
● Press the INPUT SELECT
buttons to select the input.
The present input status is
displayed on the <STATUS
DISPLAY> screen.
(Example)
INPUT A (RGB) pInput mode
49 kHz 75 Hz pFrequency (or color system or DTV
format)
* The screen indication automatically disappears after
about three seconds.
Note:
The displayed contents are the same as in “DISPLAY OF
PRESENT INPUT STATUS” on page 14. Refer to that
section for more details. Also, refer to “Notes” and
“Connection Between Input Mode Display and Frequency
(or Color System or DTV Format) Display” on page 14.
<STATUS DISPLAY> screen
00.12.20, 0:39 PM17


