


68 Chapter 9 Transferring calls
P0919417 03
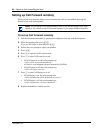
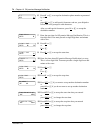
To set up Outbound Transfer to an extension
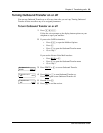
6 Press OK
or £ to accept the destination number, represented by
<x>
or
press ADD
or ¤ to add special characters. For information, refer to
“Adding special characters to a destination number” on page 66.
After you add special characters, press OK
or £ to accept the
destination number.
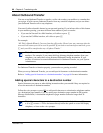
7 Press CHNG
or ⁄ to turn Outbound Transfer on.
8 Press QUIT
or •.
9 Press ® to end the session.
1 Press
≤·°⁄.
Follow the voice prompts or the display button options on your
telephone to open your mailbox.
2 If you use the CallPilot interface:
•Press °‚ to open the Mailbox Options
•Press ·
•Press ‹ to open the Outbound Transfer menu
• Go to step 3
If you use the Norstar Voice Mail interface:
•Press ADMIN
or °
•Press ° to open the Outbound Transfer menu
• Go to step 3
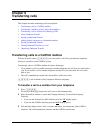
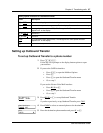
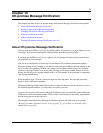
3 Press ADMIN
or ⁄ to set up Outbound Transfer.
4 Enter the destination extension and press OK
or £.
5 Press OK
or £ to accept the number.
The <x> represents the extension.
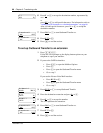
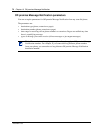
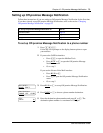
6 Press CHNG
or ⁄ to turn Outbound Transfer on.
7 Press QUIT
or •.
8 Press ® to end the session.
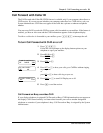
<x>
ADD OK
Transfer: off
CHNG QUIT
Transfer: on
CHNG QUIT
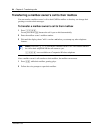
Outbound xfr
ADMIN SELECT
Ext:
RETRY OK
Accept<x>
RETRY OK
Transfer: off
CHNG
QUIT
Transfer: on
CHNG QUIT