36
PROCEDURE 10 RECLINER
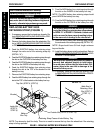
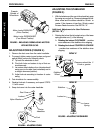
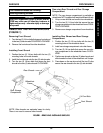
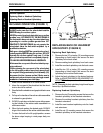
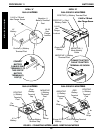
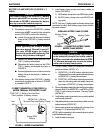
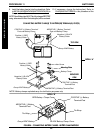
REPLACING BACK OR HEADREST
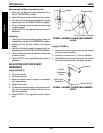
UPHOLSTERY (FIGURE 2)
Replacing Back Upholstery
1. Remove the ten (10) or twelve (12) mounting screws
(depending on back height) that secure the back
upholstery to the back canes.
2. Remove existing back upholstery from back canes.
3. Install the new back upholstery onto the back canes.
4. Install the ten (10) or twelve (12) mounting screws
(depending on back height) that secure the back
upholstery to the recliner back canes.
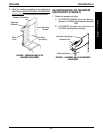
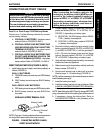
5. Adjust the back upholstery to the desired tautness.
Refer to
ADJUSTING BACK OR HEADREST UP-
HOLSTERY in this procedure of the manual.
NOTE: Changing the back upholstery height must be per-
formed by a qualified technician.
Replacing Headrest Upholstery
1. Remove the six (6) mounting screws that secure the
headrest upholstery to the headrest extensions.
2. Remove the existing headrest upholstery from the
headrest extensions.
3. Install the new headrest upholstery onto the head-
rest extensions.
4. Install the six (6) mounting screws that secure the
headrest upholstery to the headrest extensions.
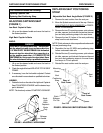
This Procedure Includes the Following:
Recliner Operation
Replacing Back or Headrest Upholstery
Adjusting Back or Headrest Upholstery
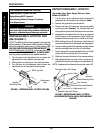
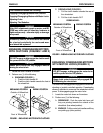
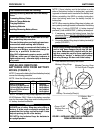
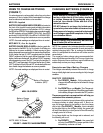
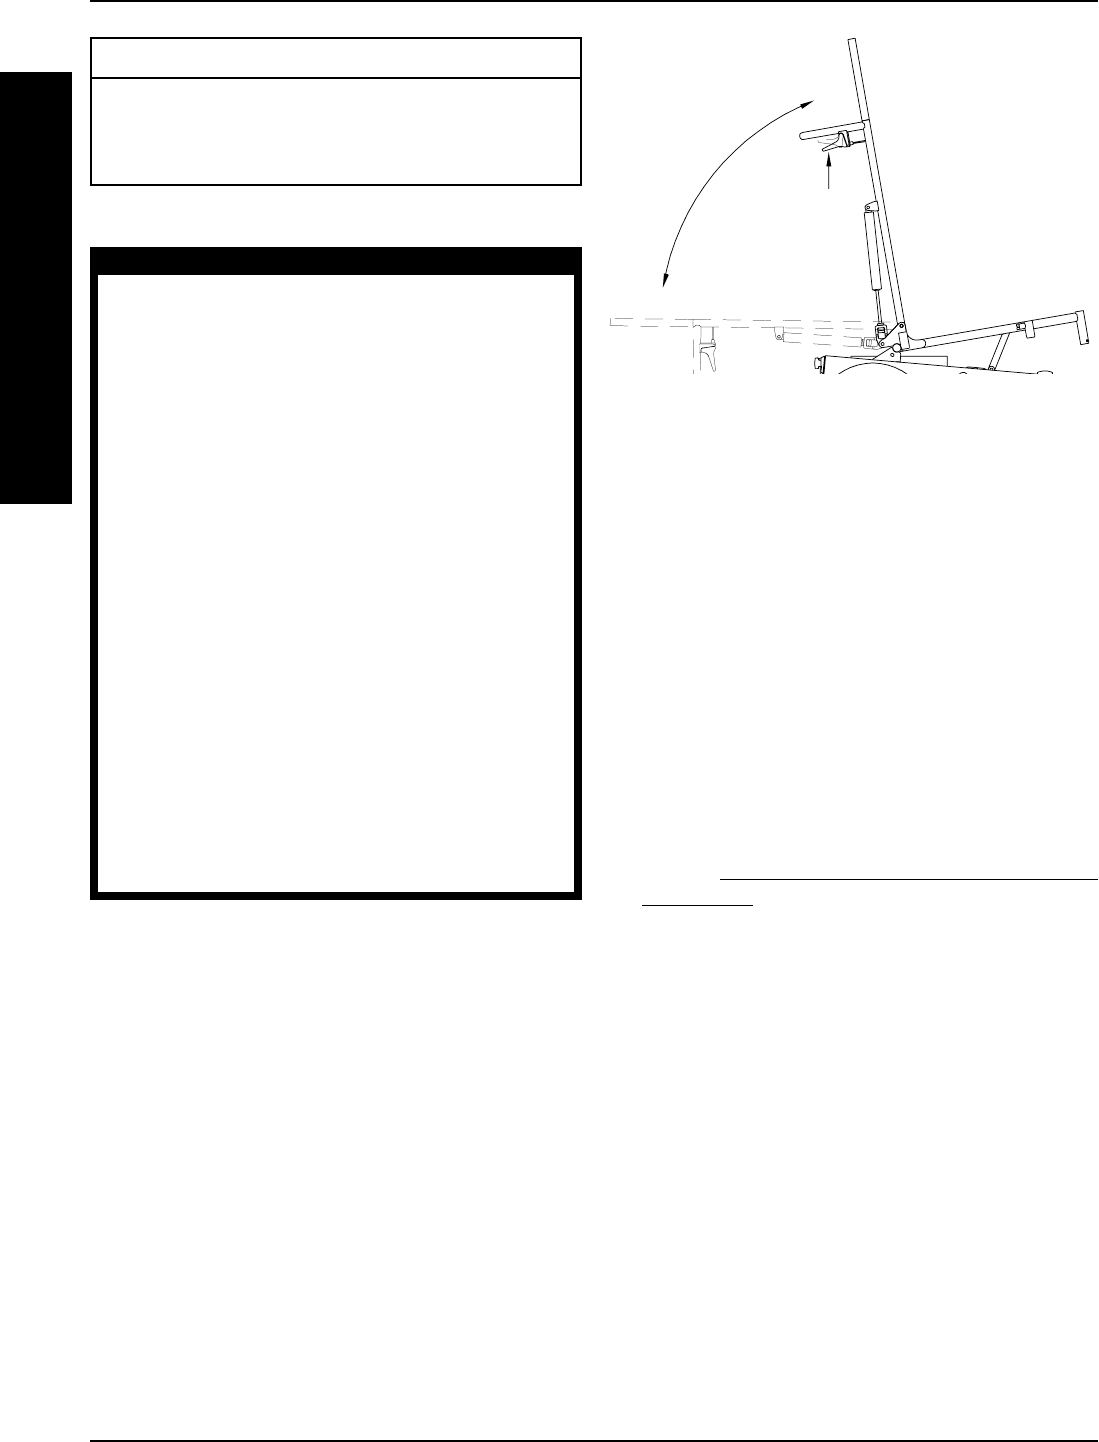
RECLINER OPERATION (FIGURE 1)
WARNING
ALWAYS make sure that the wheelchair is stable
BEFORE using the recliner option.
NEVER operate the wheelchair while in any recline
position over 105
o
RELATIVE TO THE SEAT FRAME. If
the limit switch does not stop the wheelchair from
operating in a recline position greater than 105
o
RELATIVE TO THE SEAT FRAME, do not operate the
wheelchair. Have the limit switch adjusted by a
qualified technician.
Both gas cylinders MUST be operational and ad-
justed properly BEFORE using the recliner. DO NOT
operate the recliner option if only one (1) of the
gas cylinders is operational or adjusted properly.
TO HEALTHCARE PROFESSIONALS/ASSISTANTS:
Make sure the occupant of the wheelchair is prop-
erly positioned.
When returning the occupant of the wheelchair
to the full upright position, more body strength will
be required for approximately the last twenty (20)
degrees of incline (reverse recline). Make sure to
use proper body mechanics (use your legs) or seek
assistance if necessary to avoid injury.
1. Make sure the wheelchair is on a level surface.
2. Inform the occupant of the wheelchair that the wheel-
chair is about to be reclined.
3. Stand behind the wheelchair and grasp both back canes
firmly.
4. Pull up on the handles of the recliner cable assemblies
to release the gas cylinders.
5. SLOWLY, push down on the back canes while squeez-
ing the handles of the recliner cable assemblies in a
continuous motion.
6. When the back reaches the desired angle, SLOWLY
let go of the handles of the recliner cable assemblies.
7. To return the back to the full upright position, reverse
the above steps keeping in mind proper body me-
chanics.
FIGURE 1 - RECLINER OPERATION
Handle
R
E
C
L
I
N
E
R


