


Chapter 3: Maintaining the monitor
33
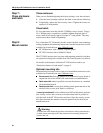
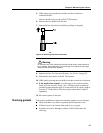
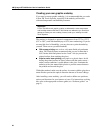
5. While gently pressing the fuse holder, turn the screwdriver
counterclockwise
.
The fuse holder will pop out of the ET 350 monitor.
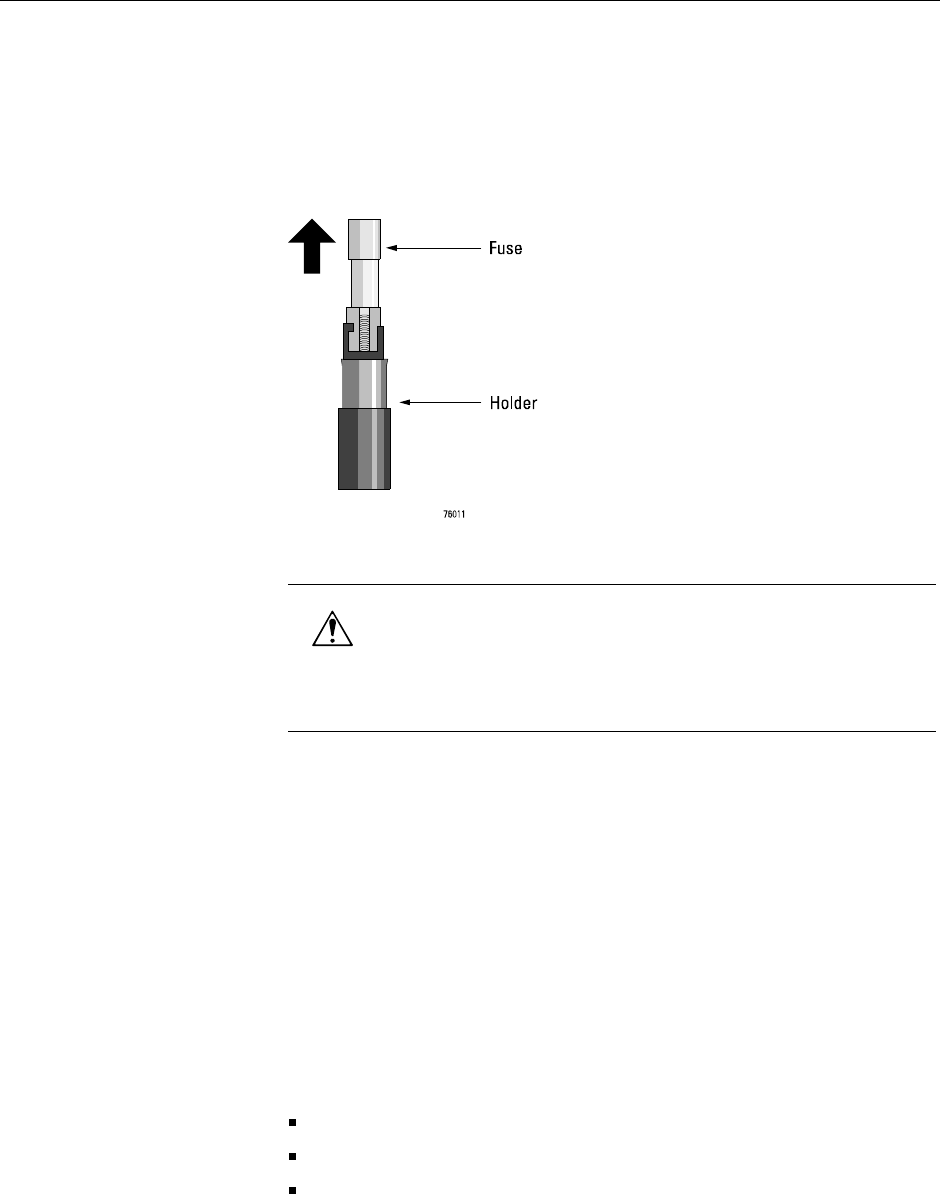
6. Remove the fuse holder with the fuse.
7. Detach the fuse from the fuse holder by pulling on it gently.
Figure 12: Removing fuse from fuse holder
8. Replace the fuse. For fuse specifications, see “Fuses” on page 52.
9. Reinstall the fuse holder in the ET 350 monitor.
10. While gently pressing the fuse holder, turn the screwdriver clockwise.
11. If the monitor has a hatch, close the hatch cover (opened earlier):
Insert all screws loosely. Using a No. 1 Phillips torque screwdriver,
gradually tighten diagonal pairs of screws until all are equally tight at
a torque of 7 inch-pounds. This may require about three rounds of
tightening.
12. Re-connect power to the unit.
Checking gaskets Follow these guidelines to check and clean the gaskets on your monitor:
Make sure there is no debris on gaskets that will prevent a seal.
If debris needs to be cleaned from gaskets, do so gently.
If gaskets are torn or damaged, return to 3M Touch Systems for
servicing.
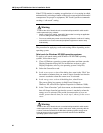
Warning
To reduce the risk of fire or electric shock which could result in serious personal
injury or death, when replacing a fuse or other part, use a part of the same type
rating specified by 3M Touch Systems.