


20
Installation
3
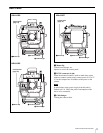
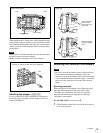
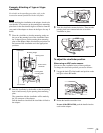
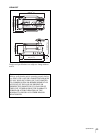
While pulling the release knob 1 on the left side to
release the viewfinder table, slide the table as 2 to an
appropriate position. Then push the lock lever 3
toward the front to lock the viewfinder table in place.
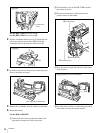
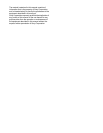
When returning the camera handle to its original
position
Fully return the handle until it locks in place and firmly
tighten the knob of the handle.
When using the HSC- 300
The viewfinder can be set either in the center or back
position. You can pan the viewfinder in the range of
±90
degrees only when it is set in the back position.
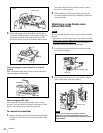
To remove the viewfinder
1
Release the panning lock lever and turn the viewfinder
90 degrees clockwise from the operation panel of the
adaptor.
You cannot detach the viewfinder from the camera
unless it is in this position.
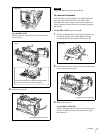
2
While pushing in on the lock release tabs, grip the
viewfinder handle and lift the viewfinder to remove it
from the adaptor.
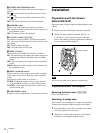
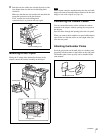
Attaching a Large Studio Lens
(HDLA1500/1505)
Be sure to check the following two points before attaching
the lens:
• The pan-lock and tilt-lock levers on the tripod are fixed.
• There is not a pin at part
A on the lens shown in the figure
for step 2 (if there is, remove it). If the pin cannot be
removed, consult your Sony representative.
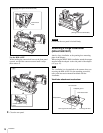
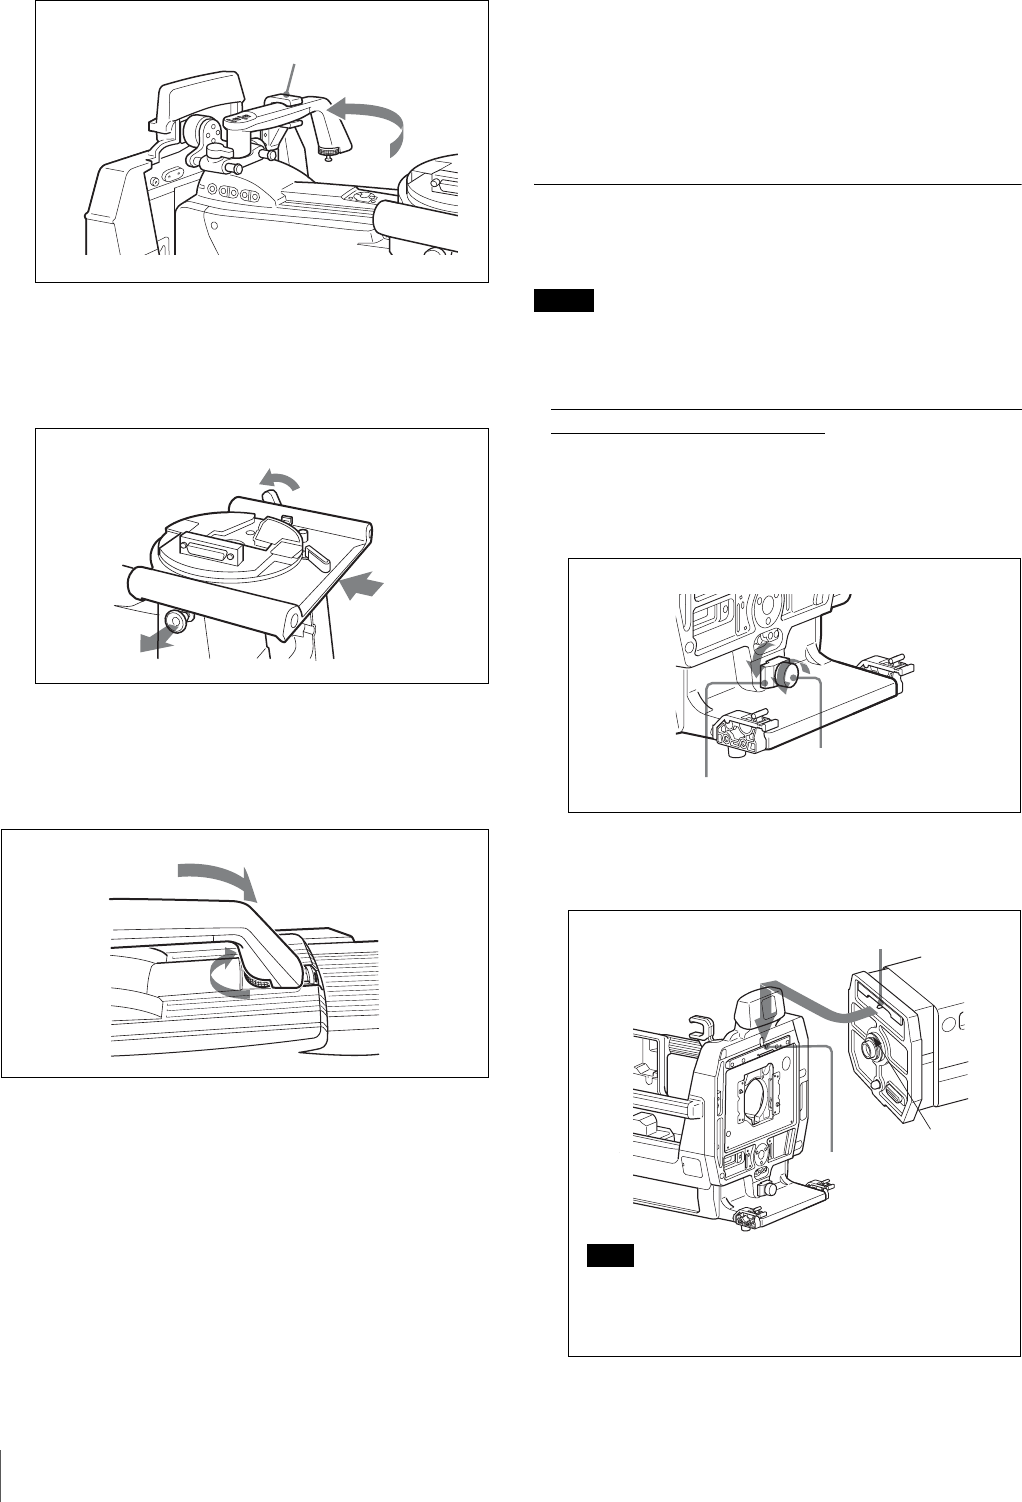
1
Loosen the lens lock holding knob and turn the lens
lock counterclockwise.
2
Insert the pin on the rear of the lens in the U-shaped
notch on the front of the lens adaptor.
Handle catch
[1500]
1
2
3
Notes
Lens lock holding knob
Lens lock
A
Pin
U-shaped notch
Note
If there is a pin at part A on the lens, remove it.
Otherwise, the focal length adjustment may not be
made. If the pin cannot be removed, consult your Sony
representative.