


19
Installation
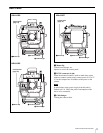
Example: Attaching a 7-type or 9-type
viewfinder
For details on the attaching procedure, refer to the
instruction manual furnished with the viewfinder.
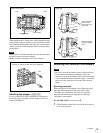
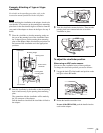
Before attaching the viewfinder to the adaptor, check to be
sure that the VF connector on the panning base mounting
plate faces in the direction 90 degrees clockwise from the
rear panel of the adaptor as shown in the figure for step 1
below.
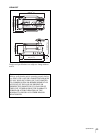
1
Place the viewfinder so that the mounting wedge on
the rear of the panning base of the viewfinder enters
the V-shaped groove on the panning base mounting
plate of the adaptor. Make sure that the projections on
the bottom of the viewfinder are in the appropriate
positions.
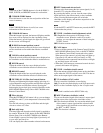
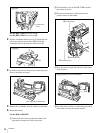
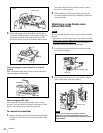
2
Push the viewfinder by the handle so that the panning
base is held securely by the panning base mounting
plate.
The connection with the viewfinder will be made by
the VF connector of the adaptor.
Pull the handle to check that the viewfinder is fixed to
the adaptor.
3
Turn the viewfinder counterclockwise. Then turn the
panning lock lever counterclockwise to lock the
viewfinder in place.
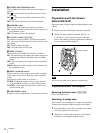
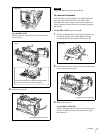
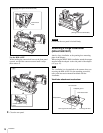
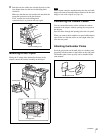
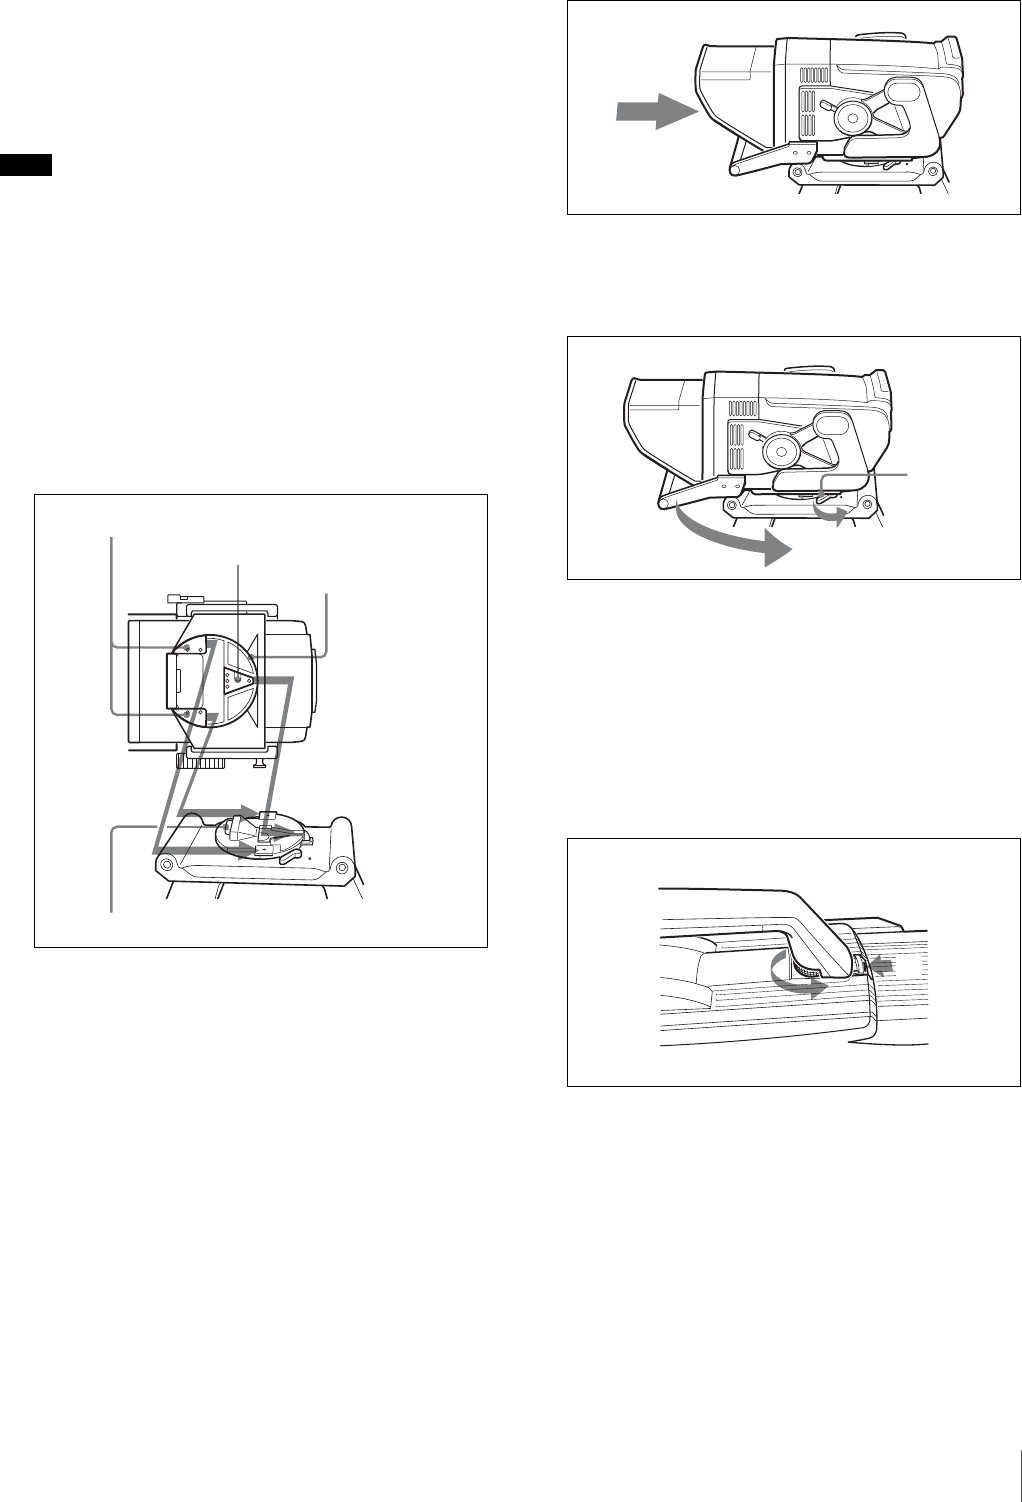
To adjust the viewfinder position
When using an HDC-series camera
You can use the viewfinder in any of three positions.
To change the viewfinder position, proceed as follows:
1
Loosen the knob 1 of the handle and push in on the
tab 2 to release the handle.
2
Rotate the handle toward the front.
In case of the HDLA1500, push the handle into the
catch on the adaptor.
Note
Projections
Mounting wedge
Panning base
Bottom of the
viewfinder
VF connector
Panning base
mounting plate
Panning lock
lever
1
2