30 www.pridemobility.com US Jazzy 1113/Rev I/Feb03
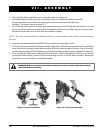
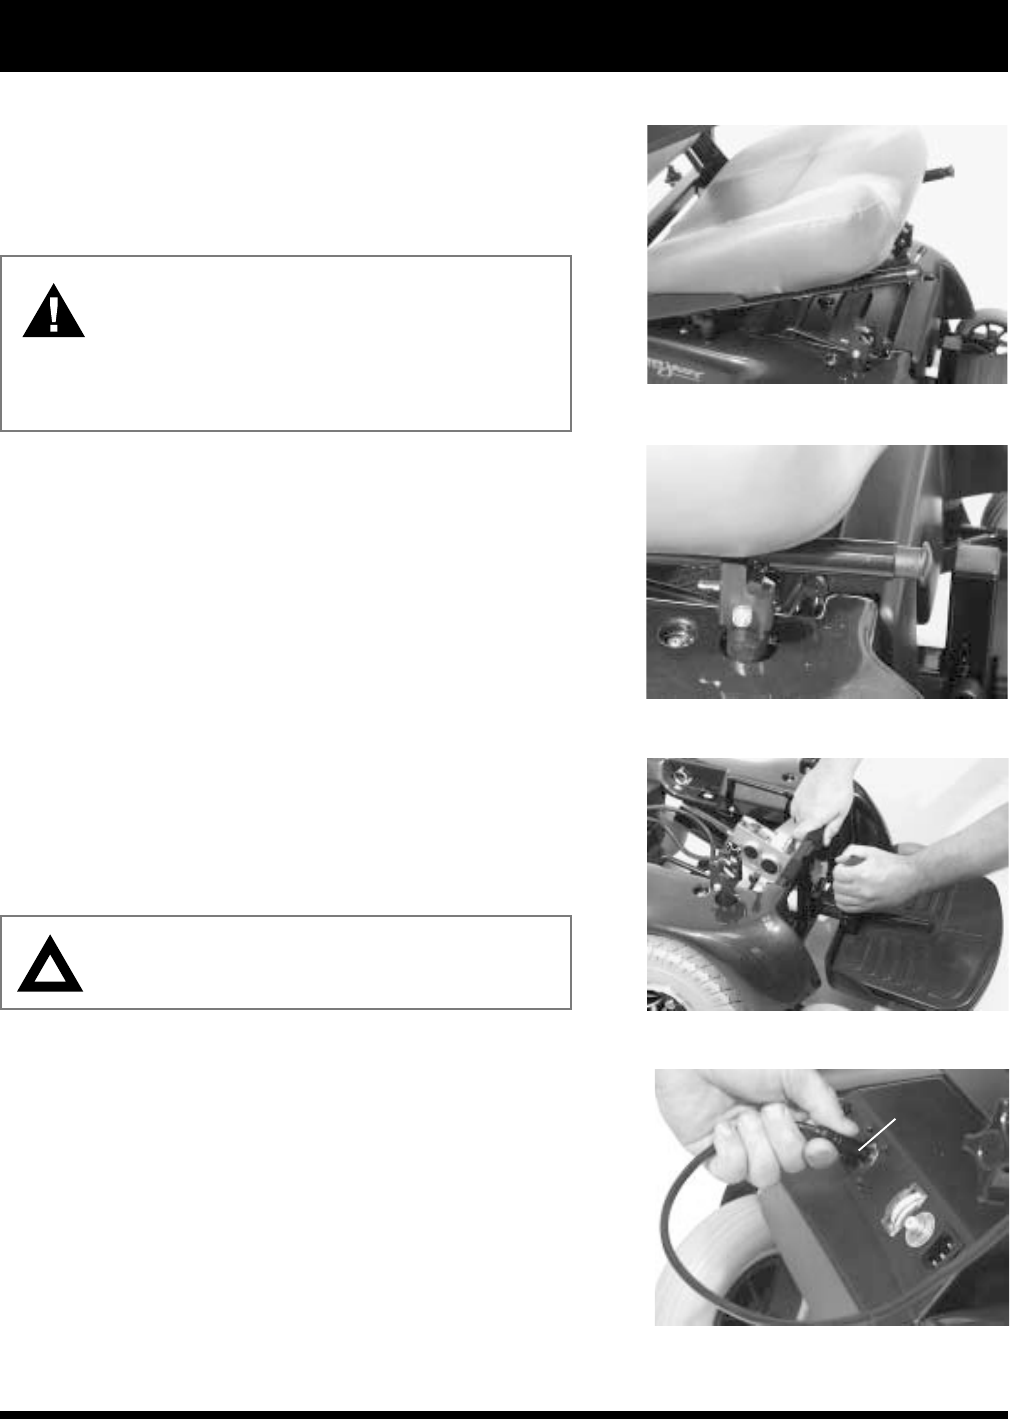
Figure 23. Seat Installation
Figure 24. Locking the Seat Frame
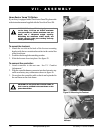
Figure 25. Mounting the Footrest
VII. ASSEMBLY
Versa Seat or Versa Tilt Option
If your Jazzy is equipped with a Versa Seat or Versa Tilt, please refer
to the instruction manual supplied with the Versa Seat/Versa Tilt.
WARNING! The Versa Tilt Seating System used
on the Jazzy 1113 has an 18-inch maximum
seat pan width, an 18-inch maximum seat pan
depth, and a 160-pound weight capacity.
Exceeding the maximum width, depth, and
weight capacity voids your warranty and may
cause personal injury.
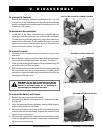
To mount the footrest:
1. Match the two tabs at the back of the footrest mounting
bracket with the two semicircular notches in the vertical bar
of the front frame.
2. Push the tabs through the matching notches.
3. Slide the footrest down into place. See figure 25.
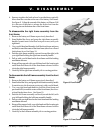
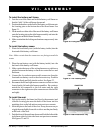
To connect the controller:
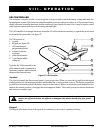
1. Attach controller to the seat arm. See VI. Comfort
Adjustments.
2. Plug the controller harness connector into the electronics tray
on the rear battery tray weldment as shown in figure 26.
3. Do not place the controller cable so that it can be pinched in
the seat frame or the chair frame.
CAUTION
!
Do not place the controller cable so
that it can be pinched in the seat frame or the
power base frame.
Figure 26. Connecting the Controller
Harness
CONTROLLER
HARNESS
CONNECTOR


