26 www.pridemobility.com US Jazzy 1113/Rev I/Feb03
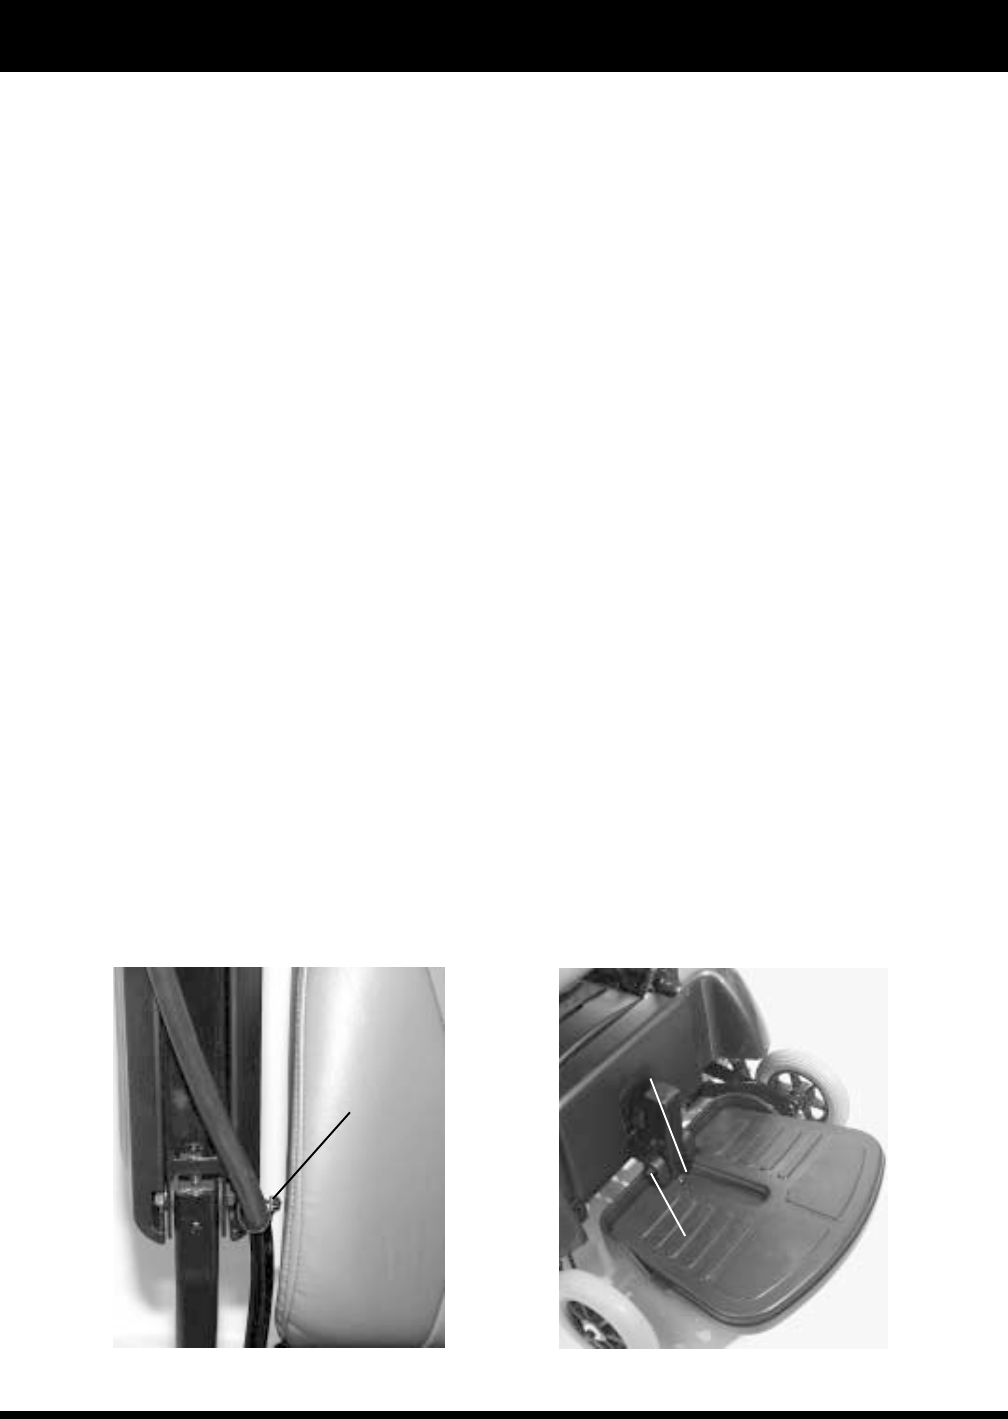
Figure 16. Footrest Adjustment
FOOTREST HEIGHT
ADJUSTMENT
FOOTREST ANGLE
ADJUSTMENT
(SCREW LOCATED
UNDERNEATH FOOTREST)
Figure 15. Wire Tie Location
USE A WIRE TIE
TO SUPPORT THE
CONTROLLER
CABLE
VI. COMFORT ADJUSTMENTS
CONTROLLER POSITION
You can position the controller for either left-hand or right-hand use.
To change the controller position:
1. Disconnect the controller harness from the rear battery box. See figure 6.
2. Cut the wire tie that attaches the controller cable to the armrest.
3. Use a 3/16-in. hex key to loosen the setscrew. See figure 14.
4. Slide the controller mounting out of the armrest and place it in the other armrest.
5. Tighten the setscrew.
6. Connect the controller cable to the armrest with a wire tie. See figure 15.
FOOTREST HEIGHT
The footrest height is easily adjusted to one of six different heights, in one-inch increments.
To raise or lower the footrest:
1. Remove the socket cap screw, 5/16-in. nut, and washers from the footrest. See figure 16.
2. Raise or lower the footrest to the desired height.
3. Install the socket cap screw, nut, and two washers into the footrest and tighten.
FOOTREST ANGLE
You can adjust the angle of the footrest with a 3/16-in. hex key. See figure 16.
To adjust the footrest angle:
1. Turn the setscrew clockwise to lower the front of the footrest.
2. Turn the setscrew counterclockwise to raise the front of the footrest.
3. Tighten the setscrew by turning it clockwise.


