


3G Storm Series
®
Wheelchairs 88 Part No. 1104849
WHEELS/MOTORS
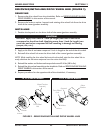
REMOVING/INSTALLING THE RIM AND/OR TIRE (FIGURE 6)
NOTE: This procedure is for wheelchairs equipped with heavy duty gearless/brushless motors
before 1/26/04 and standard gearless/brushless motors after 1/25/04.
REMOVING
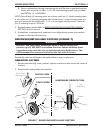
1. Remove the battery boxes. Refer to REMOVING/INSTALLING BATTERY BOXES
in SECTION 9 of this manual.
WARNING
If wheelchair is equipped with pneumatic tires, deflate tire BEFORE
removing rim - otherwise serious personal injury and damage will result.
2. If the wheelchair is equipped with pneumatic tires, deflate the tire.
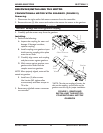
3. Remove the five (5) mounting screws that secure the rim to the gearless/brushless
motor.
4. Remove the rim and tire from the gearless/brushless motor.
INSTALLING
1. Perform one (1) of the following:
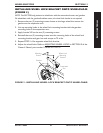
A. Pneumatic Tires - Secure new/existing rim and new/existing pneumatic tire
[w/ new tube (if applicable)] to the gearless/brushless motor and torque the five
(5) mounting screws to 160 in-lbs.
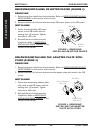
B. Flat Free Tires
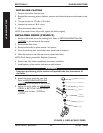
NOTE: In order to install the tire with flat free properly, the tire must be compressed to a
certain point to allow the use of the 16 mm length mounting screws. This is accomplished by
first using three (3) 25 mm length mounting screws threaded in every other mounting hole. The
longer mounting screws are not to be threaded completely into the GB motor. They are to be
threaded 1/4-inch only to provide compression of the tire.
WHEELS/MOTORSSECTION 12
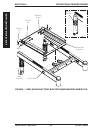
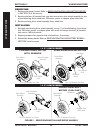
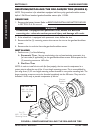
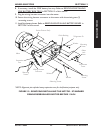
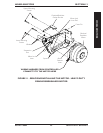
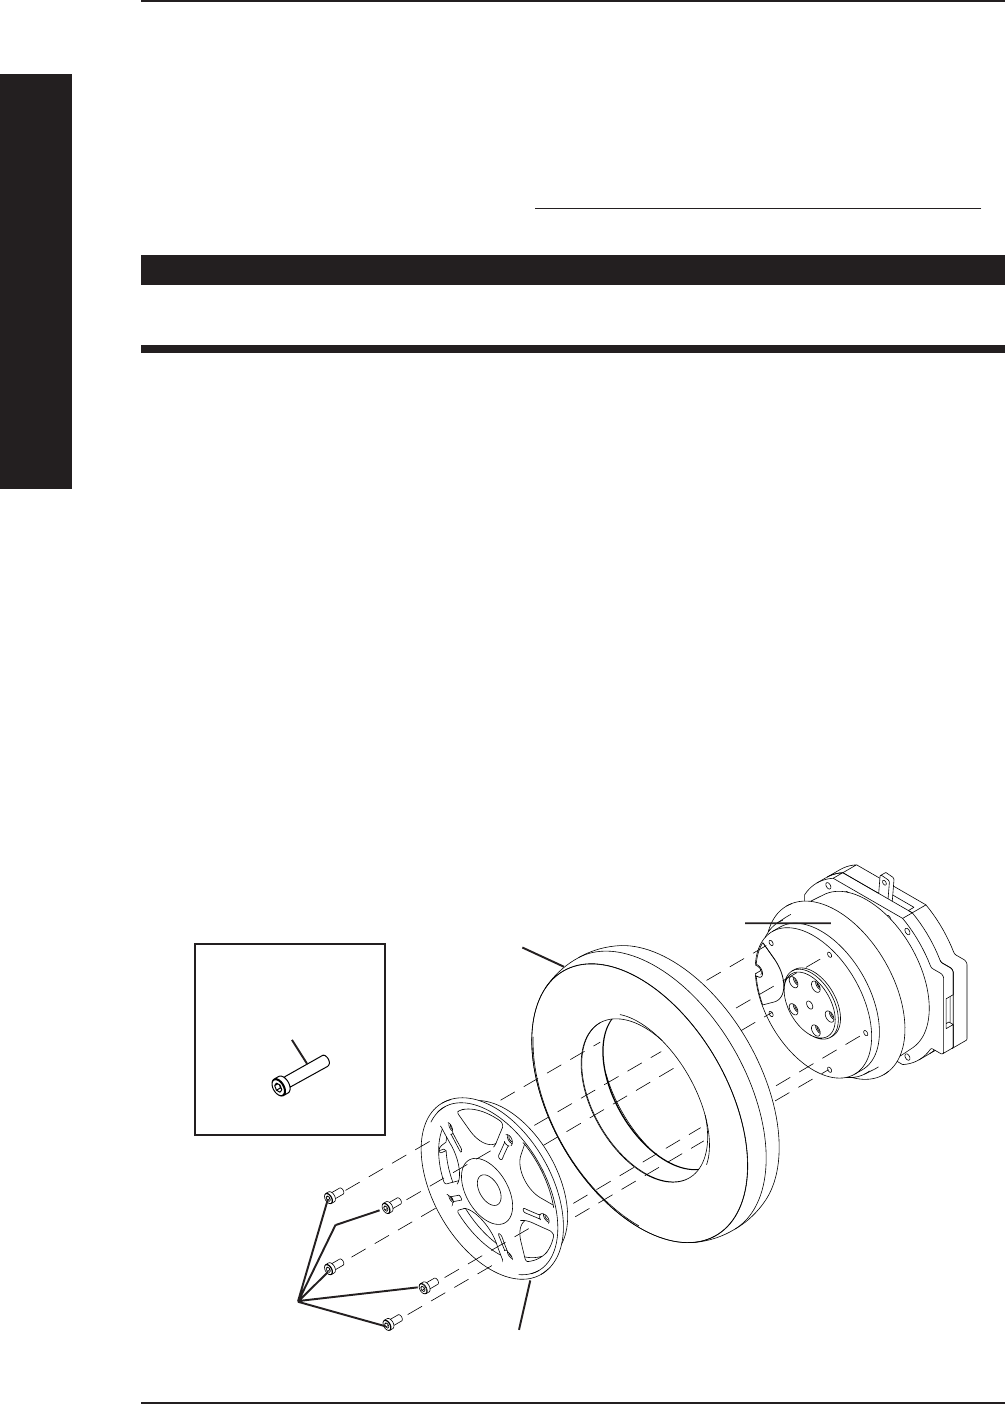
FIGURE 6 - REMOVING/INSTALLING THE RIM AND/OR TIRE
Five (5)
M8-1-1/4-16mm
Mounting Screws
Tire
Rim
Gearless/
Brushless
Motor
M8-1-1/4-25mm
Mounting Screw
DETAIL “A”