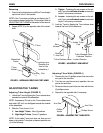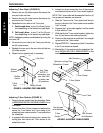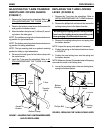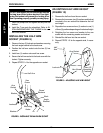
49
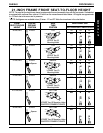
This Procedure includes the following:
Elastomers and Suspension
Replacing Rear Elastomers
Replacing Front Elastomers
WARNING
After ANY adjustments, repair or service and BEFORE
use, make sure all attaching hardware is tightened
securely - otherwise injury or damage may result.
NOTE: The following procedures are for the A-6S and
F-6S ONLY.
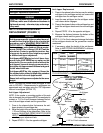
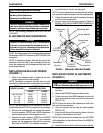
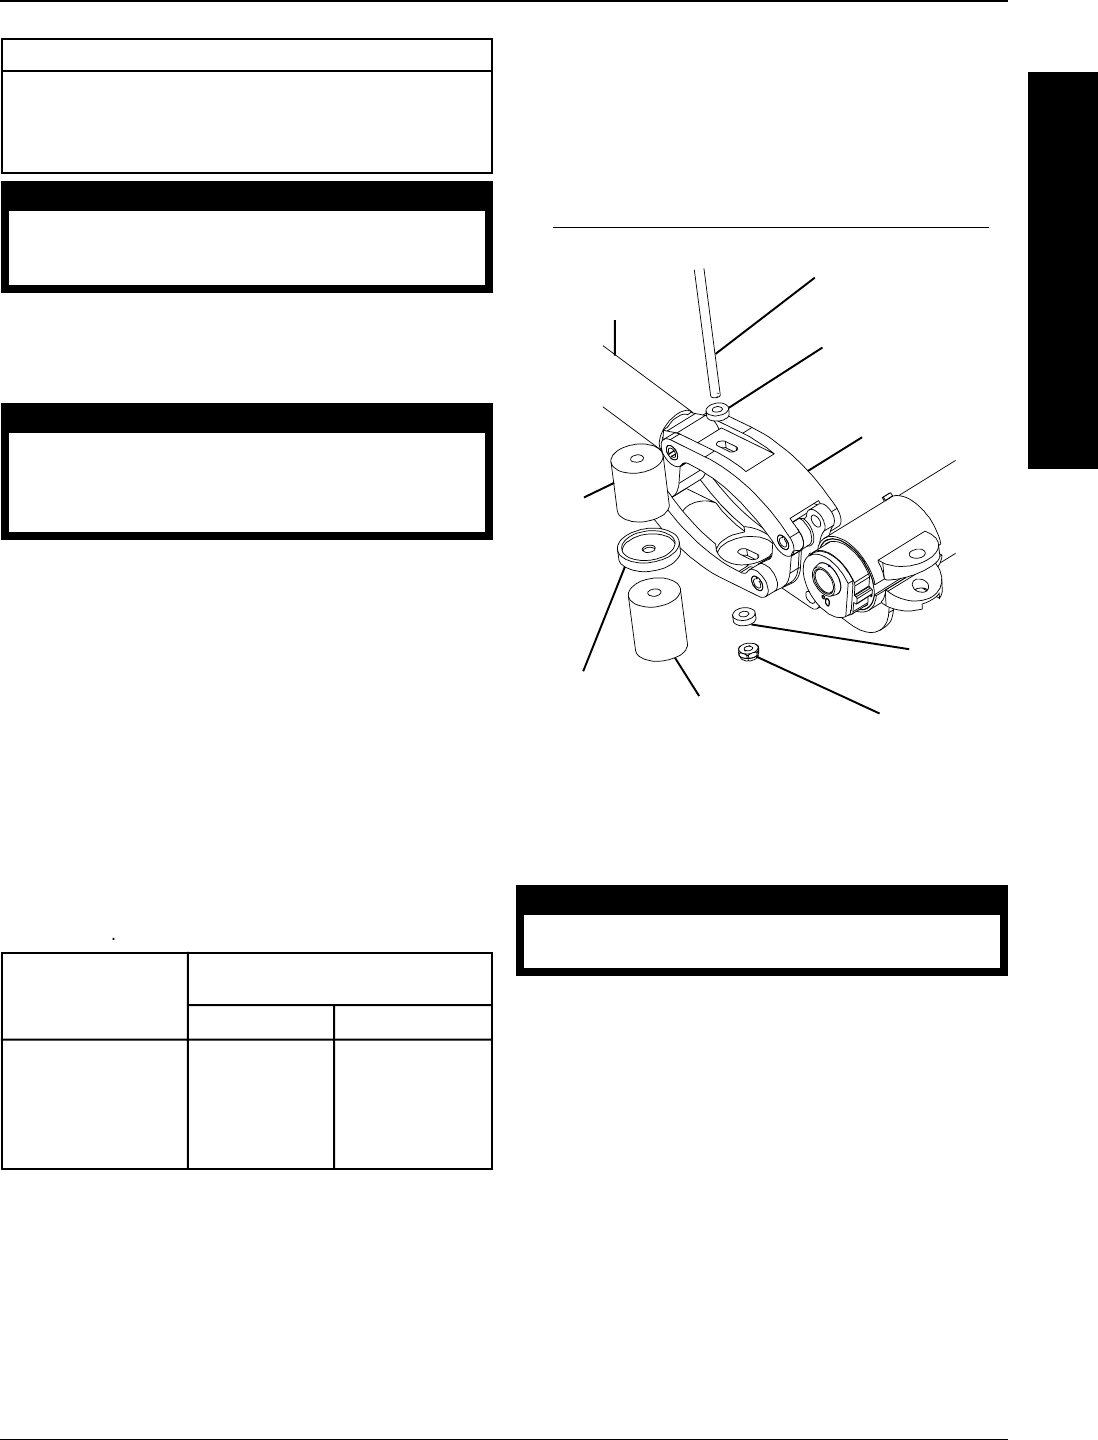
FIGURE 1 - REPLACING REAR ELASTOMERS
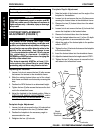
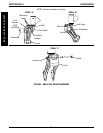
REPLACING FRONT ELASTOMERS
(FIGURE 2)
WARNING
Ensure the detent ball protrudes past the fork BE-
FORE use. Otherwise, injury or damage may occur.
1. Remove the bolt and locknut securing the fork to the
fork stem.
2. Remove the EXISTING elastomer from the fork.
3. Position one end of the NEW elastomer into the fork
stem recess and the other end into the fork recess
(DETAIL “A”).
NOTE: Ensure the ends of the elastomer sit flush in the
fork and fork stem recesses.
4. Hold and squeeze the fork and fork stem together
(DETAIL “B”).
5. Insert the bolt through the mounting holes in the fork
to secure the elastomer to the fork.
NOTE: The bolt should be inserted from the OUTSIDE
of the wheelchair, so the locknut will be on the INSIDE of
the wheelchair.
6. Install the locknut onto the bolt and securely tighten.
4. Install the locknut onto the mounting bolt.
NOTE: It may be necessary to compress the rear suspen-
sion system to install the locknut onto the mounting bolt.
5. Tighten the locknut until three (3) threads can be seen
on the end of mounting bolt.
6. Ensure wheel locks engage properly. Refer to
WHEEL LOCK ADJUSTMENT/REPLACEMENT in
PROCEDURE 5 of the manual.
SUSPENSION PROCEDURE 9
S
U
S
P
E
N
S
I
O
N
LOWER
Elastomer
Recessed
Spacer
Telescoping
Tube
Mounting Bolt
Locknut
Nylon
Washer
Nylon Washer
Suspension
Arm
UPPER
Elastomer
ELASTOMERS AND SUSPENSION
CAUTION
Weather conditions may affect elastomers.
Invacare recommends that elastomers be re-
placed once a year, otherwise the performance
of the wheelchair may be affected.
NOTE: The performance of the wheelchair will be affected
if elastomers ARE NOT the same on BOTH SIDES of the
wheelchair.
NOTE: If elastomers squeak, lubricate the ends of the
elastomers and the shaft of the mounting bolt that se-
cures the elastomers to the suspension tube with a sili-
cone based lubricant.
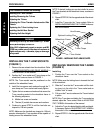
REPLACING REAR ELASTOMERS
(FIGURE 1)
1. Refer to the following chart to determine the elas-
tomers required for the user's weight.
NOTE: Periodically review the following chart to make
sure the rear suspension still corresponds to user's weight.
USER'S ELASTOMERS
WEIGHT (IN LBS.) REQUIRED (PER SIDE)
UPPER LOWER
Less Than 100 BLUE BLUE
101 - 140 BLUE BLACK
141 - 180 BLACK BLACK
181 - 220 BLACK PURPLE
221 - 250 PURPLE PURPLE
NOTE: The performance of the wheelchair will be af-
fected if elastomers DO NOT correspond to user's weight.
2. Remove the mounting bolt and locknut that secure
the nylon washers, UPPER and LOWER elastomers
and recessed spacer to the suspension arms.
3. Reinstall the nylon washers, UPPER and LOWER
elastomers determined in STEP 1 and recessed
spacer into the suspension tube with the mounting
bolt. Refer to FIGURE 1 for hardware orientation.


