


48
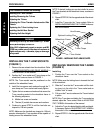
WARNING
DO NOT over tighten the locknut that secures the
locking lever to the bottom bracket. Over tight-
ening this locknut will prevent the locking lever
from operating properly, possibly causing injury.
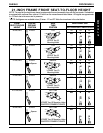
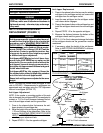
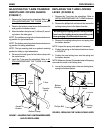
7. Install the phillips bolt and tighten securely with the
locknut.
8. Install the T-arm onto the wheelchair. Refer to
IN-
STALLING/REMOVING THE T-ARMS in this sec-
tion of the manual.
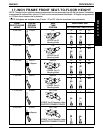
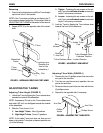
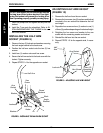
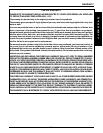
INSTALLING THE HALF ARM
SOCKET (FIGURE 9)
1. Remove the two (2) locknuts and washers securing
the back angle bracket to the back cane.
2. Position the half arm socket onto the two (2) hex
screws.
3. Install one (1) washer onto each hex screw.
4. Secure the half arm socket to the back cane with the
locknut. Tighten securely.
5. Repeat STEPS 1-4 for the opposite arm socket.
Locknuts
Back
Angle
Bracket
Half Arm
Coved
Washers
Washer
Mounting
Holes
Arm
Socket
Washer
FIGURE 9 - INSTALLING THE HALF ARM SOCKET
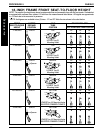
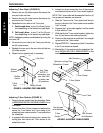
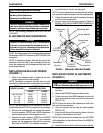
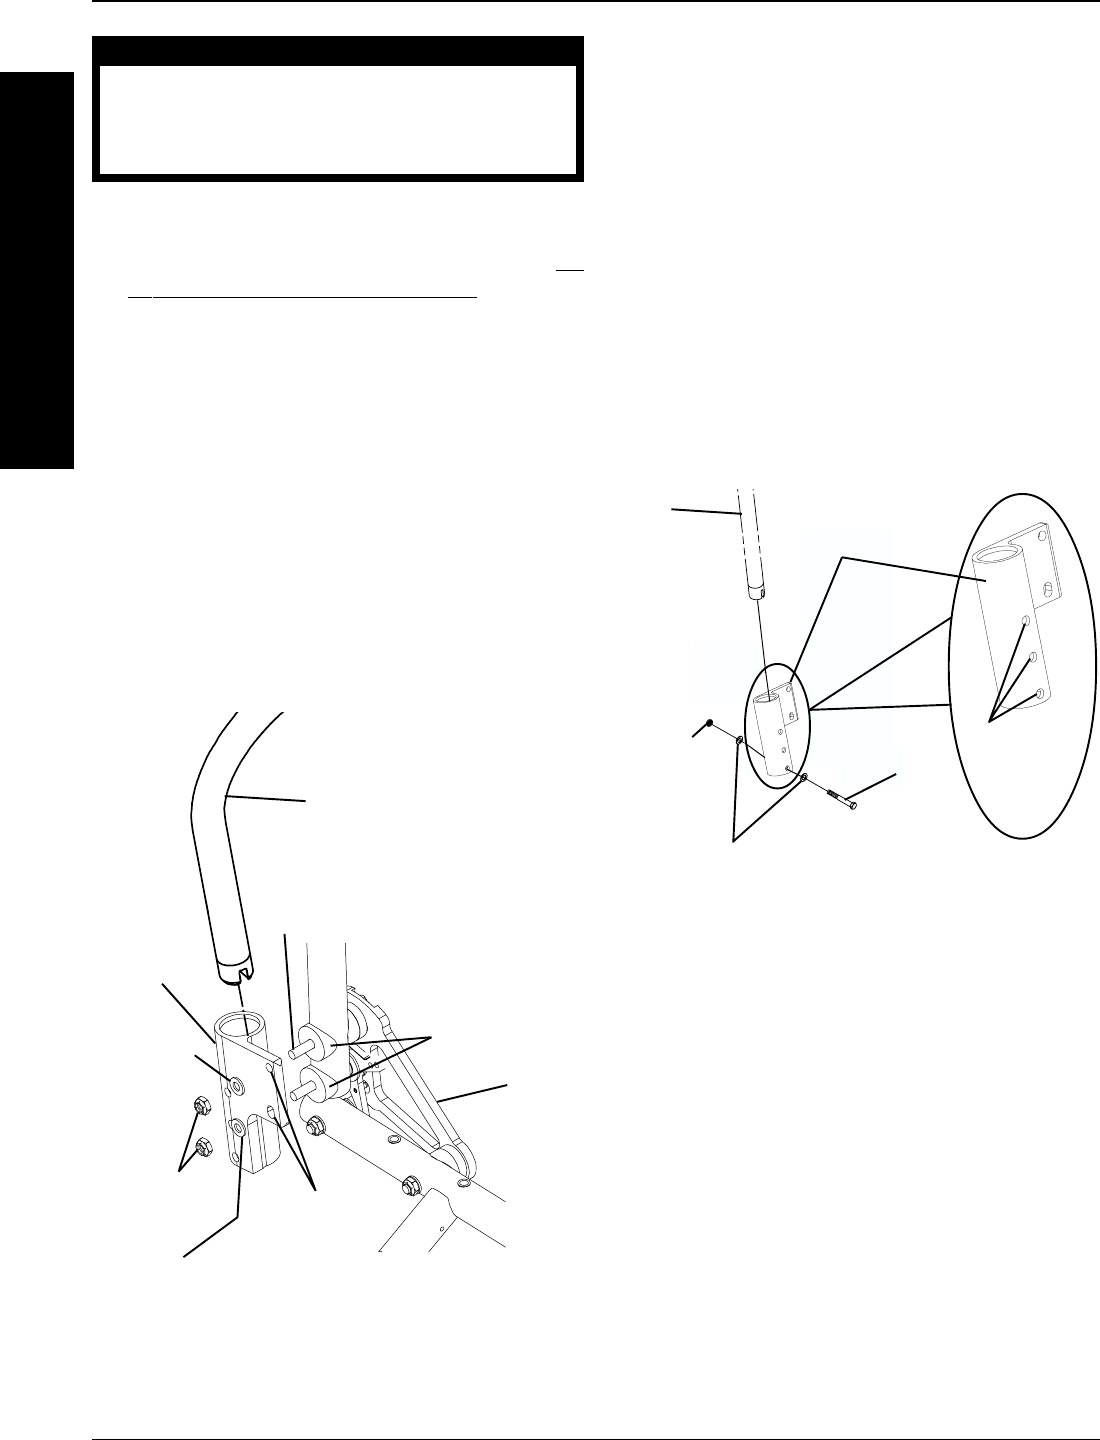
ADJUSTING HALF ARM HEIGHT
(FIGURE 10)
1. Remove the half arm from the arm socket.
2. Remove the hex screw, two (2) washers and locknut
mounted in the arm socket that determine the half
arm height.
3. Reposition hex screw and one (1) washer to one (1)
of three (3) positions depending on the desired height.
4. Retighten the hex screw and washer to the arm
socket with the remaining washer and locknut.
5. Reinstall the half arm into the arm socket.
6. Repeat STEPS 1-5 for the opposite side, if neces-
sary.
A
R
M
S
PROCEDURE 8 ARMS
Hex
Screw
Locknut
Hex Screw
Half
Arm
FIGURE 10 - ADJUSTING HALF ARM HEIGHT
Arm Socket
Three (3)
Mounting
Positions
Washers