4220 Flow Meter
Section 4 Submerged Probe Installation
4-4
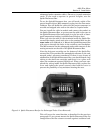
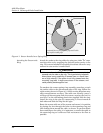
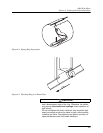
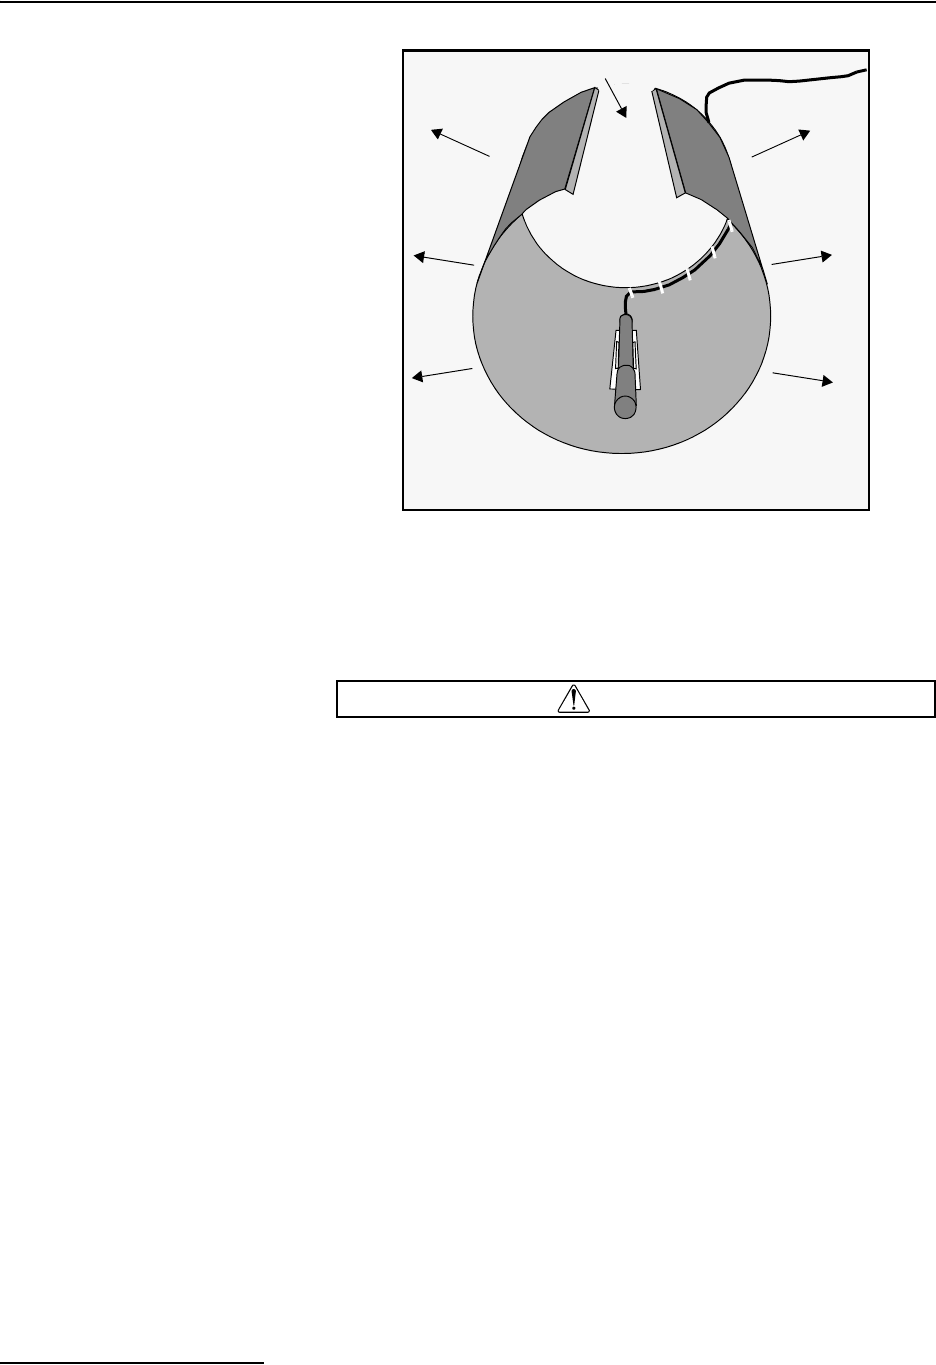
Figure 4-1 Sensor Installed on a Spring Ring
Attaching the Sensor to the
Ring
Attach the probe to the ring either by using two 4-40 x
3
/16" coun-
tersink screws or by snapping the optional probe carrier to the
ring. This second method of attaching the sensor allows for easy
removal in case service is needed later.
CAUTION
Make sure the slots on the probe carrier are completely
pressed onto the tabs on the ring. This is particularly important
where there is any possibility of reverse flows, or where flows
are of high velocity. If the probe is not fully pressed onto the
mounting ring tabs, it might come loose in the stream, and
could possibly be damaged or lost.
To complete the sensor-spring ring assembly procedure, attach
the sensor cable to the downstream edge of the ring. Follow the
cable routing shown in Figure 4-1. Other routing directions may
affect measurement accuracy. The cable can actually create a
stilling well downstream from the sensor, causing the level to
read low. Use the self-locking plastic ties supplied with the ring.
Install the ring in the pipe by compressing it. Press inward on
both sides and slide the ring into the pipe.
Route the sensor cable out of the stream and secure it in position
by placing the ties through the holes in the mounting ring and
then locking them around the cable, as shown. To prevent debris
from catching on the cable, it is important to attach the cable to
the mounting ring so it offers as little resistance to the flow as
possible.
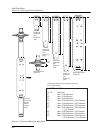
...outward force of ring against pipe wall holds
ring in place inside pipe.
Compress ring into gap to install in pipe, then...


