4220 Flow Meter
Section 5 Options and Accessories
5-7
5.4 Tipping Bucket Rain
Gauge
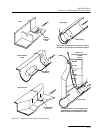
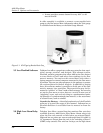
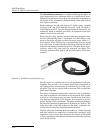
A Tipping Bucket Rain Gauge is available from Teledyne Isco for
use with 4200 Series Flow Meters. The gauge connects to the
flow meter by a cable terminated in an M/S connector. This con-
nector plugs into the Remote Printer/Rain Gauge connector on
the case. A Y-connect cable is available that allows use of both
the rain gauge and a YSI 600 Multi-Parameter Sonde at the
same time. You can connect extra cable (user-supplied) between
the rain gauge and the factory-supplied cable as long as you do
not exceed a maximum total length of 1,000 feet. Use 18 AWG
wire or larger. Do not cut the M/S connector from the cable.
The rain gauge is factory-calibrated to provide a contact closure
to the flow meter for every hundredth of an inch (0.01") [or 0.1
mm] of rainfall. Software in the flow meter stores this infor-
mation in memory and prints the accumulated data as a text line
on the printer chart. It also allows the printout to be expressed in
metric. You may, if you wish, provide a rain gauge of your own
choice, but to ensure compatibility with the flow meter's oper-
ating environment, it must conform to the following specification:
• It must provide an isolated, dry contact closure.
• It must be a normally open contact configuration.
• It must close for 100 ms (–25 ms +150 ms) with less than
2 ms contact bounce.
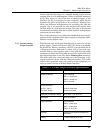
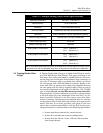
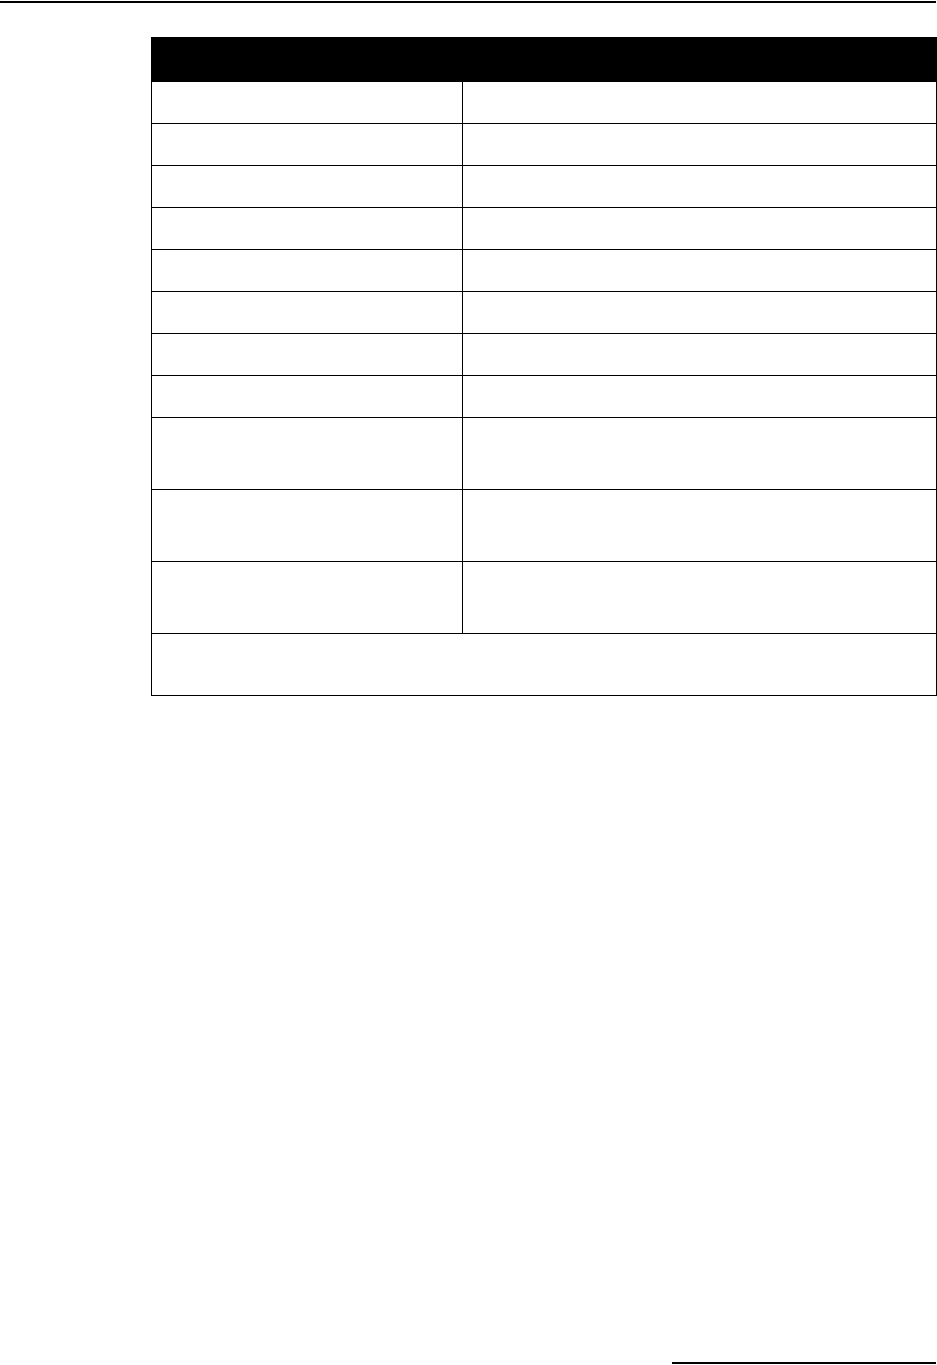
Table 5-2 Multiple Analog Output Board Specifications
Operating Temperature 0 to 140° F (–18 to 60° C)
Output Accuracy ±0.5% of full-scale
Resolution 0.1% of full-scale (0-20 mA)
Electrical Isolation Isolated from each other and from the flow meter.
Calibration Factory-calibrated; no further adjustments necessary.
Maximum output distance 1500 feet (457.3 m) using 18 AWG wire.
Current Range (per loop) 0 to 20 mA
Maximum Load (per loop) 750 ohms
Analog Output 1 Terminations Pin A (Red wire –)
Pin C (White wire +)
Analog Output 2 Terminations Pin D (Brown wire –)
Pin F (Blue wire +)
Analog Output 3 Terminations Pin E (Black wire –)
Pin B (Green wire +)
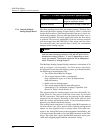
Note: If you must strip the cable further back to facilitate wiring, you will expose an orange, yellow,
and purple wire. You may disregard these wires, as they are not connected in this application.


