


15
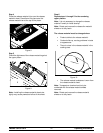
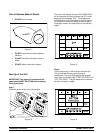
Models C810 & C812 Operating Procedures
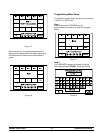
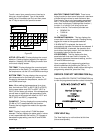
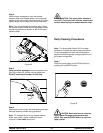
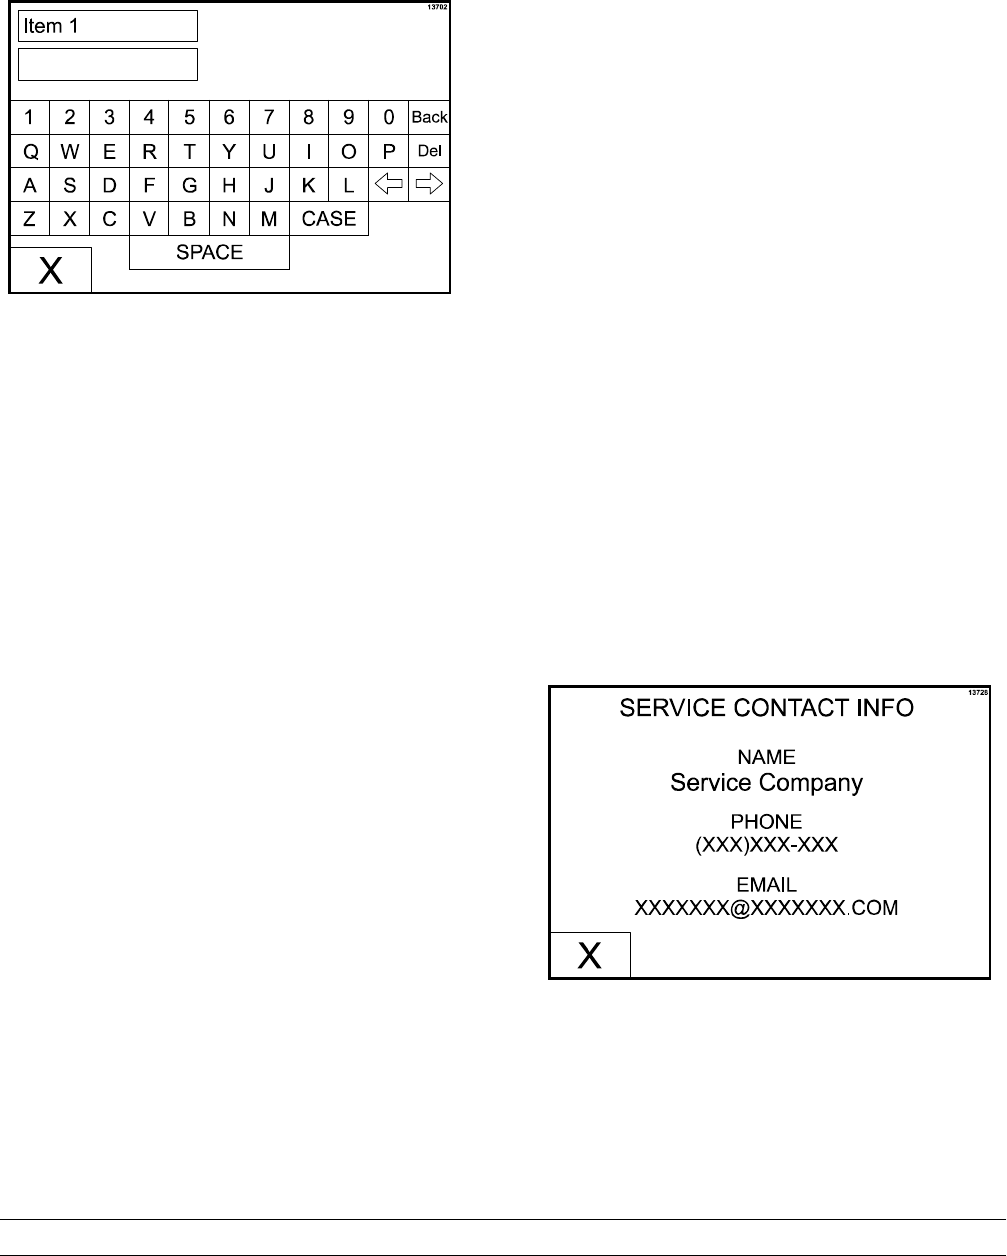
To edit a menu item, press the menu item key to
bring up a virtual keyboard. Type in the desired
name (up to 8 characters per line) and then press
the “X” key to return to the previous screen.
Figure 23
ACTIVE: YES or NO. This key displays the current
selection. Pressing the key toggles to the opposite
selection. Selecting YES will display the menu item
on the main display screen.
TOP TEMP: This key displays the current set point
temperature for the platen. To increase or decrease
the temperature, use the UP and DOWN arrow keys.
BOTTOM TEMP: This key displays the current set
point temperature for the lower grill surface. To
increase or decrease the temperature, use the UP
and DOWN arrow keys.
Note: When setting the temperatures for a given
item, the limits are 150°F to 450°F (66°C to 232°C)
for the upper platen and 150°F to 400°F (66°C to
204°C) for the lower grill surface. If the temperatures
are set lower or higher than the temperature limits,
the set point at the control will default to 150°F and
450°F (66°C and 232°C), respectively.
CLAM/FLAT: This key displays the current setting
(CLAM or FLAT) associated with that function.
Pressing the key toggles the mode to the opposite
selection.
GAP: This key is only active if CLAM has been
selected. The key displays the platen gap (in inches
or mm) associated with the function. To increase or
decrease the gap setting, use the UP and DOWN
arrow keys.
MULTIPLE TIMING FUNCTIONS: There is one
timing function for clam menu items and a maximum
of three timing functions for each flat menu item.
Each function has a set of parameters associated
with it. The function currently associated with the
menu item is displayed. Pressing either function 1,
function 2, or function 3 will bring up the next
function in the list. The functions provided are:
S REMOVE IN
S TURN IN
S SEAR IN
ALARM AUTO/MANUAL: This key displays the
current status of the alarm mode. Pressing the key
toggles the mode to the opposite selection.
If ALARM AUTO is selected, the alarm will
automatically stop after five seconds has elapsed. If
ALARM MANUAL is selected, the operator must
touch either the display screen, the raise button or
the s tandby button to stop the alarm.
XXX SECONDS: This key displays the time
associated with that menu item in seconds. To
increase or decrease the seconds setting, use the
UP and DOWN arrow keys.
Upon completion of all programming selections,
save the selections by pressing the OK key. To
return to the main display screen without saving the
programming selections, press the X key.
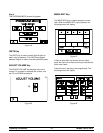
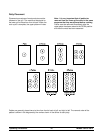
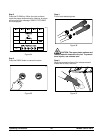
SERVICE CONTACT INFORMATION Key
Press the SERVICE CONTACT INFORMATION key
to view the programmed service contact information.
Figure 24
VIEW HELP Key
The View Help key is not functional at this time
(future development).