


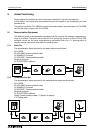


Positioning Control Actual Positioning 5
5-8
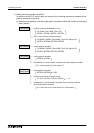
The next step, it to switch the FX
2N
-20GM to ‘AUTO’ mode, so that the program can be
executed.
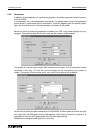
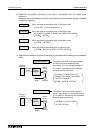
Finally, on the Monitor screen click on either the X or Y axis start buttons. It does not matter
which one, as both will start the program. Sit back and see what you have produced.
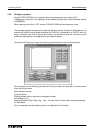
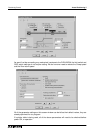
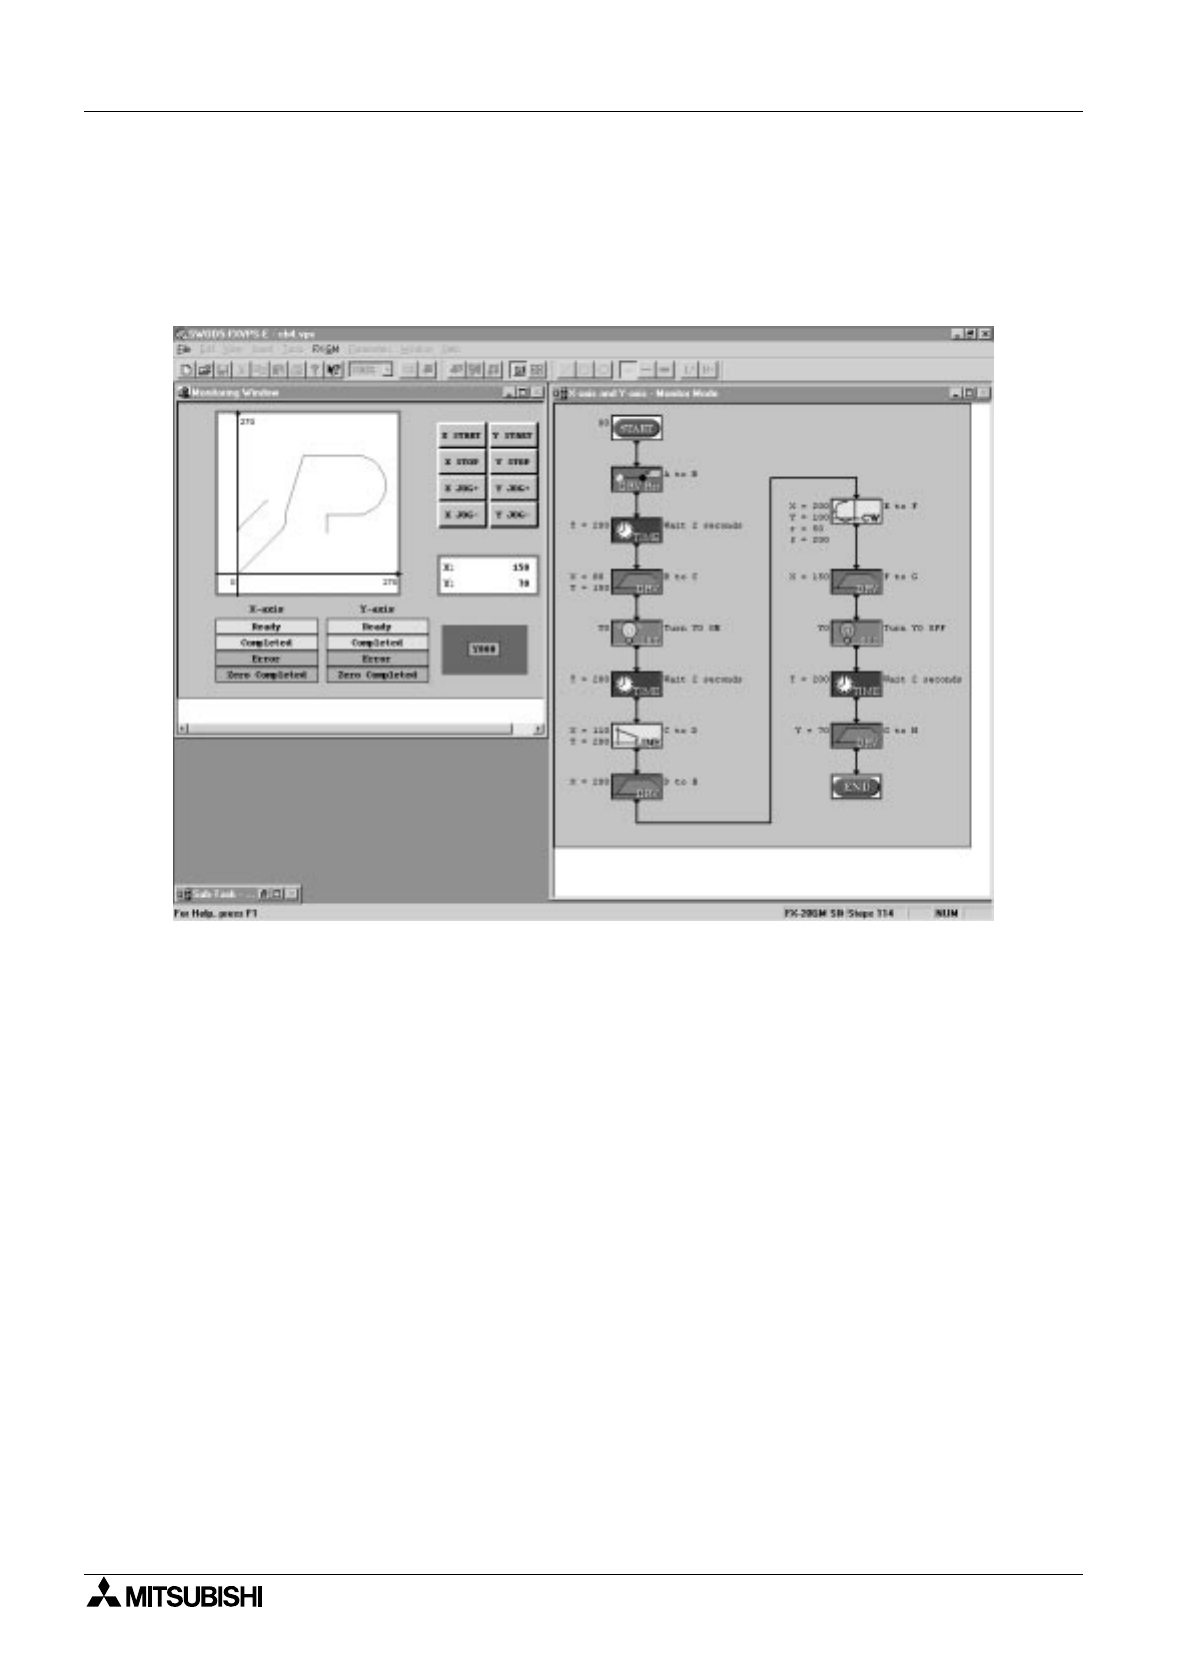
Your screen should look similar to the one shown below, the plot should be identical.
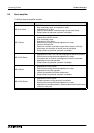
To run the program again, set a new start position (or let it start from where it is), clean the plot
area, and press start.
If your plot does not look the same as the one above, check your program against the one in
section 5.2.1.
If it does, now is the time to experiment some more. Try a new program, perhaps include sub-
tasks and multiple flow charts. Only a sample of the functionality available in VPS has be used
in this example program, try using some of the other programming aspects.