6
PROCEDURE 1 PREPARING WHEELCHAIR
P
R
E
P
A
R
I
N
G
W
H
E
E
L
C
H
A
I
R
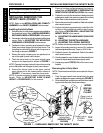
This Procedure includes the following:
Installing/Removing Cane Clamps
Installing Inserts
INSTALLING/REMOVING CANE
CLAMPS (FIGURE 1)
NOTE: Refer to the INSTALLATION AND STABILITY
WARNINGS in the SAFETY SUMMARY of this manual.
Installing Cane Clamps
WARNING
DO NOT modify cane clamps to fit 3/4-
inch tubing. Clamps provided are for 1-
inch or 7/8-inch tubing ONLY.
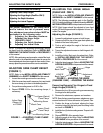
NOTE: The final positions of the upper (swivel) and lower
(fixed) cane clamps will be determined by the adjustments
made to the Infinity Back to fit the wheelchair and user.
1. Remove existing back upholstery. Refer to wheelchair
owner's manual.
2. Loosen, but do not remove the mounting screw on
the cane clamp with allen wrench provided.
3. Perform one (1) of the following:
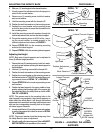
UPPER (SWIVEL) CLAMPS - Visually inspect the
clamps to determine whether they are for the RIGHT
or LEFT back cane as shown in FIGURE 1.
NOTE: The upper (swivel) cane clamps are marked
with R for RIGHT and L for LEFT.
NOTE: RIGHT and LEFT are determined by sitting
in the wheelchair.
LOWER (FIXED) CLAMPS - Proceed to STEP 4.
4. Hold the Infinity Back up to the back canes of the wheel-
chair at the desired mounting height.
5. Visually inspect the location of the mounting pins on
the Infinity Back to determine the proper positions for
each cane clamp.
6. Position the clamp on the back cane at the desired
height so that the open end of the clamp is facing the
REAR of the back cane as shown in FIGURE 1.
7. Torque mounting screw to 45-50 in./lbs.
8. Perform one (1) of the following:
A. If cane clamp holds desired mounting position,
proceed to STEP 9.
B. If cane clamp DOES NOT hold desired mount-
ing position, clamp is too large - refer to INSTALL-
ING INSERTS in this procedure of the manual.
9. Repeat STEPS 2 - 8 for remaining cane clamp(s).
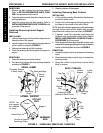
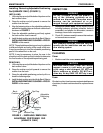
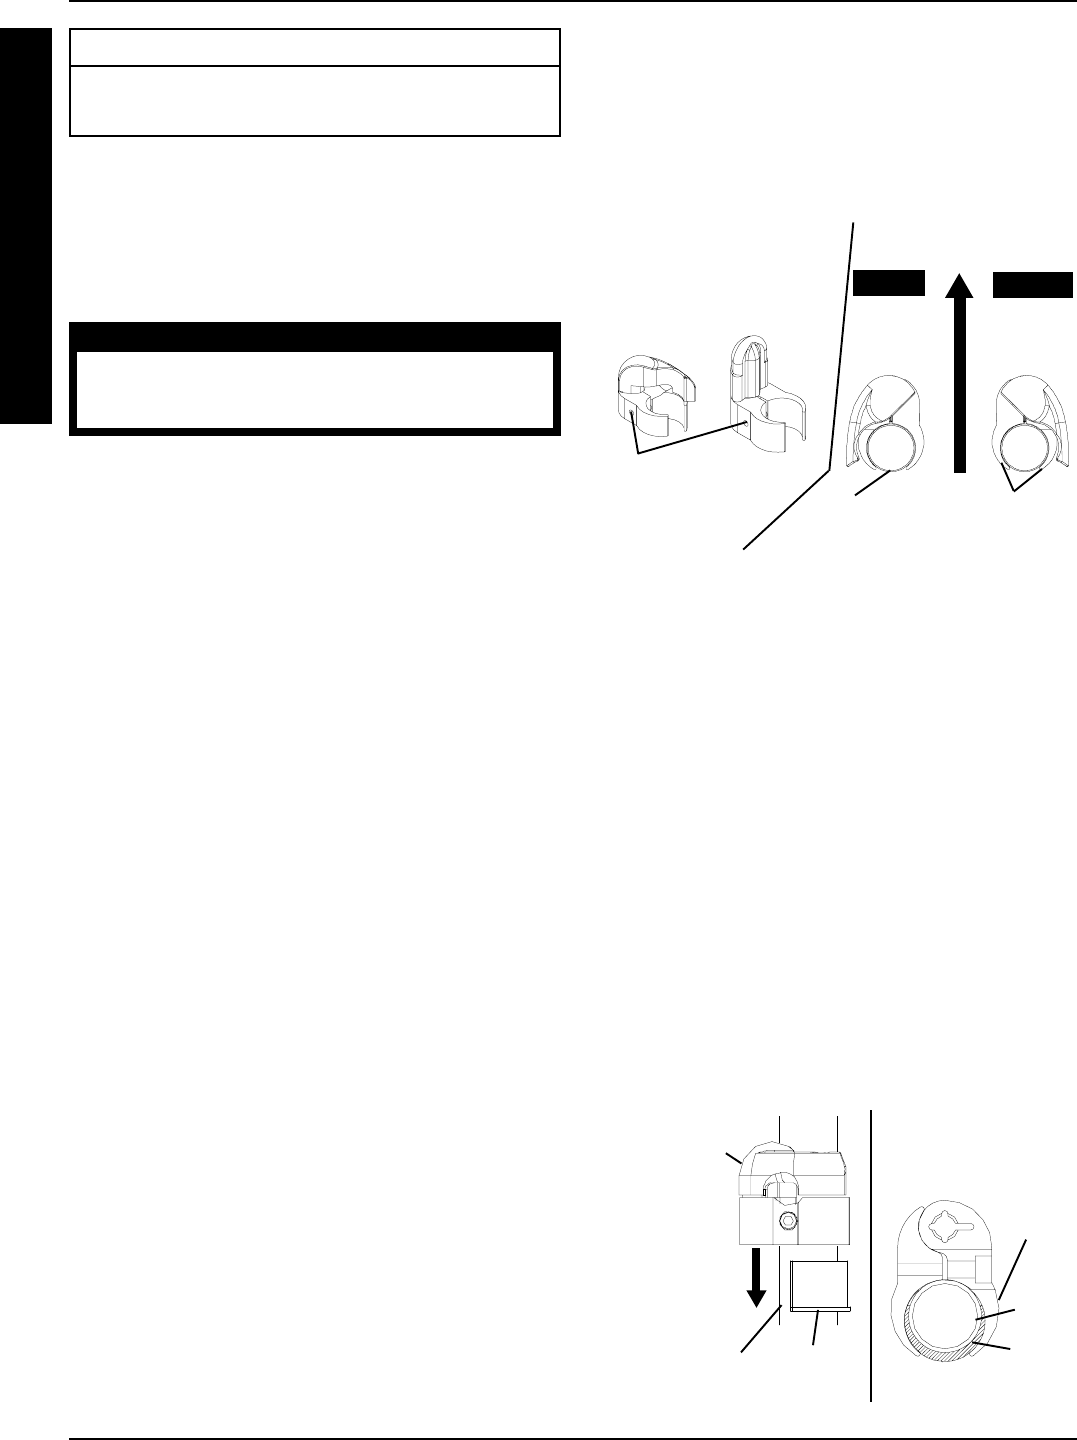
FIGURE 2 - INSTALLING INSERTS
Clamp
Half
Insert
FRONT OF
WHEELCHAIR
Back
Cane
Removing Cane Clamps
1. Remove the Infinity Back from the wheelchair. Refer
to REMOVING THE INFINITY BACK in PROCE-
DURE 3 of this manual.
2. Loosen, but do not remove the mounting screw on
the cane clamp.
3. Remove cane clamp from back cane.
Slide Clamp
OVER Insert
Insert
Clamp
SIDE VIEW
Back Cane
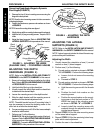
INSTALLING INSERTS (FIGURE 2)
NOTE: Refer to the INSTALLATION AND STABILITY
WARNINGS in the SAFETY SUMMARY of this manual.
NOTE: This procedure should be performed only if cane
clamps are too large for back cane tubing.
1. Loosen the mounting screw in the cane clamp.
NOTE: Mounting screw should be loosened enough to
create space for the insert to fit between the back cane
and the cane clamp.
2. Position one (1) insert onto the back cane near the cane
clamps with the opening facing the front of the wheelchair.
3. Slide the cane clamp over the insert until the clamp
halves surround the insert as shown in FIGURE 2.
4. Torque mounting screw to 45-50 in./lbs.
NOTE: If clamps are still to large for back canes, DO
NOT use. Contact Invacare at the number on the back
page of this manual.
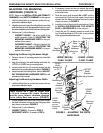
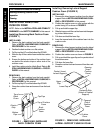
FIGURE 1 - INSTALLING/REMOVING
CANE CLAMPS
RIGHT
Upper
Cane
Clamp
LEFT
Upper
Cane
Clamp
Upper
(Swivel)
Cane
Clamp
Lower
(Fixed) Cane
Clamp
Mounting
Screw
WHEELCHAIR
FRONT
Back Cane
TOP VIEW
Open End
of Clamp
TOP VIEW
FRONT OF
WHEELCHAIR


