


7-12 Dell PowerVault 200S, 201S, 210S, and 211S Storage Systems Installation and Service Guide
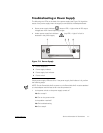
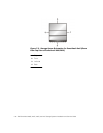
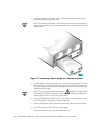
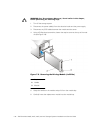
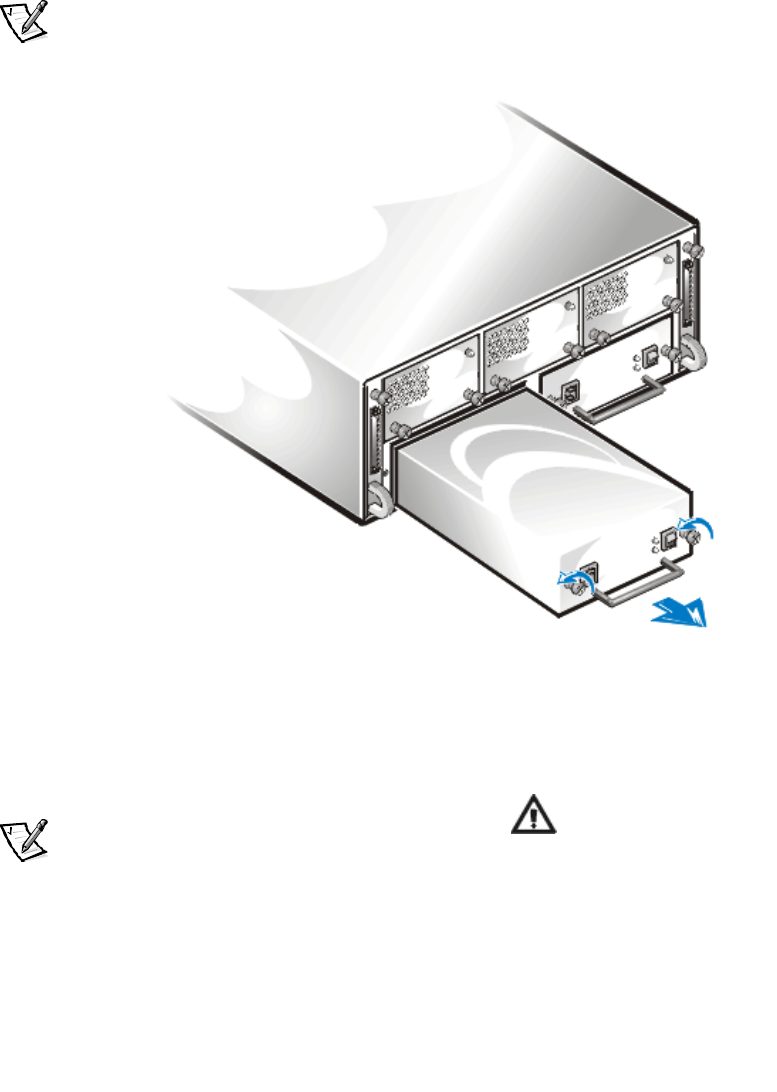
4. Holding the handle on the power supply, carefully pull the power supply out of
the power-supply bay (see Figure 7-5).
NOTE: The power-supply handle is provided to ease the task of pulling the power
supply free from the bay. Do not use the handle to carry the Dell PowerVault 2xxS
storage system.
)LJXUH5HPRYLQJD3RZHU6XSSO\RQD5HGXQGDQW6\VWHP
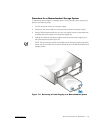
5. Carefully slide the new power supply into the empty power-supply bay. Push the
power supply all the way to the back of the bay until it is seated in the connector.
The power supply is seated when its front plate is even with the front plate of the
neighboring power supply.
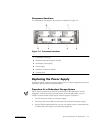
NOTE: The amber power supply fault indicator located on the back panel
(see "Indicators" in Chapter 1) lights until you connect the AC power cable to the
power supply and turn on the power supply switch.
6. Using a Phillips-head screwdriver, turn the two captive screws clockwise until the
new power supply is secured to the power-supply bay.
7. Connect the AC power cable to the new power supply and to an electrical outlet.
8. Turn on the power switch on the new power supply.
The green indicator on the new power supply lights up.