3G WiFi Router User Guide YML-O-3G19W
10 www.netcomm.com.au
3. Web User Interface
This section describes how to access the device via the web user interface using a web browser such as Microsoft Internet Explorer
(version 6.0 or later), Firefox or Safari.
3.1 Default Settings
The following are the default settings for the device.
• Local (LAN) access (username: admin, password: admin)
• Remote (WAN) access (username: support, password: support)
• User access (username: user, password: user)
• LAN IP address: 192.168.1.1
• Remote WAN access: disabled
• NAT and rewall: enabled
• Dynamic Host Conguration Protocol (DHCP) server on LAN interface: enabled
Technical Note:
During power on, the device initializes all settings to default values. It will then read the conguration prole from the permanent storage section of ash memory. The default
attributes are overwritten when identical attributes with different values are congured. The conguration prole in permanent storage can be created via the web user interface
or telnet user interface, or other management protocols. The factory default conguration can be restored either by pushing the reset button for more than ve seconds until the
power indicates LED blinking or by clicking the Restore Default Conguration option in the Restore Default Settings screen.
3.2 TCP/IP Settings
Your computer should automatically obtain an IP Address and join the network. This is because the Dynamic Host Conguration
Protocol (DHCP) server will start automatically when your Router powers up.
The computer should already be congured to use DHCP, but if you are required to congure this, please see the instructions below.
Windows XP:
DHCP Mode:
1. Click on the Start button and go to Settings (or control panel).
2. Double left click on the “Network Connections” control panel item.
3. Right click on the “Local Area Connection” and select “Properties”.
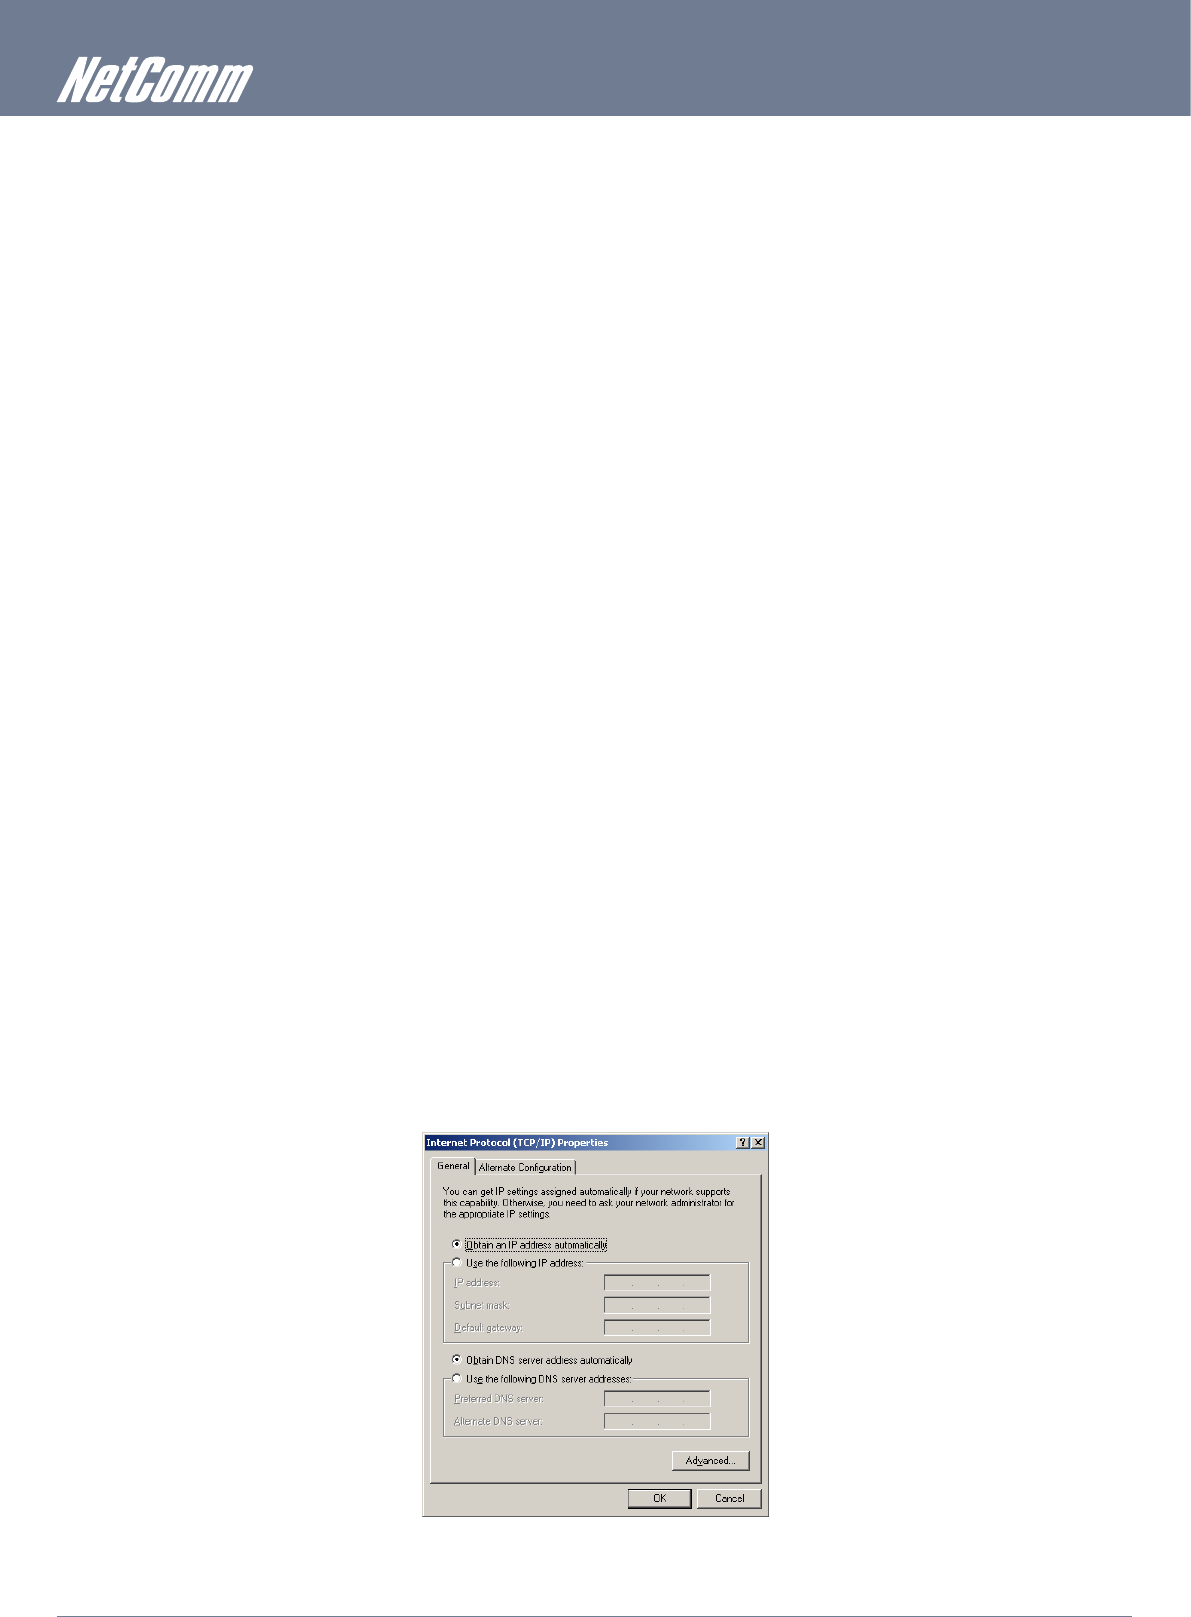
4. Left click on the “Internet Protocol (TCP/IP)” item and then click “Properties”.
5. Make sure “Obtain IP Address automatically” and “Obtain DNS server address automatically” are selected.


