41
930486 Rev.A
40
930486 Rev.A
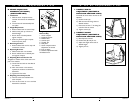
X. OPERATING GUIDE
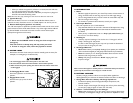
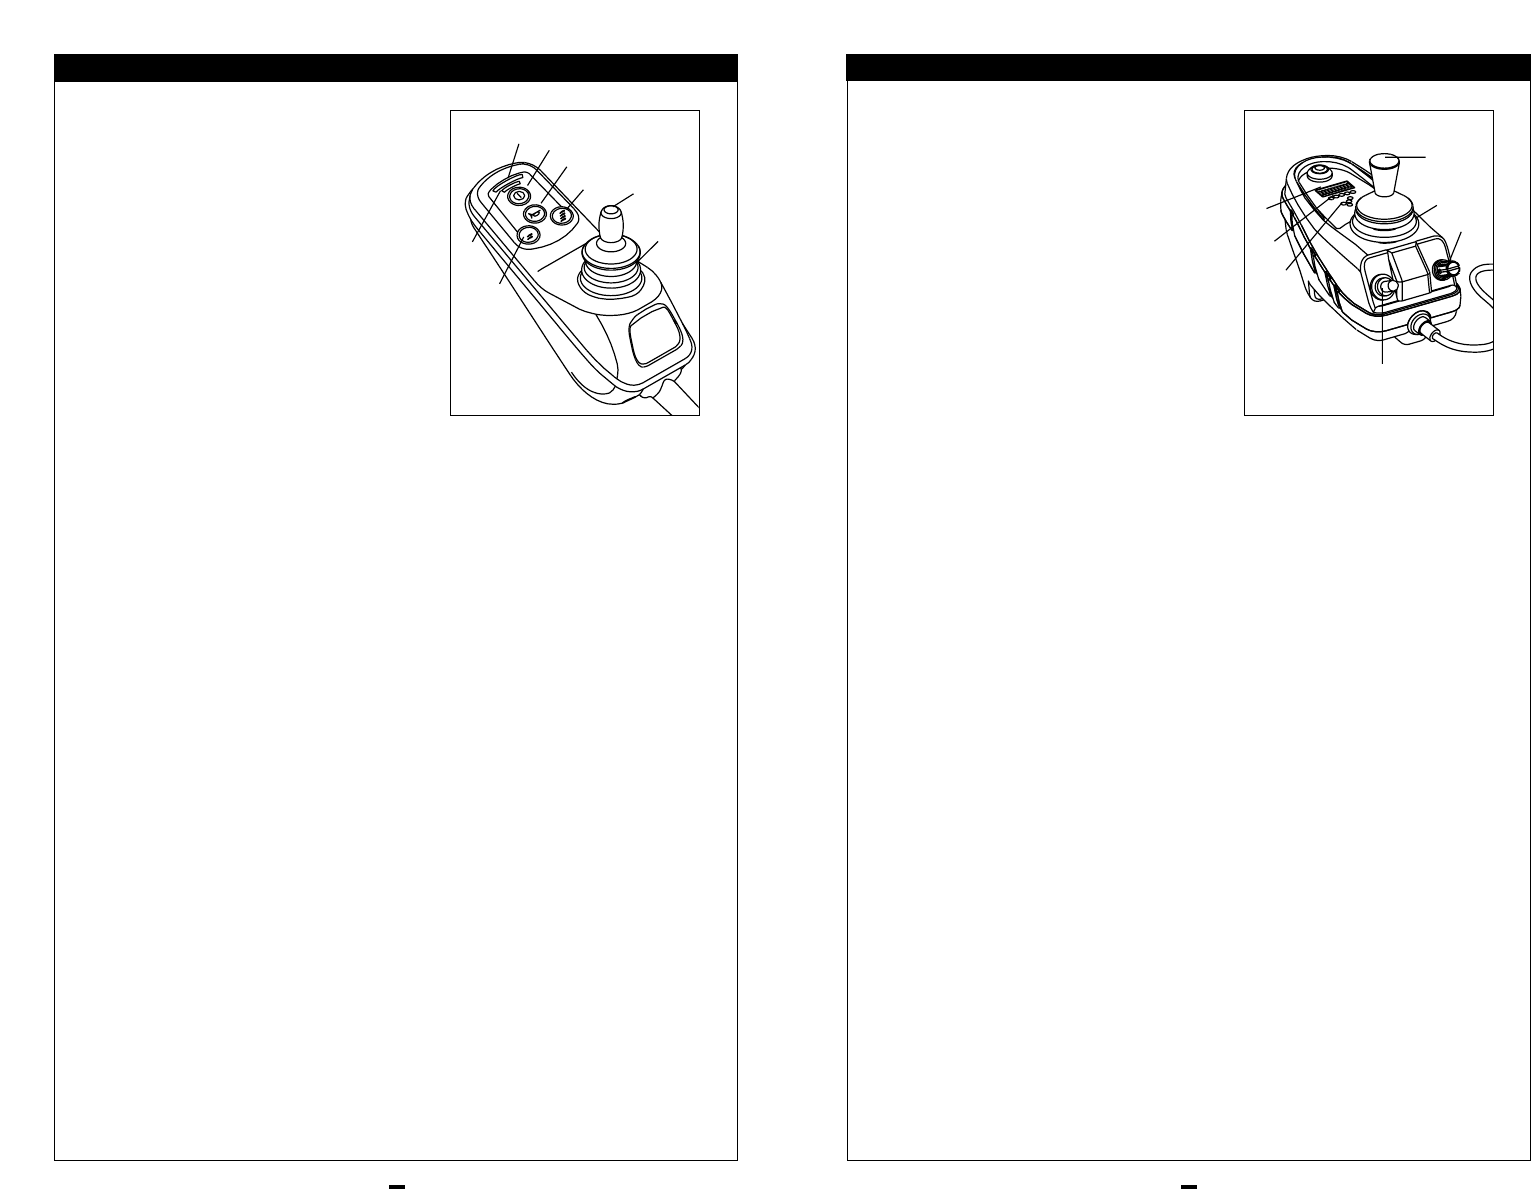
F. REMOTE JOYSTICK ASSEMBLY
(OPTIONAL)
The remote joystick connects to a controller,
which controls the chair’s performance.The
joystick assembly consists of the following
parts:
1. Speed Control Knob (D)
Use the speed control knob to adjust the max-
imum speed of your chair.Turn it counter-
clockwise to reduce speed; turn it clockwise to
increase speed.
2. Battery Charge Indicator (B)
• Green lights indicate that batteries are
fully charged.
• Yellow lights indicate that batteries need
recharging.
• When the lights stay in the red band, the
batteries must be recharged.
3. On/Off Mode switch (A)
The on/off mode switch is located on the rear face of the joystick housing. It is a
toggle switch.Turning the chair on or off, is accomplished by pressing the switch
downward.The switch will automatically return to the center point.Alternate
locations exist for this switch. Please see your supplier in the event that you wish
to relocate or re-orient this switch.
4. Mode Switch (A)
The on/off mode switch allows you to select from 5 (five) different programmable
drive profiles or actuator mode sets.
• Push up the on/off mode select toggle switch to index among the five drive
and actuator modes.The selected mode indicator will flash.
• Push joystick either left or right to select one of the five drive profiles.To
select the actuator modes, push up on the mode select switch twice.
• The drive profiles are indicated by the mode indicators (G) and the actua-
tors are indicated by the four actuator lights (H).
• To exit drive or actuator mode select, simply push the on/off/mode toggle
up one or more times until the indicator no longer flashes, or push the joy-
stick forward or reverse to begin driving.
5. Joystick (E)
The joystick controls the direction and speed of your chair.Turn the chair on and
move the joystick in the direction you want to go.
• Moving the joystick from the neutral (center) position disengages the
motor locks, allowing the chair to move.
• The chair will move faster the more you move the joystick away from neu-
tral.
Note: If your speed becomes hard to manage, release the Joystick and the chair will come
to a complete stop.
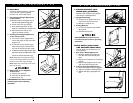
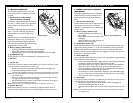
X. OPERATING GUIDE
E. INTEGRAL JOYSTICK
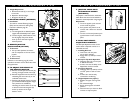
The standard integral joystick controls the
chair’s performance. It consists of the follow-
ing parts:
1. Speed Control or Drive Mode
Selection Buttons (A and B)
To decrease the speed level depress button A.
Or, when 1- 5 Drive modes are programmed,
depress button A to activate lower drive
mode(s).
To increase speed level, depress button B. Or,
when 1- 5 Drive modes are programmed,
depress button B to activate higher drive
mode(s).
Speed level active, or Drive Mode selected, is
indicated on display (C) by a series of five
lights. One light indicates slowest level/mode
currently active, while five lights indicates high-
est level/mode currently active.
2. Battery Charge Indicator (D)
• Green lights indicate that batteries are fully charged.
• Yellow lights indicate that batteries need recharging.
• When the lights stay in the red band, the batteries must be recharged.
3. On/Off Button (E)
Turning the chair on or off is accomplished by depressing button E.
4. Horn (F)
5. Joystick (G)
The joystick controls the direction and speed of your chair.Turn the chair on and
move the joystick in the direction you want to go.
• Moving the joystick from the neutral (center) position disengages the
motor locks, allowing the chair to move.
• The chair will move faster the more you move the joystick away from neutral.
Note: If your speed becomes hard to manage, release the Joystick and the chair will come
to a complete stop.
• When you release the joystick it will return to neutral; the chair will slow
to a stop and the motor locks will reengage.
• We recommend that you switch the chair off if you stop for any length of
time.This will conserve battery power.
Note: Once the chair stops, switching the chair off will not affect the motor locks.
6. Joystick Boot (H)
Make sure the boot is not torn or cracked (this could allow debris, water or
moisture to enter). If the boot is torn or cracked, replace it as soon as you can.
A
D
F
G
H
B
E
C
Integral Joystick
A
D
E
F
G
H
B
Remote Joystick (Optional)


