


English
3
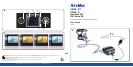
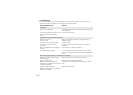
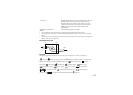
Getting started
1. Make sure the power is connected.
2. Adjust the ramp time if required.
3. Fit your mask as described in your mask user guide.
4. To start therapy, simply breathe into the mask and/or press .
5. Lie down and arrange the air tubing so that it is free to move if you turn in your sleep.
6. To stop treatment at any time, remove your mask and/or press .
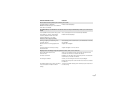
Notes:
• If your clinician has enabled SmartStart your device will start automatically when you breathe into
the mask and stop automatically when you remove the mask.
• If power is interrupted during treatment, the device automatically restarts therapy when power is
restored.
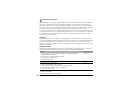
Cleaning and maintenance
Daily:
Remove the air tubing by pulling on the finger grips on the cuff. Hang it in a clean, dry place until next
use.
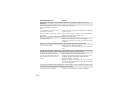
Notes:
• Do not hang the air tubing in direct sunlight as it may harden over time and eventually crack.
• Do not wash the air tubing in a washing machine or dishwasher.
Weekly:
1. Remove the air tubing from the device and the mask.
2. Wash the air tubing in warm water using mild detergent.
3. Rinse thoroughly, hang, and allow to dry.
4. Before next use, reconnect the air tubing to the air outlet and mask.
Monthly:
1. Wipe the exterior of the device with a damp cloth and mild detergent.
2. Check the air filter for holes and blockage by dirt or dust. Replace the air filter if necessary.
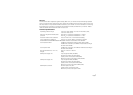
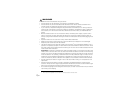
Replacing the air filter:
Replace the air filter every six months (or more often if necessary).
1. Remove the air filter cover from the back of the device.
2. Remove and discard the old air filter.
3. Insert a new ResMed air filter ensuring that it is sitting flat in the air filter cover.
4. Replace the air filter cover.
Notes:
• Ensure the air filter and air filter cover are fitted at all times.
• Do not wash the air filter. The air filter is not washable or reusable.