


SECTION 6—SEAT
Part No 1143153 47 Pronto® M91™Base with SureStep®
Installing
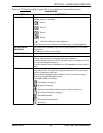
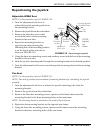
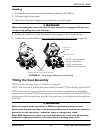
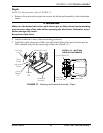
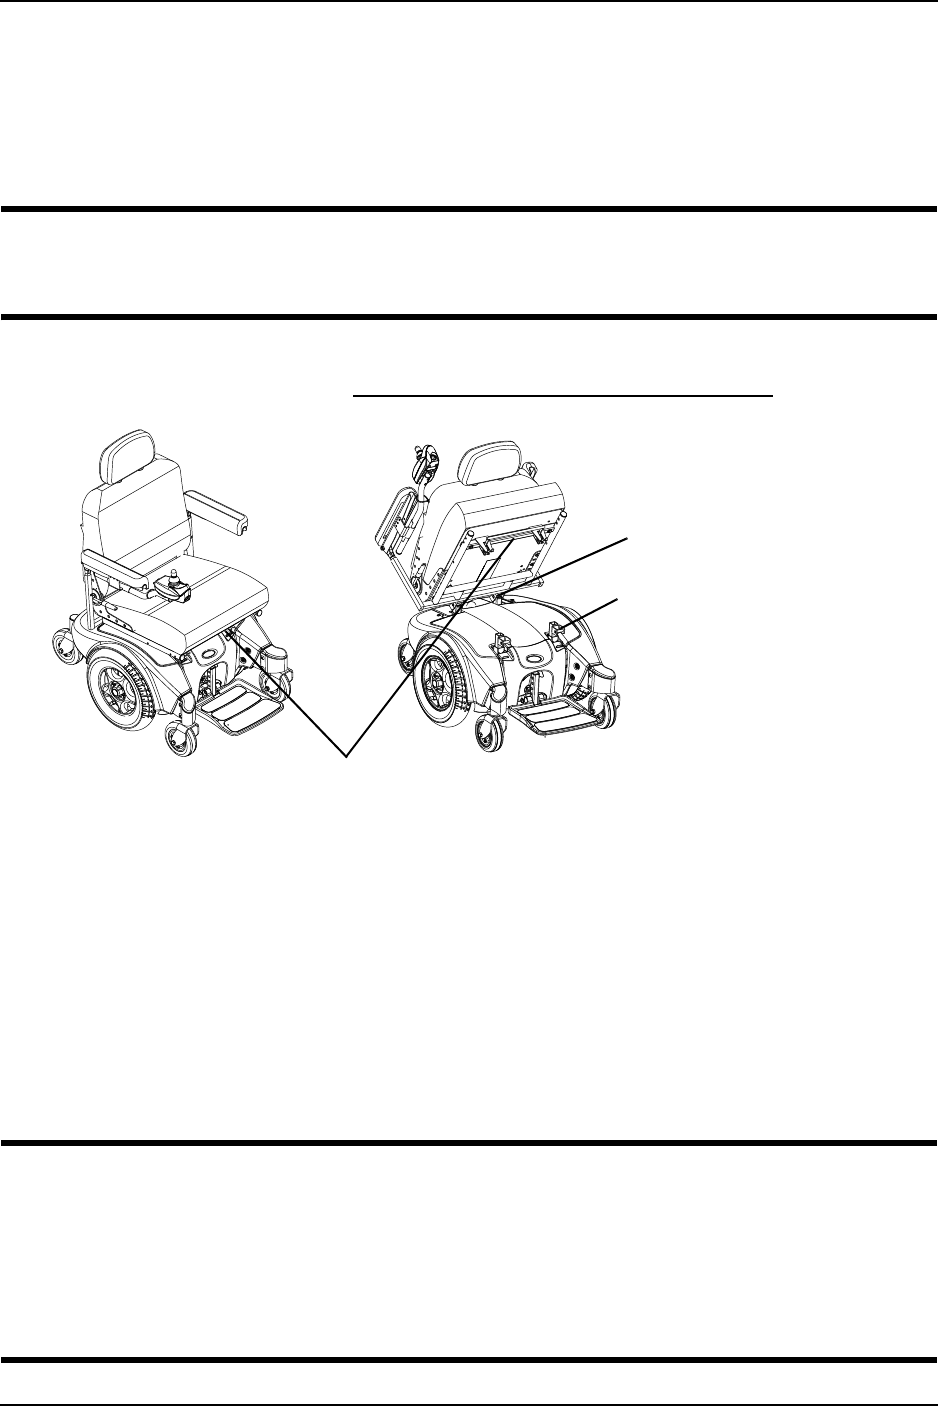
1. PositiontheseatintherearpivotbracketsasshowninFIGURE 6.1.
2. Tiltfrontedgeofseatdown.
3. Whenseatislowered,engageseatbracketsintoseatclevispins.
ƽ WARNING
When reinstalling the seat verify that the seat brackets are engaged with the seat
clevis pins by pulling up on the latch bar.
4. Pulluponlatchbartoverifythatbracketsareengagedwithseatclevispins.
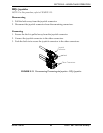
5. Connectthejoystick.RefertoDisconnecting/ConnectingtheJoysticks
onpage 44.
FIGURE 6.1 Removing/Installing the Seat Assembly
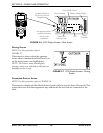
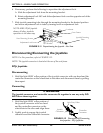
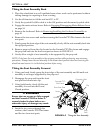
Tilting the Seat Assembly
NOTE:Forthisprocedure,refertoFIGURE 6.2onpage48.
NOTE:ThisprocedureisforM91wheelchairswiththeFormulaPTOPlusSeatingSystemONLY.
NOTE:Removingtheseatisnotnecessarytoaccessthebatterycompartmentonwheelchairs
equippedwithaFormulaPTOPlusseatingsystem.TheseatassemblywiththeFormulaPTOPlus
seatingsystemtiltsbackandpropsintoplacetoprovideaccesstothebatteriesandtheunderside
oftheseat.
ƽ WARNING
Make sure power to the wheelchair is Off before performing this procedure.
Never leave the seat assembly in the up/open position unless necessary to perform a
procedure on the wheelchair - otherwise injury or damage may result.
After ANY adjustments, repair or service and before use, make sure all attaching
hardware is tightened securely - otherwise injury or damage may result.
Latch Bar
(located under the front of the seat)
NOTE:VanSeatmodel
shown.Adjustable
ASBAseatremoves/
installsinthesameway.
Rear Pivot
Brackets
Seat Clevis Pins