CM2C40 Installation Instructions
10
Mount Installation
The CM2C40 has been designed to be mounted either hanging
from an overhead structure or mounted to existing stud wall
structures. The following instructions assume a suitable
mounting structure and surface exists prior to installation and all
power and signal wires and cables have been properly
installed.
IMPORTANT ! : The mounting pattern on the CM2C40 is 19"
(483 mm) wide. If being mounted to an existing wall with 16"
studs an additional stud will need to be added to each side in
order for the mount to be installed.
WARNING: IMPROPER INSTALLATION CAN LEAD TO
LIFT FALLING CAUSING SEVERE PERSONAL INJURY OR
DAMAGE TO EQUIPMENT! It is the installers responsibility
to make certain the structure to which the lift is being
mounted is capable of supporting 4 times the weight of the lift
and all attached equipment.
To install the CM2C40:
1. If the display is installed and cables routed, disconnect
wires and cables from display,and remove display.
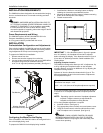
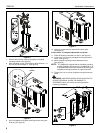
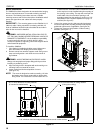
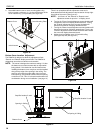
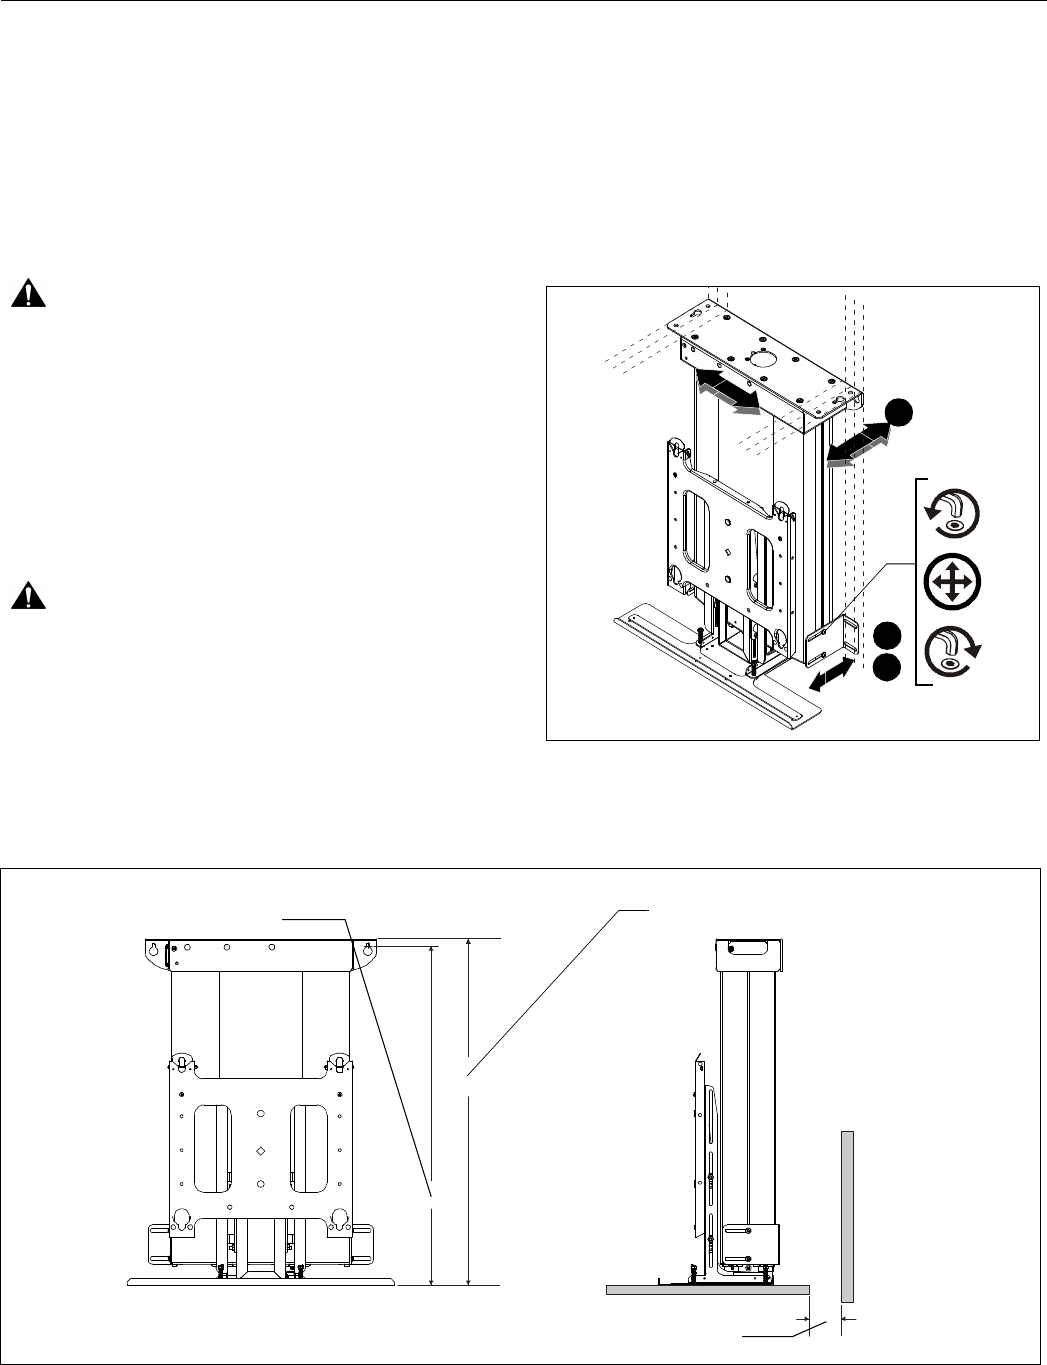
2. Remove mount from wooden supports used during mount
setup and configuration. and orient mount as shown in
figure below.
WARNING: MOUNT WEIGHS IN EXCESS OF 40LBS!
Always use two people and proper lifting techniques when
installing or positioning mount.
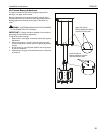
3. Align mounting holes in baseplate with studs making sure
mounting holes are centered on studs.
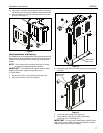
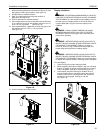
4. Locate vertical and horizontal position of mount.
(See figure 15)
NOTE: The mount is designed to continue traveling 1/2" after
the bottom cover makes contact with an object when
being raised. If it is desired to use this feature this 1/2"
of travel must be considered when location the mount
and a stop bar must be installed along the top edge of
the opening in the ceiling. The stop bar must span the
entire width of the front and back openings, and
protrude outward into the opening a minimum of 1/2".
See Bottom Cover Location Adjustment on page 14
and See (See figure 27)
5. Loosen four screws securing side mounting brackets to
mount and adjust side mounting brackets until properly
positioned against studs if applicable. (See figure 16)
6. Tighten four screws to hold position of side mounting
brackets. (See figure 14)
Figure 14
3
6
5
X4
X4
Figure 15
30.11" minus thickness of ceiling material
(If mounted to vertical studs)
30.74" minus thickness of ceiling material
(If hung from ceiling)
1 1/2" mimimum from back edge of bottom cover to wall or other surface


