4-5
1
2
3
4
5
Cover/Table of
Contents
Downloading Images
from the Camera,
and Camera Settings
Working with
Images in the
ZoomBrowser EX
Remote Shooting in
the EOS Capture
Troubleshooting
and Uninstalling
the Software
Index
Setting the EOS 5D
and EOS-1D Series
Cameras
Introduction
Registers and switches the shooting mode and metering mode
O Only while you press the < > button, you can switch to the preset shooting mode,
exposure setting (such as the aperture for aperture-priority AE), metering mode, and
exposure compensation amount.
O Select settings that are appropriate for each shooting mode.
O The modes and settings are preset with the camera.
See “Registering the Modes and Settings with the Camera” (see the right description) for
information on the camera procedures.
O Convenient when you want to instantly select the preset modes and settings to suit a
particular shooting situation such as backlit or front-lit conditions.
Repeats bracketing during continuous shooting
O While you hold down the shutter button, bracketing repeats continuously in the currently
selected drive mode.
O This function is useful when you want to continuously repeat the bracketing sequence.
Sets the number of shots to be bracketed
O Select the number of shots from the list box.
O The usual 3-frame bracketing is changed to 2-, 3-, 5-, or 7-frame bracketing.
O In bracketing shots, if you select 5-frame bracketing with 1-stop increment, the bracketing
for the shots is –2, –1, 0, +1 and +2.
O This function is useful for adjusting the range of bracketing.
Changes the bracketing sequence for C.Fn-09-2/3 to increased
exposure, standard exposure, and decreased exposure
O The bracketing sequence when C.Fn-09-2/3 is selected (decreased exposure J standard
exposure J increased exposure) changes to increased exposure J standard exposure J
decreased exposure.
O This function is useful when you want to start the bracketing sequence with a increased
exposure.
O Even when the setting is outside the bracketing level display range, the exposure is
compensated as specified.
O This function can be used in combination with C.Fn-09-2/3 and P.Fn-09.
This function can be used in combination with P.Fn-08.
P.Fn-06
P.Fn-07
P.Fn-08
P.Fn-09
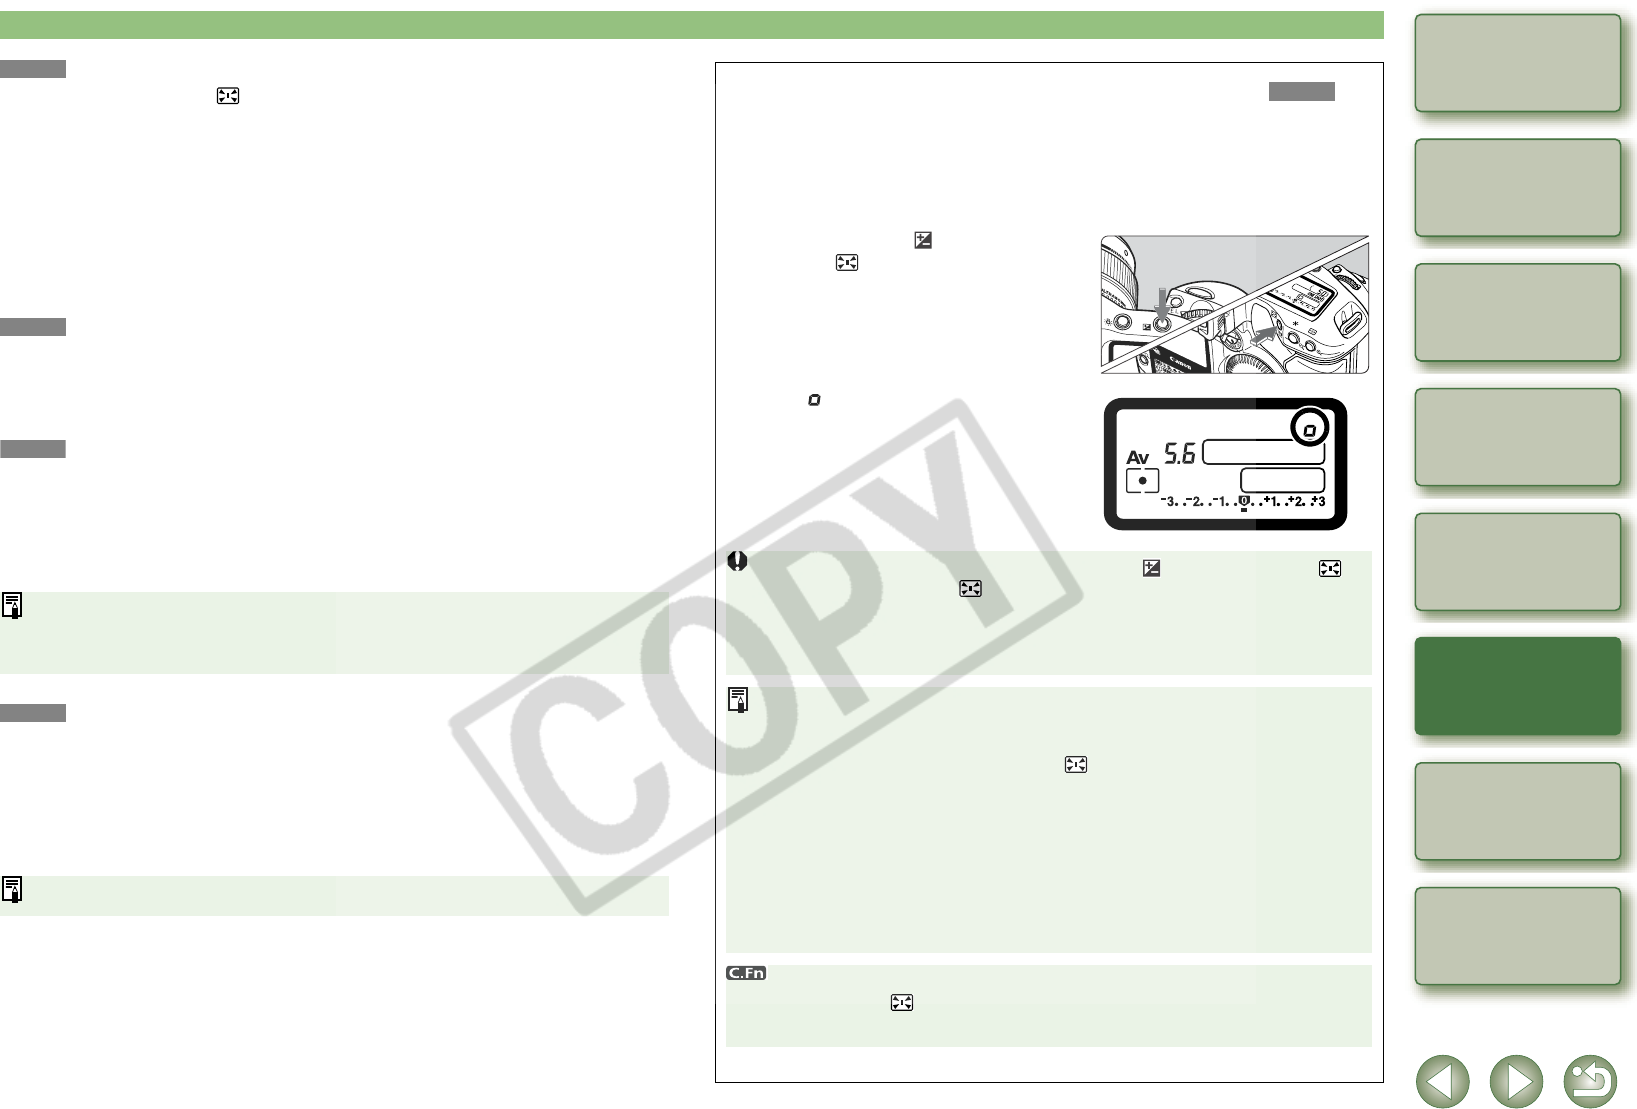
Registering the Modes and Settings with the Camera ( )
1
Set the shooting mode and shooting mode settings (for
example, aperture setting for aperture-priority AE mode). Then
set the metering mode and exposure compensation amount.
2
Register the modes and settings.
O First press the < > button, then press
the < > button.
¿ < >appears in the LCD panel,
indicating that the modes and settings
have registered.
O The registered modes and settings can
be modified any number of times.
O To register the modes and settings, first press the < > button before the < >
button. If you press the < > button first, the camera will only select the
registered modes and settings instead.
O Bulb cannot be preset.
O You cannot select the registered modes and settings during continuous shooting.
O If P.Fn-03 has been set to specify the metering mode for manual exposure, and
P.Fn-06 is used to register the manual exposure mode and a metering mode
different from the one specified with P.Fn-03, you can select the metering mode
specified with P.Fn-03 by pressing the < > button.
O If P.Fn-04 and/or P.Fn-05 has been set, set the shutter speed and aperture within
the range specified with P.Fn-04 and/or P.Fn-05.
O If the shooting and metering modes you want to set are excluded by the
restrictions in P.Fn-01 and P.Fn-02, those Personal Functions must be disabled.
For information on clearing and resetting Personal Functions, refer to “Clearing
and Resetting Personal Functions” in the camera’s Instruction Manual.
O Even if the shooting and metering modes selected by P.Fn-06 are excluded by the
restrictions in P.Fn-01 and P.Fn-02, they are still valid for P.Fn-06.
O If C.Fn-4-1 or C.Fn-4-3 has been set, AF and AE will also take effect when you
press the < > button.
O When C.Fn-18 is set, P.Fn-06 is disabled.
P.Fn-06
