


Aruba Mobility Controller Configuration Guide
VIEW Certified
Page 3
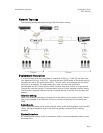
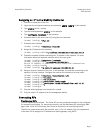
Connecting the APs
The APs need an IP address for communication with the mobility controller. The APs can
connect to the controller over a L2 or L3 network. Ensure that DHCP is enabled on the
subnets the APs are connected to and can ping the Aruba mobility controller’s “switch IP
address” from their current subnet.
Known Limitations
No limitations were discovered during VIEW Certification testing.
VIEW Certification testing verifies that the wireless telephone and the AP interoperate at the
packet level; therefore, no add-on vendor features were tested in the scope of VIEW.
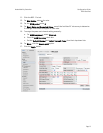
Connecting to the Mobility Controller
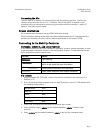
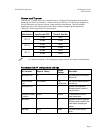
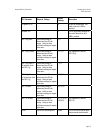
Command, comment, and screen text key
In the sections below you will find commands, comments, prompts, system responses, or other
screen-displayed information involved in the configuration process. This key explains the text
styles and symbols used to denote them.
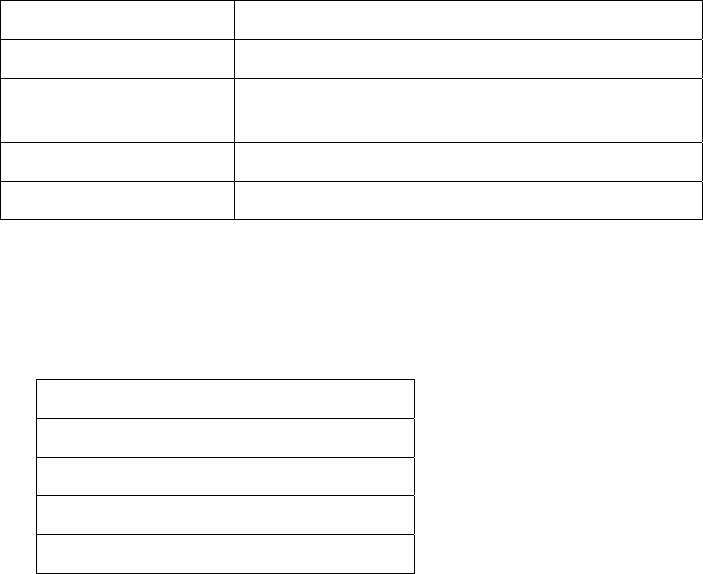
Text Style Denotes:
xxxxxxxx
Typed command
<xxxxxxxx>
Encryption key, domain name or other information
specific to your system that needs to be entered
(xxxxxxxx)
Comment about a command or set of commands
xxxxxxxx
Prompt, system response or other displayed information
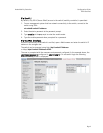
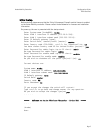
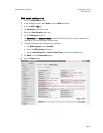
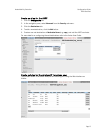
Via console
1. Using a standard RS-232 cable, connect the mobility controller to the serial port of a
terminal or PC.
2. Run a terminal emulation program (such as HyperTerminal) or use a VT-100 terminal with
the following configuration:
Bits per second: 9600
Data bits: 8
Parity: None
Stop bits: 1
Flow control: None
3. Press Enter to display the Aruba mobility controller login screen.
4. Enter the default login: admin
and the default password: admin. These are case
sensitive.
5. Enter enable and the default password: admin to get into the command mode.