


27Hurricane
No tools are required to assemble or disassemble your Hurricane. Always assemble or disassemble your Hurricane
on a level, dry surface with sufficient room for you to work and move around your Scooter. Keep in mind that the
disassembled sections of the Hurricane take up more floor space than the assembled Scooter.
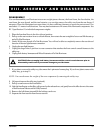
VIII. ASSEMBLY AND DISASSEMBLY
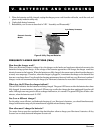
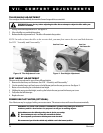
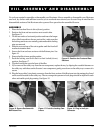
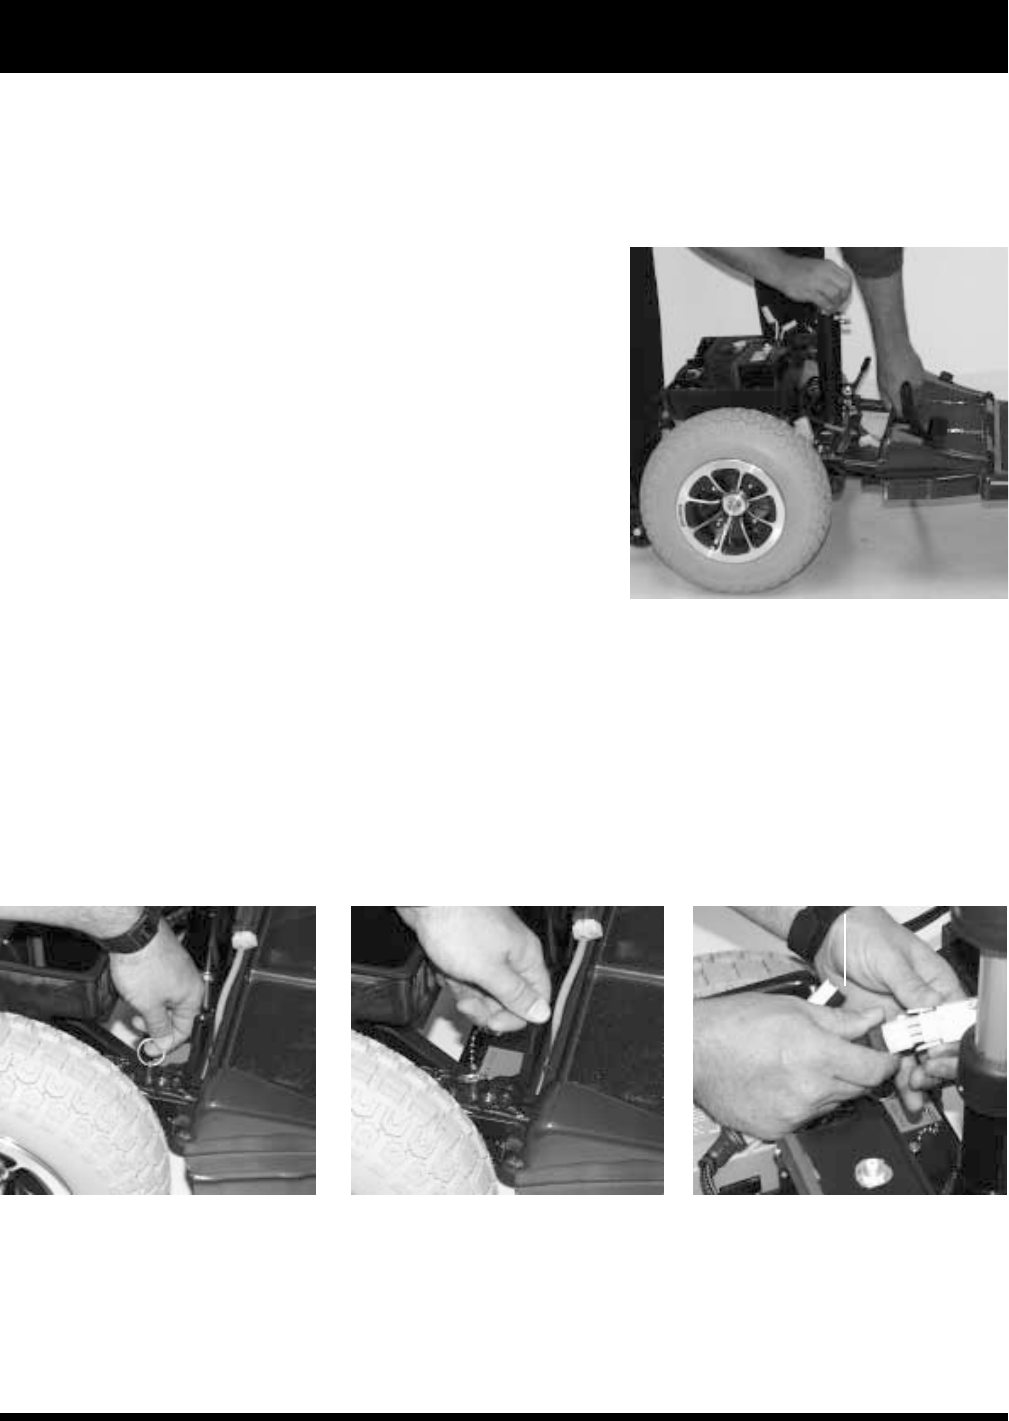
Figure 15. Position the Front and Rear
Sections
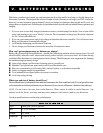
Figure 16. Secure Sections with
Ball Detent Pins
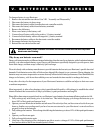
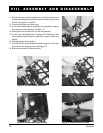
Figure 17. Push the Locking Cam
Levers
Figure 18. Plug in the 9-pin
Connector
ASSEMBLY
1. Place the freewheel lever in drive (down) position.
2. Position the front and rear sections next to each other.
See figure 15.
3. Tilt the rear end to a horizontal position and insert the longer
tube of the front end into the rear section first; make sure that
the locking cam levers are vertically positioned and the locking
pins are removed.
4. Slide the two sections of the unit together until the front half
reaches its insertion limit.
5. Secure the front and rear sections with ball detent pins. See
figure 16.
6. Ensure the tiller is in an upright position.
7. Push the locking cam levers back to their locked (down)
position. See figure 17.
8. Clip the front basket onto the front of the tiller.
9. If you removed the utility tray from the rear component, replace the tray by aligning the reusable fasteners on
the utility tray with those on the Scooters rear component; gently press down on the utility tray to ensure it is
secure.
10. Plug the large white 9-pin plastic connector from the front section of the Hurricane into the mating plug found
on the control module on the utility tray. The two orange dots present on both plugs should be adjacent to each
other and enable quick plug mating. See figure 18.