


Jazzy 1100/RevJ/Feb03 www.pridemobility.com 21
V. ASSEMBLY
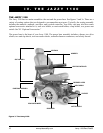
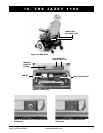
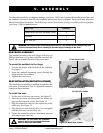
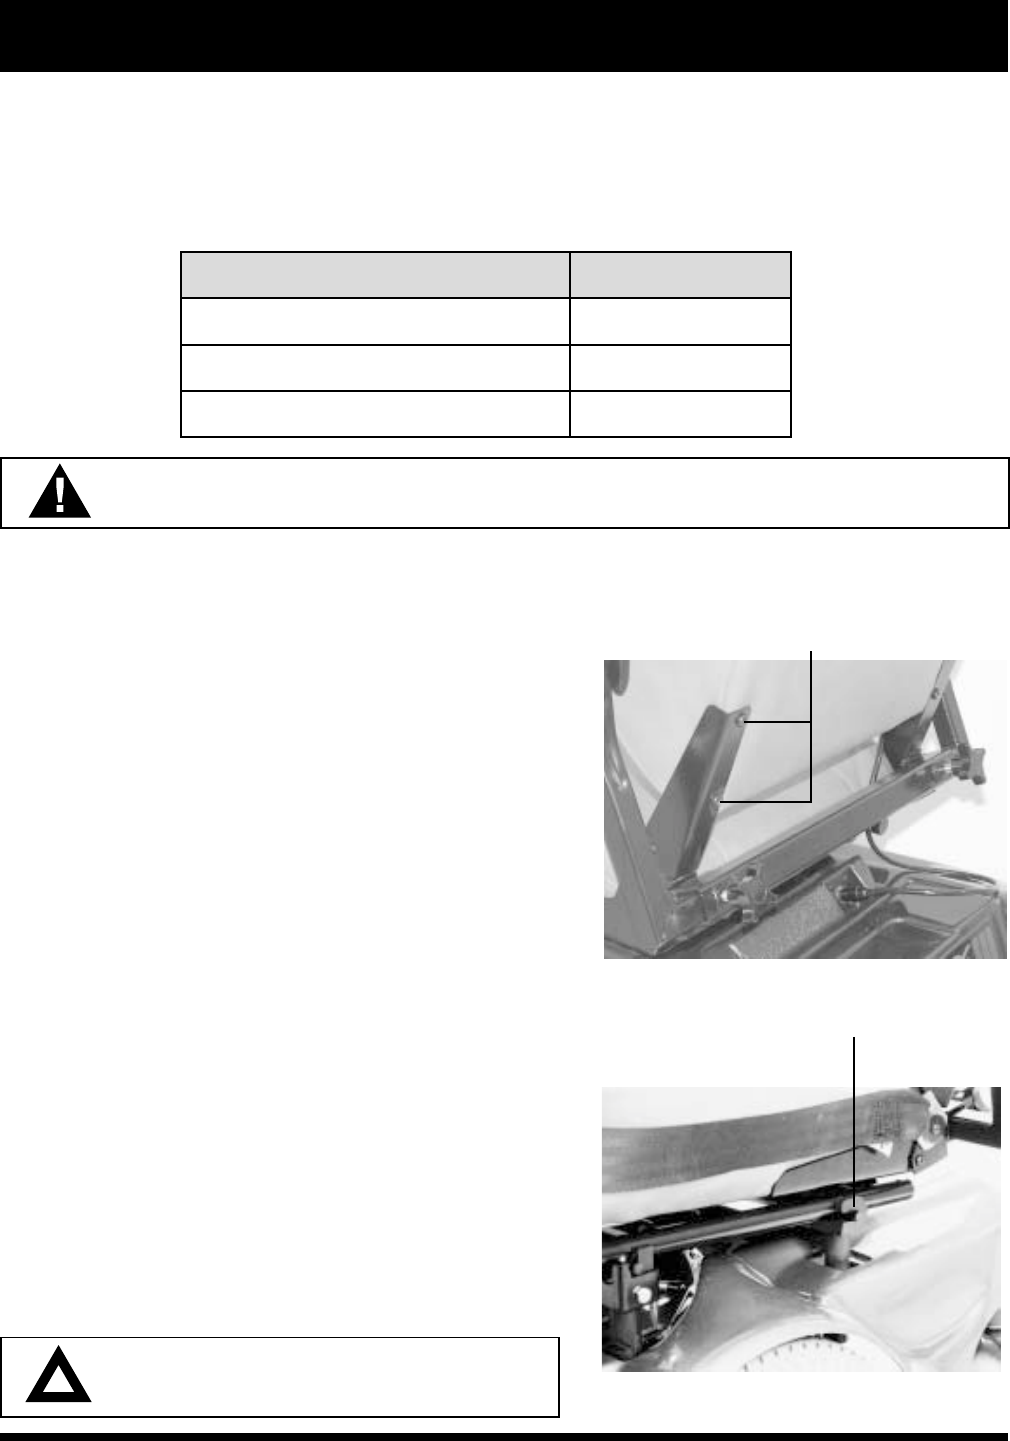
Figure 11. Seatback Assembly
ATTACH SEATBACK HERE
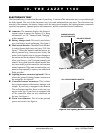
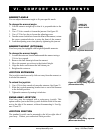
Figure 12. Rear Seat Towers
SLIDE SEAT ONTO TOWERS
To reduce the possibility of shipping damage, your Jazzy 1100s seat is removed from the power base, and
the seatback is removed from the seat assembly before your Jazzy is shipped. The joystick may also have
been removed from the armrest. The following is a set of instructions to help you quickly and easily prepare
your Jazzy 1100 for immediate use.
SEATBACK ASSEMBLY
The seatback mounts to the back hinges with four (4)
Phillips-head screws. You may install the seat back be-
fore or after you install the seat to the power base.
To mount the seatback to the hinge:
1. Line up the hinges with the holes in the seatback.
See figure 11.
2. Insert the seatback mounting screws through the
hinge and into the seatback.
3. Tighten the four screws.
SEAT INSTALLATION (SEAT WITH H-FRAME)
The standard seat installation method incorporates the
seat frame (H-frame) and four (4) adjustable seatposts
located on the powerbase.
To install the seat:
1. Set the seat on the rear seat towers. See figure 12.
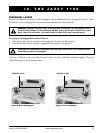
2. Push the seat back and down until the latches en-
gage on the front seat towers. See figure 13.
3. Plug the controller cable into the connector on the
utility tray. See figure 14.
4. Plug the power seat switch cable (if so equipped)
into the connector on the utility tray.
5. Secure the controller cable to the armrest receiver
with one or more wire ties.
CAUTION! Do not place the controller
cable so that it can be pinched in the seat
frame or the power base frame.
WARNING
!
Do not pick up the seat frame by the armrests. They are free to pivot, and you may lose
control of the seat if they do so, resulting in personal injury or damage to the chair.
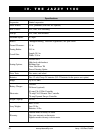
tsiLstraP ytitnauQ
swercsgnitnuomkcabtaesdaeh-spillihP4
kcabtaeS1
seiteriw.ni-84