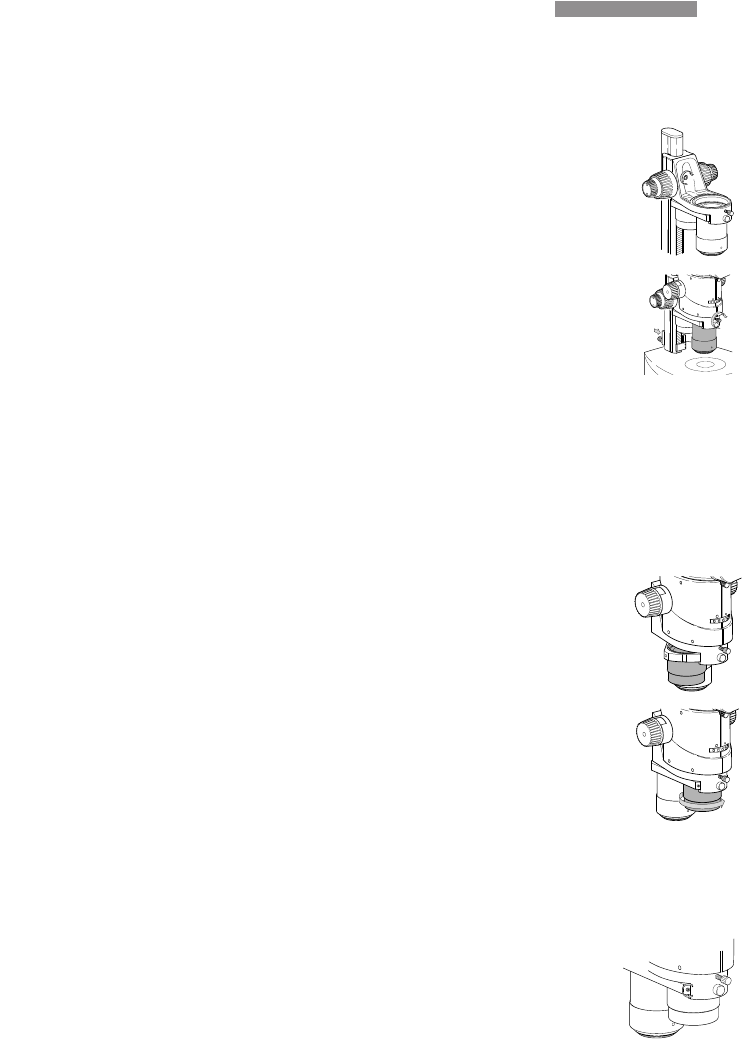
̈ Carefully turn and tighten the 2× planapochromatic objective clockwise to
the limit stop without applying excessive force.
̈ Raise the focusing drive with the drive heads to
provide sufficient space for the 2× planapochro-
matic objective.
̈ Fit the objective nosepiece like a microscope car-
rier with the Allen screw (see page 34, position 1).
̈ Insert the optics carrier in the objective nosepiece.
̈ Retighten the clamping screw.
̈ Attach the limit stop to the column of the stand so
that the working distance beneath the 2× objective
will always measure approx. 15 mm.
• Fit and adjust the 1× and 2× planapochromatic objectives as described.
The image then remains parfocal in the range of < 0.05 mm, and refocusing
after changing the objective is no longer required.
• Use a very fine, flat object (e.g. an object micrometer) for the adjustment,
which allows maximum focusing even at highest resolution.
̈ Screw the 2× planapochromatic objective into the beam path.
̈ Adjusting the diopter settings and parfocality (see p. 20).
̈ Screw the 1× planapochromatic objective into the
beam path.
̈ Observe the same object with smallest magnifica-
tion without changing the settings made with the
2× planapochromatic objective.
̈ Turn the 1× planapochromatic objective counter-
clockwise until the object can be seen in focus
at the smallest magnification.
̈ Slowly zoom to the highest magnification. At
the same time correct the focus by turning the
1× planapochromatic objective.
• Verify that the object is in focus at highest magnification with the
2× planapochromatic as well as the 1× planapochromatic objective
without refocusing. Otherwise turn the objective at the ring nut until
the object is focused.
̈ Fasten the ring nut with both screws.
Do not overtighten both screws.
Assembling
2× planapochromatic
Assembling
objective nosepiece
Adjusting parfocal
37
Leica M Stereomicroscopes – Assembly


