32
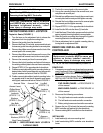
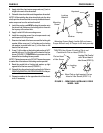
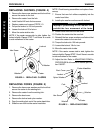
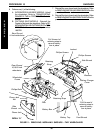
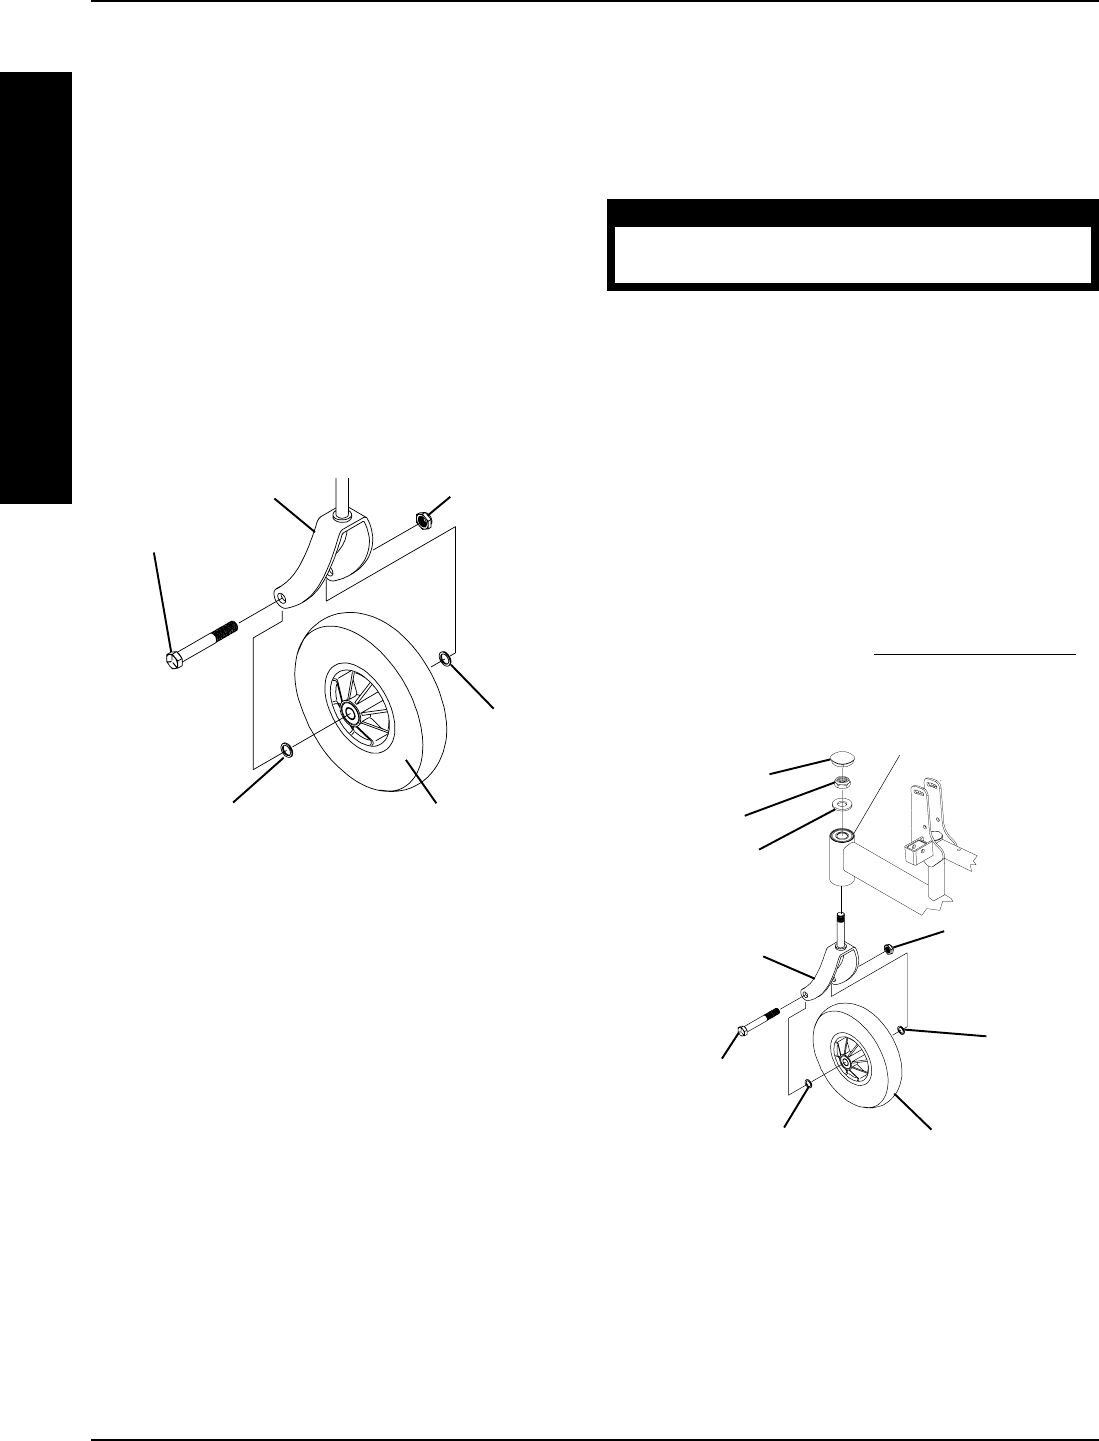
REPLACING CASTERS (FIGURE 4)
1. Remove the hex screw, washers and locknut that
secure the caster to the fork.
2. Remove the caster from the fork.
3. Install Loctite 242 onto the hex screw.
4. Replace caster and reverse STEPS 1-3.
5. Torque the locknut to 120-inch pounds.
6. Loosen the locknut 1/8 of a turn.
7. Move the caster side to side.
NOTE: If the caster moves side to side, tighten the
locknut slightly. Repeat STEP 7 until there is no side
to side movement of the caster.
Hex Screw
Locknut
Fork
Washer
Washer
Caster
FIGURE 4 - REPLACING CASTERS
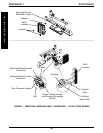
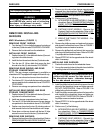
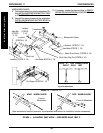
Dust Cover
Locknut
Nylon Washer
Fork
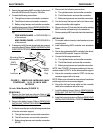
FIGURE 5 - REPLACINGFORKS
Hex Screw
Locknut
Washer
Washer
Caster
NOTE: Check bearing assemblies and replace if nec-
essary.
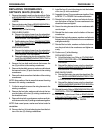
7. Ensure that new fork slides completely into the
caster head tube.
8. Install nylon washer and secure with locknut.
WARNING
Improper positioning of the washer will
prohibit the free movement of the forks.
9. Install Loctite 242 onto the hex screw.
10. Position the caster into the new fork.
11. Reinstall the hex screw, washers and locknut that
secure the caster to the new fork.
12. Torque the locknut to 120-inch pounds.
13. Loosen the locknut 1/8 of a turn.
14. Move the caster side to side.
NOTE: If the caster moves side to side, tighten the
locknut slightly. Repeat STEP 14 until there is no side
to side movement of the caster.
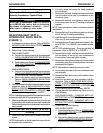
15. Adjust the fork. Refer to ADJUSTING FORKS in
PROCEDURE 8 of the owner's manual, part num-
ber 1080737.
REPLACING FORKS (FIGURE 5)
1. Remove the hex screw, washers and locknut that
secure the caster to the existing fork.
2. Remove the caster from the existing fork.
3. Remove the dust cover.
4. Remove the locknut and nylon washer.
5. Drop the existing fork out of the caster head tube.
6. Slide the new fork into the caster head tube.
Caster Headtube
PROCEDURE 9 WHEELS
W
H
E
E
L
S


