SECTION 14—ELECTRONICS
2G Tarsys®Powered Seating System 144 Part No 1114842
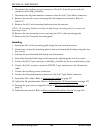
Removing the TAC/TRCM from the Controller Bracket
1. Turn the joystick off.
2. Remove the rear shroud. Refer to Removing/Installing Rear Shroud on page 102
3. Disconnect the auxiliary power connectors.
4. Disconnect the tilt and/or recline potentiometers from the 3-pin Molex connectors.
5. Disconnect the tilt, recline, VSR and/or power legrest actuators from the 2-pin
Anderson connectors.
6. Disconnect the TRCM or TAC from the 9 pin sub D connector on the MK
5
controller.
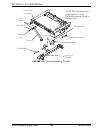
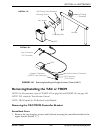
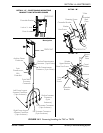
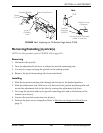
7. Remove the two Phillips screws securing the TRCM/TAC to the controller bracket
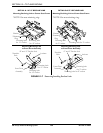
(Detail “B”).
8. Note the location of any tie-wraps securing the TRCM/TAC cables to the wheelchair
frame and/or other cables.
9. Cut any tie-wraps securing the TRCM/TAC cables to the wheelchair frame and/or
other cables.
Installing the TAC/TRCM onto the Controller Bracket
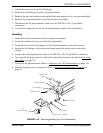
NOTE: For this procedure, refer to FIGURE 14.3 on page 145.
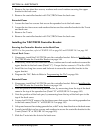
1. Secure the TAC to the controller bracket using the two mounting screws (Detail “B”).
2. Connect the tilt actuator to the 2-pin Anderson connector labeled “Tilt” on the TAC.
3. Connect the tilt potentiometer to the 3-pin Molex connector labeled “Tilt” on the TAC.
4. Connect the auxiliary power connector of the TAC to the power take off connector of
the MK
5
controller.
5. Connect the TAC to the 5-pin connector on the MK
5
controller.
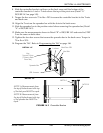
6. Secure the controller bracket to the back cane. Refer to Securing the Controller Bracket
to the Back Cane on page 142.
7. Install the rear shroud. Refer to Removing/Installing Rear Shroud
on page 102


