Operation
3A0590G 13
Flushing
NOTE:
• Ensure flushing fluid is compatible with dis-
pense fluid and the equipment wetted parts.
• Use a solvent that dissolves the material you are
mixing.
• Solvent may channel through viscous fluids and
leave a coating of mixed fluid on the inner tube
of your hose. Be sure all fluid is thoroughly
flushed from the hose after each use.
• Remove spray tip for more thorough cleaning of
the whip hose and static mixers.
• Always leave equipment filled with fluid to avoid
drying and scaling.
• Frequently remove, clean and replace the static
mixer elements
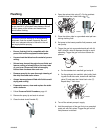
1. Follow Pressure Relief Procedure, page 12.
2. Remove the spray tip and soak in solvent.
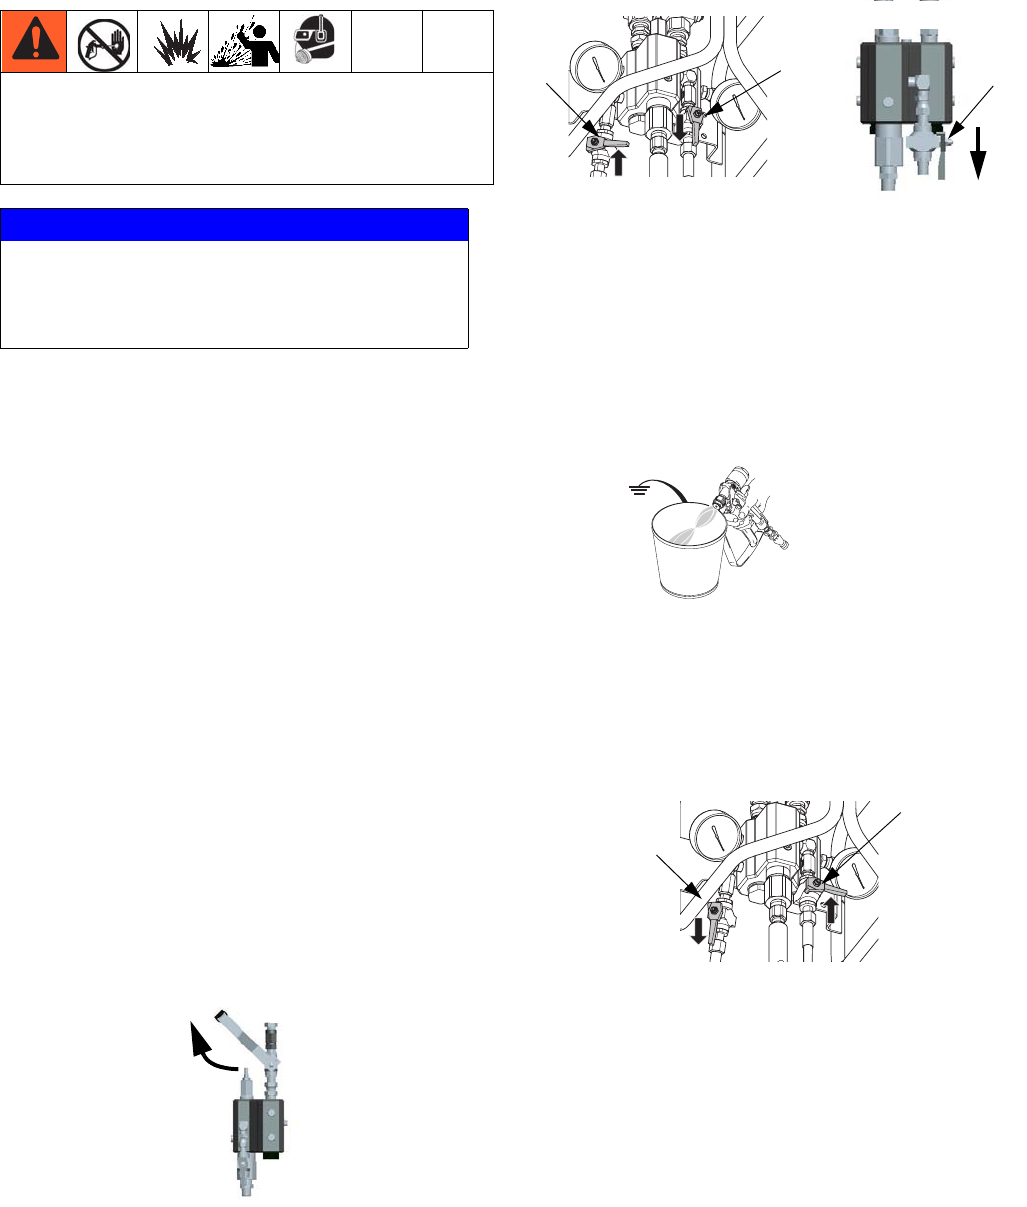
3. Close the dual shutoff handle (E).
4. Open the solvent inlet valve (C). For the quickset
manifold, close the A side flush valve (T).
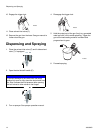
5. Place the siphon tube in a grounded metal pail con-
taining cleaning fluid.
6. Set pump to the lowest possible fluid pressure, and
start pump.
7. Trigger the gun into a grounded metal pail with lid.
Use a lid with a hole to dispense through to avoid
splashing. Trigger the gun until clean solvent dis-
penses.
a. For the standard mix manifold, go to step 8.
b. For the quickset mix manifold, after briefly flush-
ing with the B side valve, close the B side flush
valve (C) and open the A side flush valve (T).
Repeat step 7 until clean.
8. Turn off the solvent pump air supply.
9. Hold the metal part of the gun firmly to a grounded
metal pail with lid in place. Trigger the gun until all
fluid pressure is relieved.
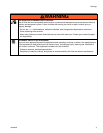
Read warnings and grounding instructions in your
sprayer manual. If your system uses heaters, shut off
the main power to the heaters and heated hose
control before flushing.
NOTICE
To prevent fluid from setting up in the dispensing
equipment, flush the system frequently. Be sure
there is an adequate amount of solvent in the sol-
vent supply before spraying.
C
C
T
ti18994a
ti1953a
C
T
ti18995a


