Braun Corporation FMVSS No. 403 Quick Reference Installation Sheet 31312
Proper maintenance is necessary to ensure
safe, troublefree operation. Inspecting the lift for
any wea
r, damage or other abnormal conditions
should be a part of your daily routine. Simple
inspections can detect potential problems.
The maintenance and lubrication procedures
specified in this schedule must be performed by
a Braun authorized service representative at the
scheduled intervals according to the number of
cycles.
The
Vangater II is equipped with hardened pins
and self-lubricating bushings to decrease wear,
provide smooth operation and extend the service
life of the lift.
When servicing the lift at the recommended inter-
vals, inspection and lubrication procedures speci-
fied in the previous sections should be repeated.
Clean the components and the surrounding area
before applying lubricants. LPS2 General
Purpose Penetrating Oil is recommended where
Light Oil is called out. Use of improper lubricants
can attract dirt or other contaminants which could
result in wear or damage to the components.
Platform components exposed to contaminants
when lowered to the ground may require extra
attention.
Lift components requiring grease are lubricated
during assembly procedures. When these com
-
ponents are replaced,
grease must be
applied during instal
-
lation procedures.
Specified lubricants
are available from
The Braun Corpora
-
tion (part numbers
provided below).
All listed inspection,
lubrication and main
-
tenance procedures
should be repeated at
“750 cycle” intervals
following the scheduled “4500 Cycles” maintenance.
These intervals are a general guideline for scheduling
maintenance procedures and will vary according to
lift use and conditions. Lifts exposed to severe condi
-
tions (weather, environment, contamination, heavy
usage, etc.) may require inspection and maintenance
procedures to be performed more often than speci-
fied.
Discontinue lift use immediately if maintenance
and lubrication procedures are not properly per-
formed, or if there is any sign of wear, damage or
improper operation. Contact your sales representa-
tive or call
The Braun Corporation at 1-800-THE LIFT.
One of our national Product Support representatives
will direct you to an authorized service technician who
will inspect your lift.
W
A
RNING
Maintenance and lu-
brication procedures
must be performed
as specified by an
authorized service
technician. Failure
to do so may result
in serious bodily
injury and/or prop
-
erty damage.
-AINTENANCEAND,UBRICATION
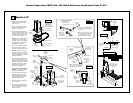
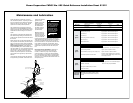
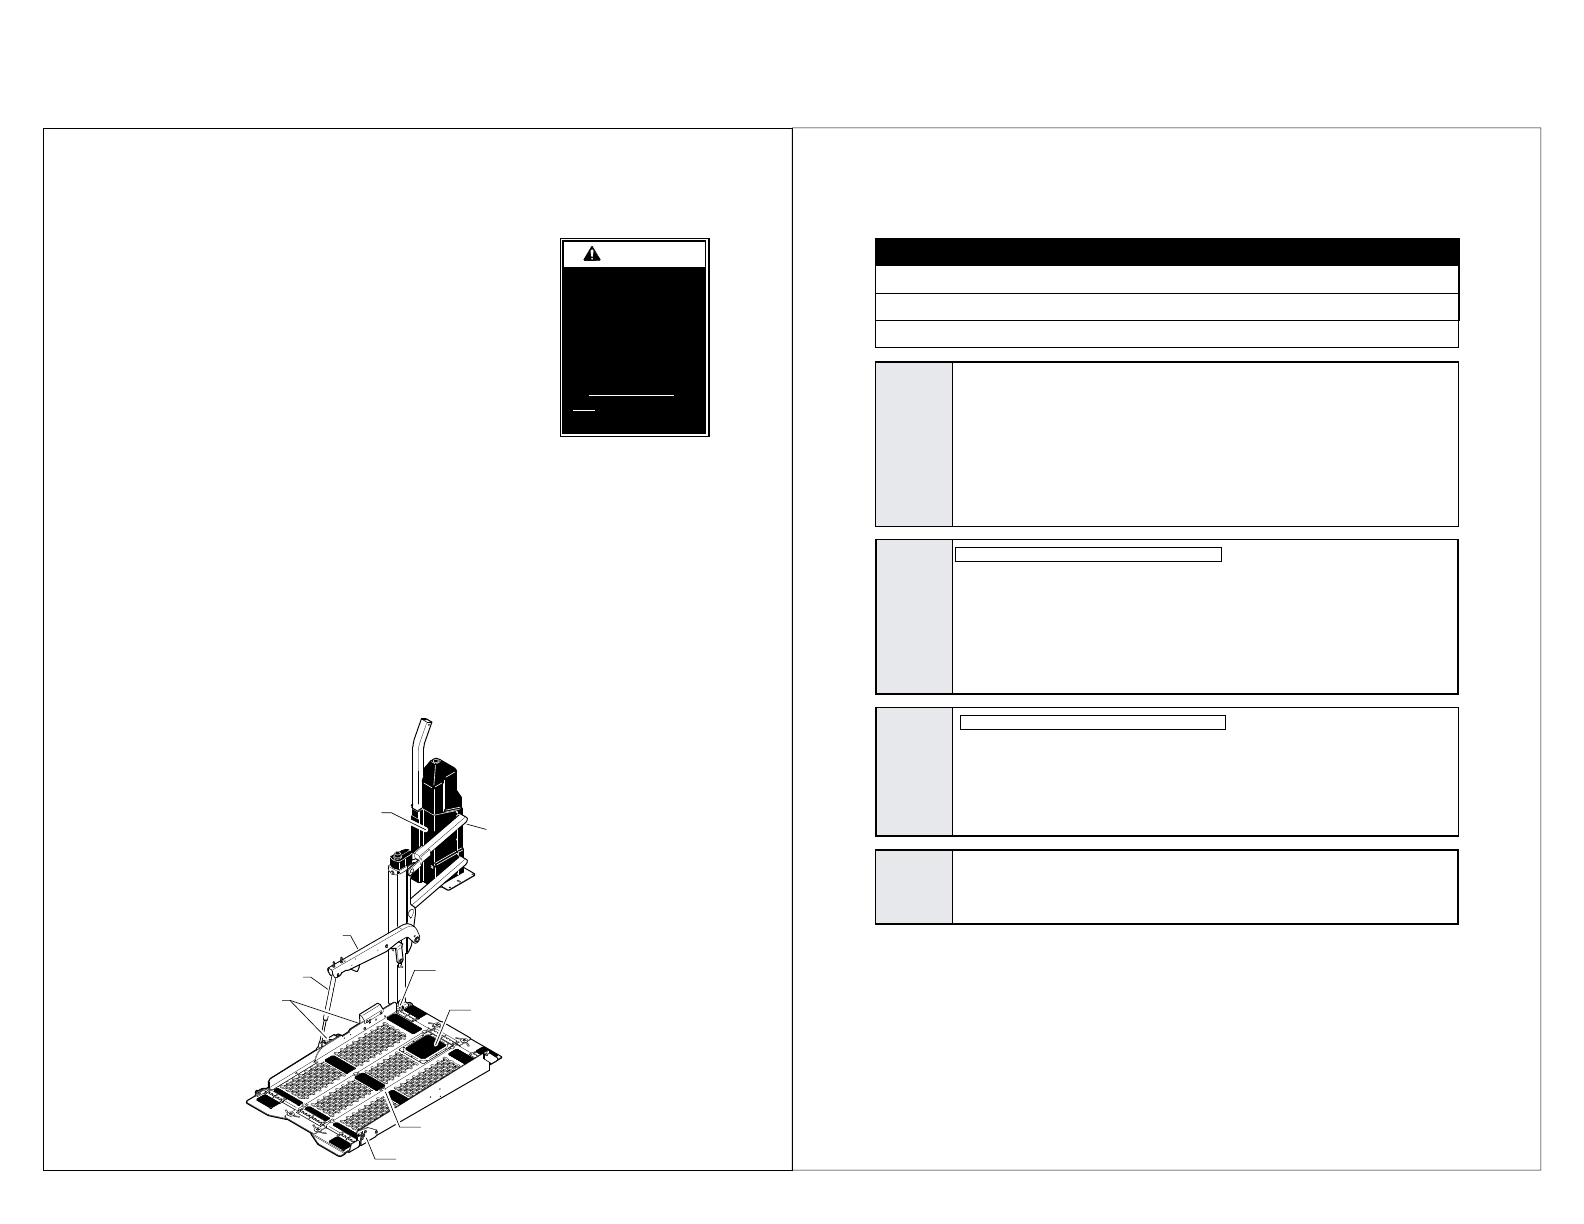
Switch Arm
Main Drive Ballscrew
(in Frame Tube - hidden)
Lift Rod
Downstop
(hidden)
Platform Fold
Mechanism
(Under Cover)
Inboard Locator
Latch Mechanism
Platform
Hinges (6)
Outer Barrier Latch
Drive Arms
Specified (recommended) Available Braun
Lubricant Type Lubricant Amount Part No.
Light Grease Lubriplate 14 oz.
(Multipurpose) Can
15807
15806
15805
Light Penetrating Oil LPS2, General Purpose 11 oz.
(30 weight or equivalent) Penetrating Oil Aerosol Can
Stainless Stick Door-Ease 1.68 oz.
Style (tube) Stick (tube)
#YCLES
Apply Light Oil - See Lubrication Diagram
Apply Light Oil - See Lubrication Diagram
Apply Light Oil - See Lubrication Diagram
Apply Light Oil - See Lubrication Diagram
Apply Light Oil - See Lubrication Diagram
Apply Light Oil - See Lubrication Diagram
Apply Light Grease - See Lubrication Diagram
Tighten, repair or replace if needed.
Tighten, resecure or replace if needed.
Resecure, replace damaged parts or otherwise
correct as needed. Note: Apply lubricant during
reassembly procedures.
Perform all procedures listed in previous section also
#YCLES
Apply Light Grease - See Lubrication Diagram
Add Lucas Heavy Duty Oil Stabilizer
#YCLES
Perform all procedures listed in previous sections also
Repeat all previously listed inspection, lubrica-
tion and maintenance procedures at 750 cycle
intervals.
#ONSECUTIVE
#YCLE
)NTE
RVALS
Platform fold mechanism
Ballscrew / main drive
Clean ground cable at battery and frame
Check power cables
Door-Ease
Light Oil
Light Grease
Downstop pivot points (2)
Upper lift rod pin
Lower lift rod pin
Kickout spring (located in switch arm)
Platform hinges (6)
Outboard barrier latch
Inboard locator latch mechanism
Check mounting hardware
Check all fasteners (snap rings, nuts, hairpins, etc.)
Check all pivot points for excessive wear


