


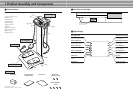
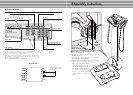
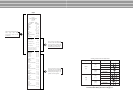


a Connection and Installation
3.Preparation for Use
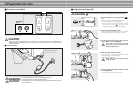
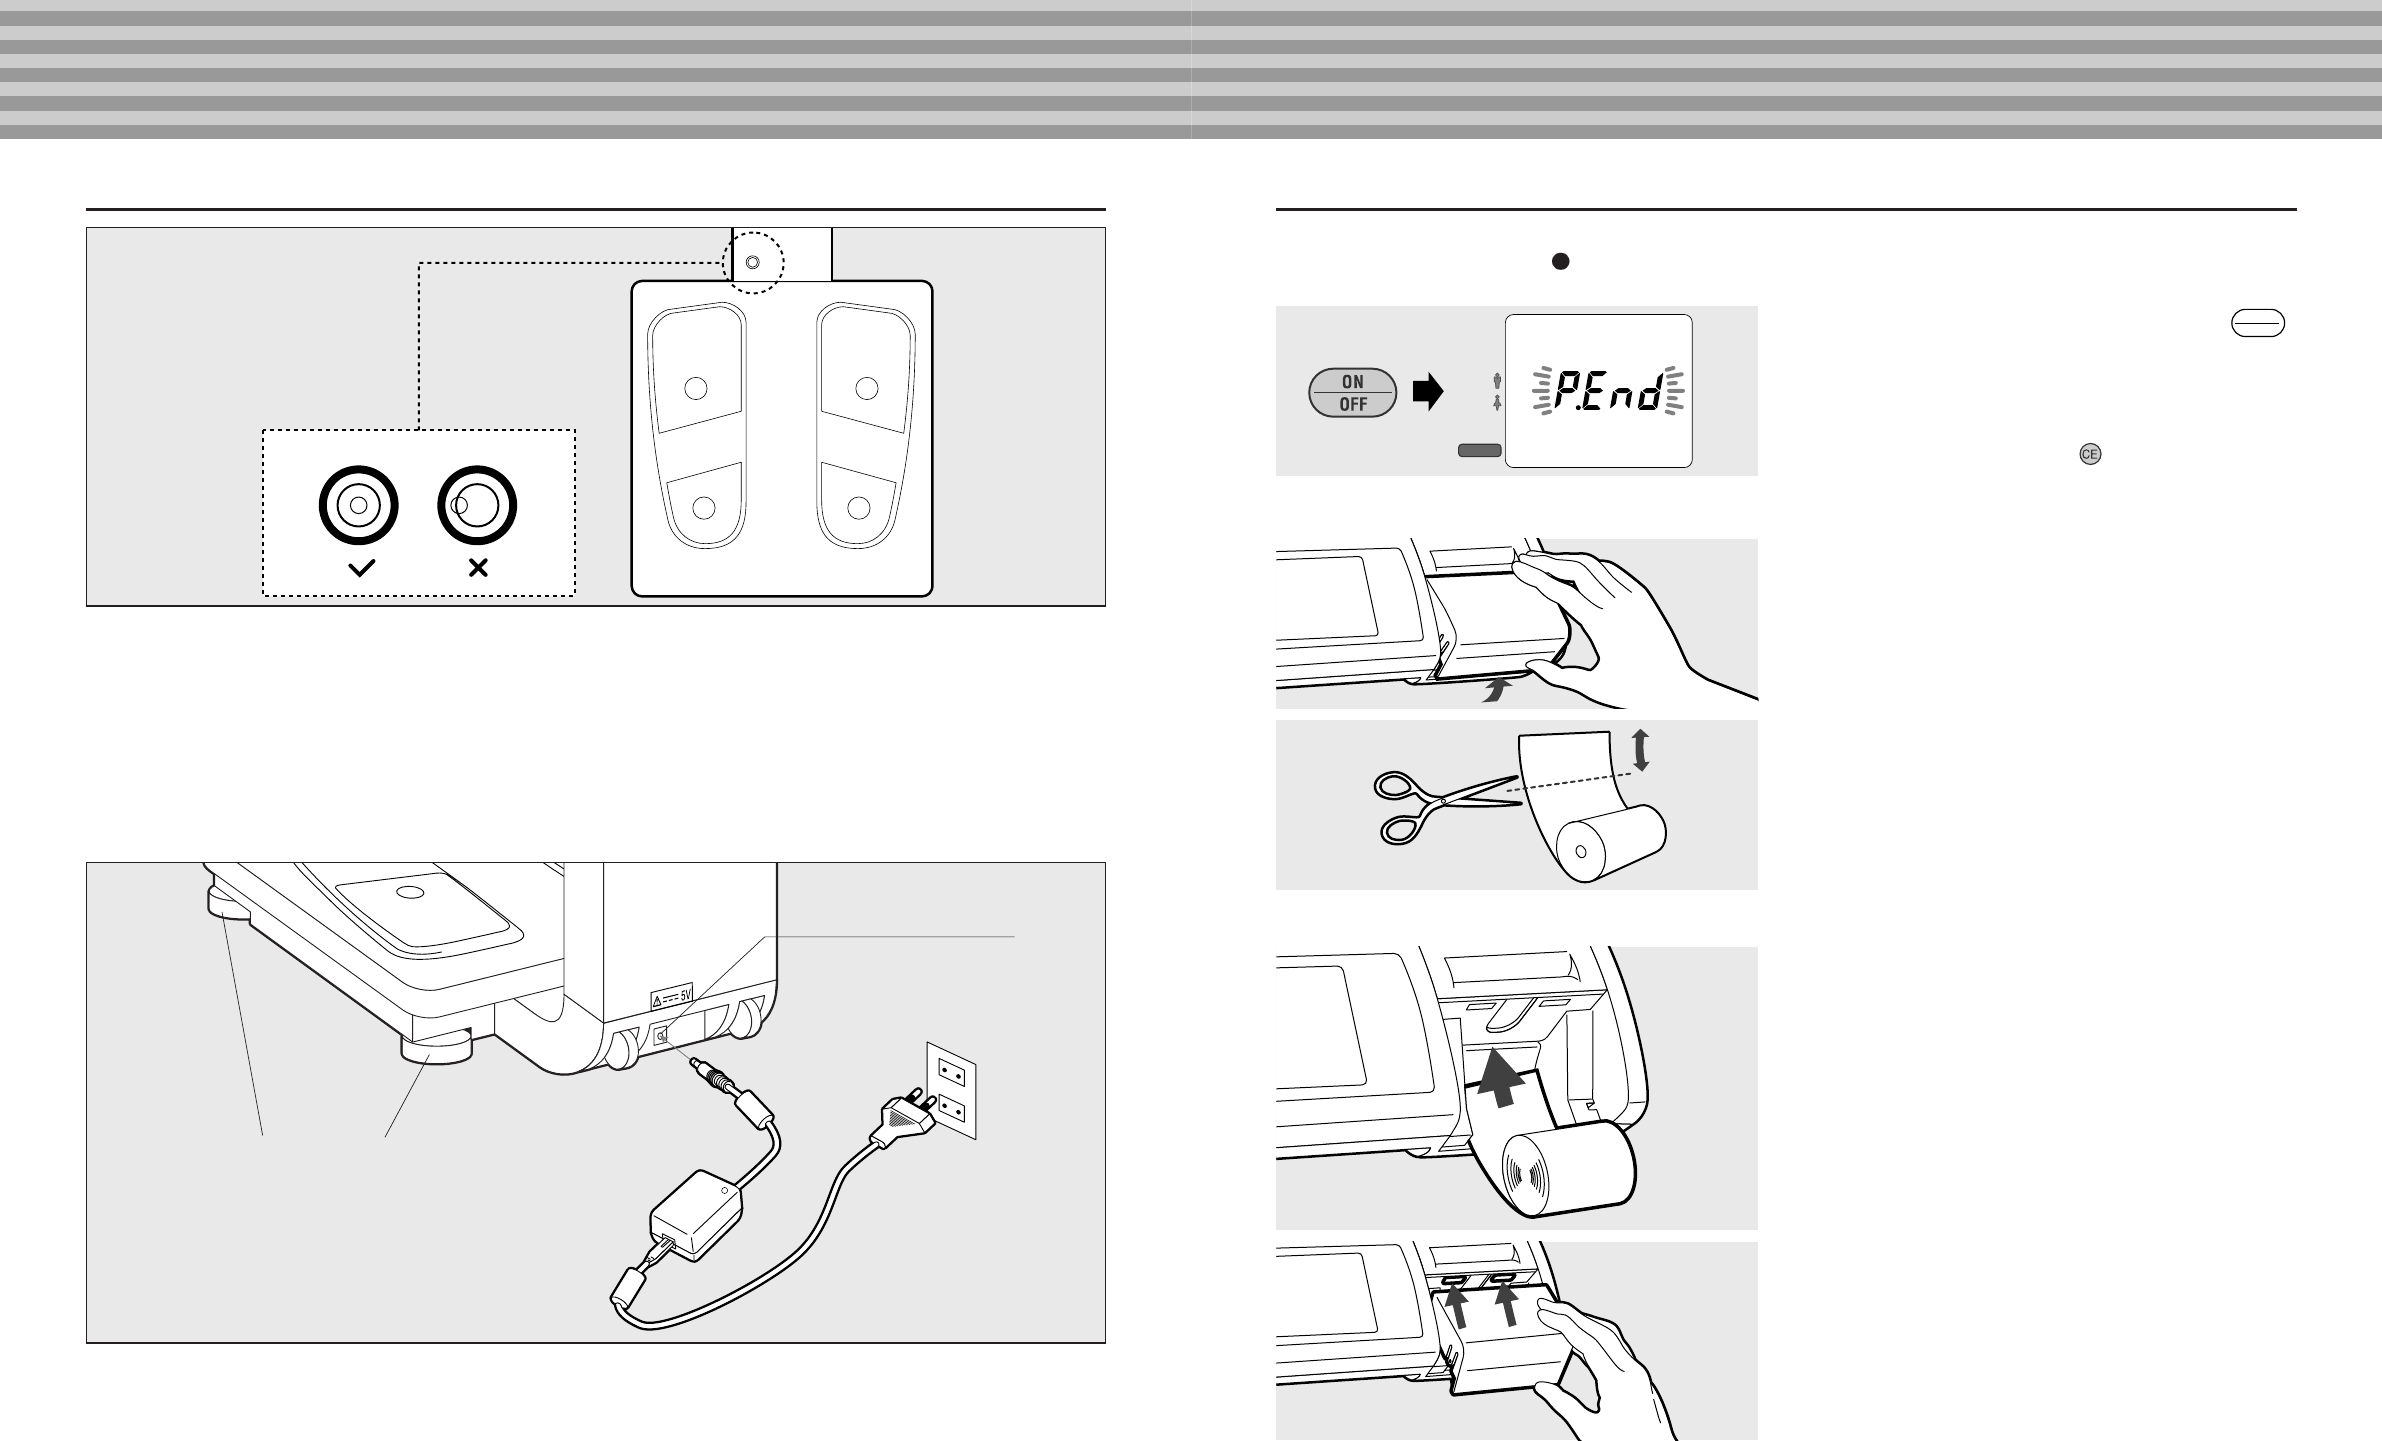
For accurate measurement, place the Weighing Platform on as flat a surface as possible and adjust the level with the adjustable feet so the bubble in
the level gauge is in the center of the frame.
ƽ
CAUTION
Make sure you place the Weighing Platform on a stable level surface and adjust the level with the adjustable feet. If the
Weighing Platform is not stable because not all the feet are on the surface, for example, there is a risk of stumbling or
inaccurate measurement.
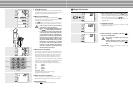
a Connection of Plugs
1. Insert the plug from the AC adapter into the DC jack on the back of the weighing platform.
2. Connect the cable and the AC adapter and insert the plug on the cable into the wall outlet.
ƽ
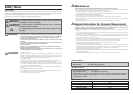
WARNING
•To avoid electric shock, do not insert or remove the plug with wet hands.
•To avoid electric shock, do not use the equipment near water.
ƽ
CAUTION
•To avoid measurement error, do not measure while using equipment that generates radio waves,
such as mobile phones.
Level Gauge
Check
DC Jack for AC Adapter
Adjustable feet
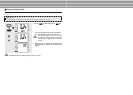
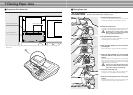
a Loading the Printer Paper Roll
ƽ
CAUTION
Please change the paper roll when red lines appear along the sides of the paper.
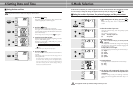
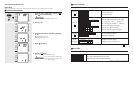
FEMALE
MALE
ATHLETIC
STEP ON
AGE
% FAT
kg
lb
ft.in
cm
CLOTHES
WEIGHT
1. Turn the equipment on by pressing the [ ]
key.
“P.End” will flash in the middle of the display.
This means that there is no printer paper.
* When you do not have any printer paper to replace
the old roll, press the [ ] key. “P.End” will
disappear and you can continue measurement.
2. Remove the Paper Dispenser Cover.
When you lift up the Paper Dispenser Cover from the
back of the Control Box, it can be easily removed.
3. Cut off the end of the printer paper where the
glue is (about 3 cm) in a straight line.
ƽ
Please make sure to cut off the part with the
glue because the glue may hinder the paper
feeding through the printer.
4. Insert the printer paper into the slit.
The printer paper is automatically rolled up and the
edge of the paper is cut automatically.
Please remove the cut paper.
ƽ
Please make sure you insert the printer paper
straight into the slit.
5. Insert the catches of the Paper Dispenser Cover
into the guide holes.
* If a paper jam occurs, please refer to P. 25.
ON
OFF