


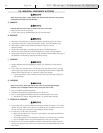

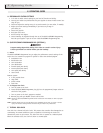
J. SEAT REMOVAL
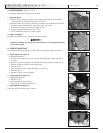
1. Remove Seat
(Fi
gures 17 & 18)
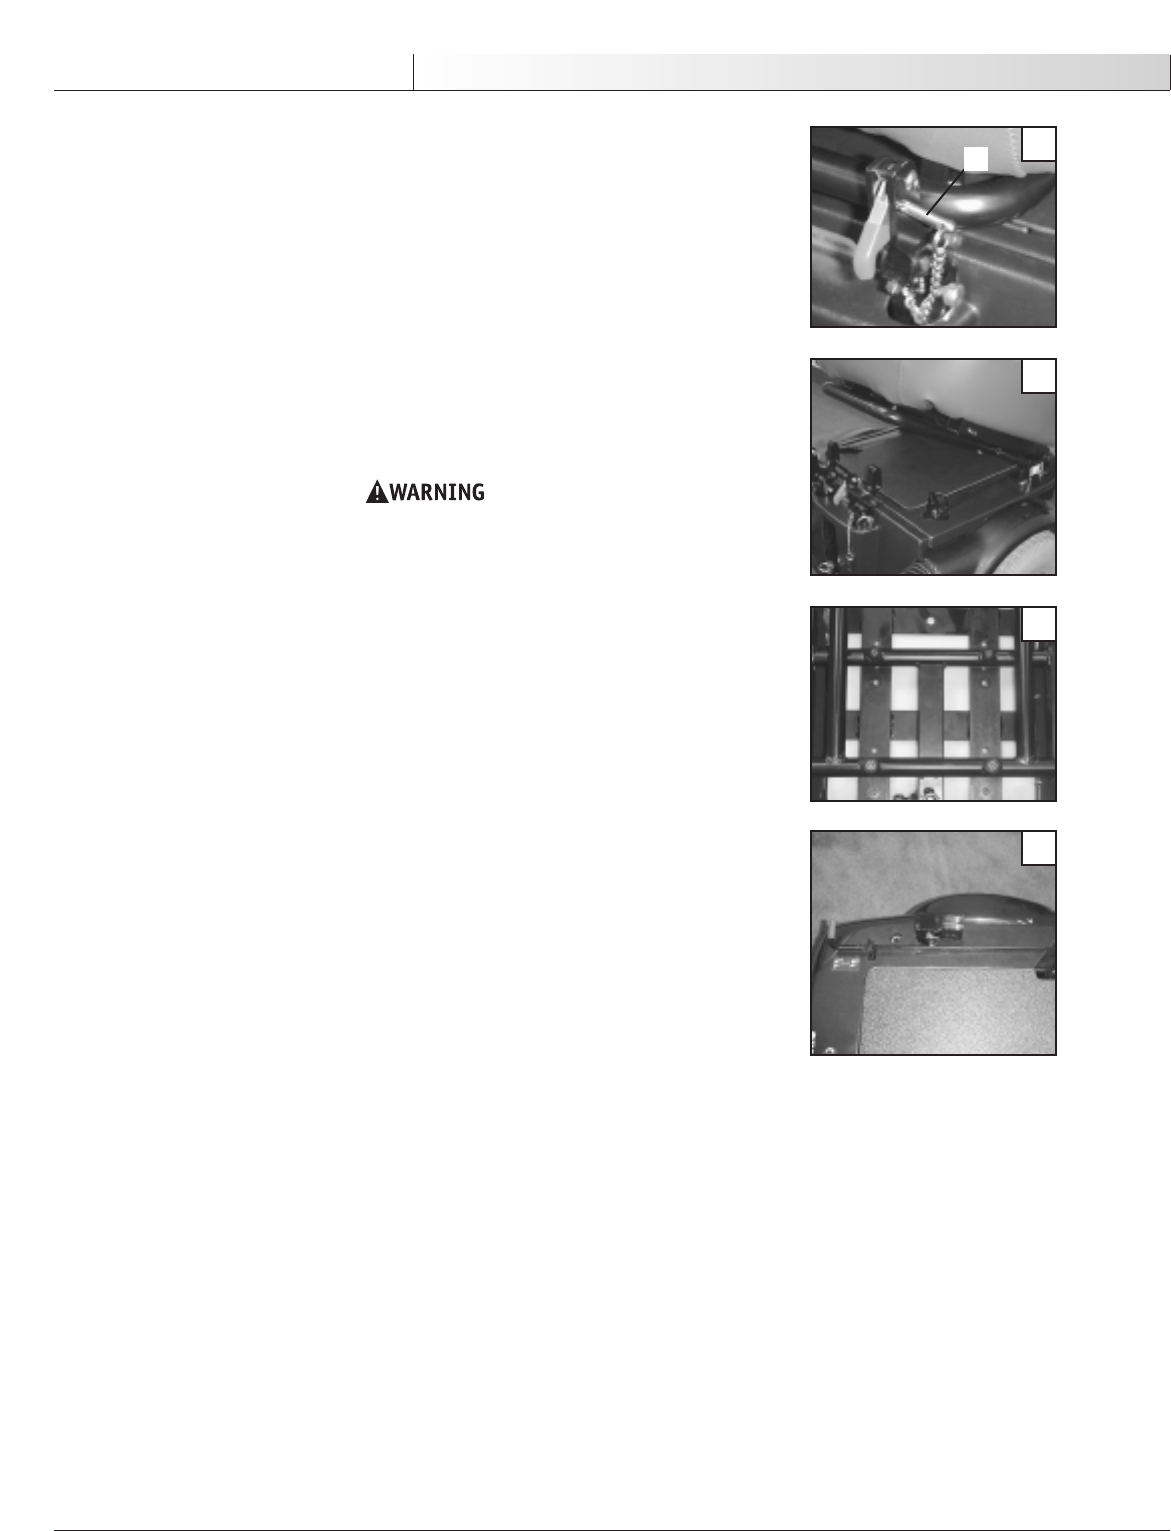
a. Unplug controller connections at the back of the seat.
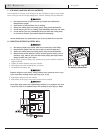
b. Remove safety lock-out pin (A ).
c
. Pull the two seat release levers upward
d. Tilt seat backward slightly
e. Pull the forward seat and remove.
f.
When replacing the seat into the mounts, ensure you do not pinch your fingers.
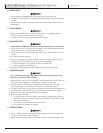
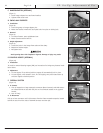
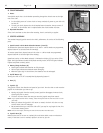
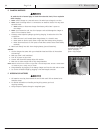
2. Seat Fore/Aft Adjustability
(Figure 19)
a. Unscrew four bolts underneath the seat that attach the seat to the seat frame.
b. Adjust forward or backward to desired position.
c. Tighten all four bolts.
Always replace the safety lock-out pin to prevent inadvertent release of the seat.
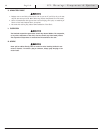
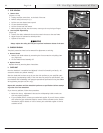
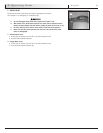
K. SHROUD REMOVAL
The plastic protective shroud can be removed for adjustment or servicing.
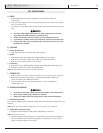
1. Remove Shroud
a. Remove both brake releases by unscrewing the front connection and pulling them
out. (Figure 20)
b. Lift the middle shroud assembly off.
2. Replace Shroud
Replace shroud by reversing above instructions.
L. CHECK-OUT
Once the wheelchair is assembled and adjusted, it should roll smoothly and easily. All
accessories should also perform smoothly.
After the wheelchair has been set up be sure the chair performs to your specified opera-
tional settings (see Operating Guide). If the chair does not perform to specifications, turn
the wheelchair OFF immediately and reprogram operational specifications using the QTRON-
IX Pr
ogramming Pad (M11 and F11 only).
Repeat this procedure until the wheelchair performs to specifications before attempt-
ing activ
e use o
f the wheelchair
.
If you have an
y pr
oblem
s, follow these procedures:
1. Review the Set-up, Adjustment & Use section and Operating Guide to make sure
chair was pr
operly prepared.
2.
If your pr
oblem persists
, con
tact your auth
orized supplier. If you still have a problem
after contacting your authorized supplier, contact Sunrise customer service. See the
in
troduction page for details on how to contact your authorized supplier or Sunrise
custom
er servi
ce
.
930756 Rev. A
24
E
nglish
IX. Set-Up, Adjustment & Use
17
18
19
A
20