


32
www.pridemobility.com Revo
IX. DISASSEMBLY AND ASSEMBLY
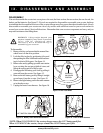
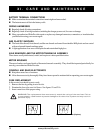
Figure 15. Battery Pack Removal/Installation
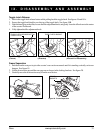
Figure 16. Front-To-Rear Harness
NOTE: When DISASSEMBLING the scooter, always remove the LEFT battery pack first.
When ASSEMBLING the scooter, always reinstall the RIGHT battery pack first.
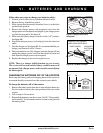
LEFT BATTERY PACK LOCK
LEFT BATTERY PACK
#
DISASSEMBLY
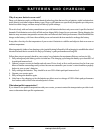
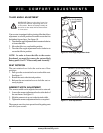
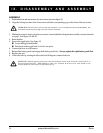
You can disassemble the scooter into seven pieces: the seat, the front section, the rear section, the rear shroud, the
basket, and the batteries. See figure 13. No tools are required to disassemble or assemble your scooter, but keep
in mind that the disassembled sections of the scooter take up more floor space than the assembled unit. Always
disassemble or assemble your scooter on a level, dry surface with sufficient room for you to work and move
around your scooter-about 5 feet in all directions. Remember that some scooter components are heavy and you
may need assistance when lifting them.
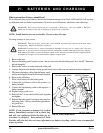
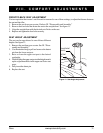
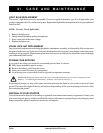
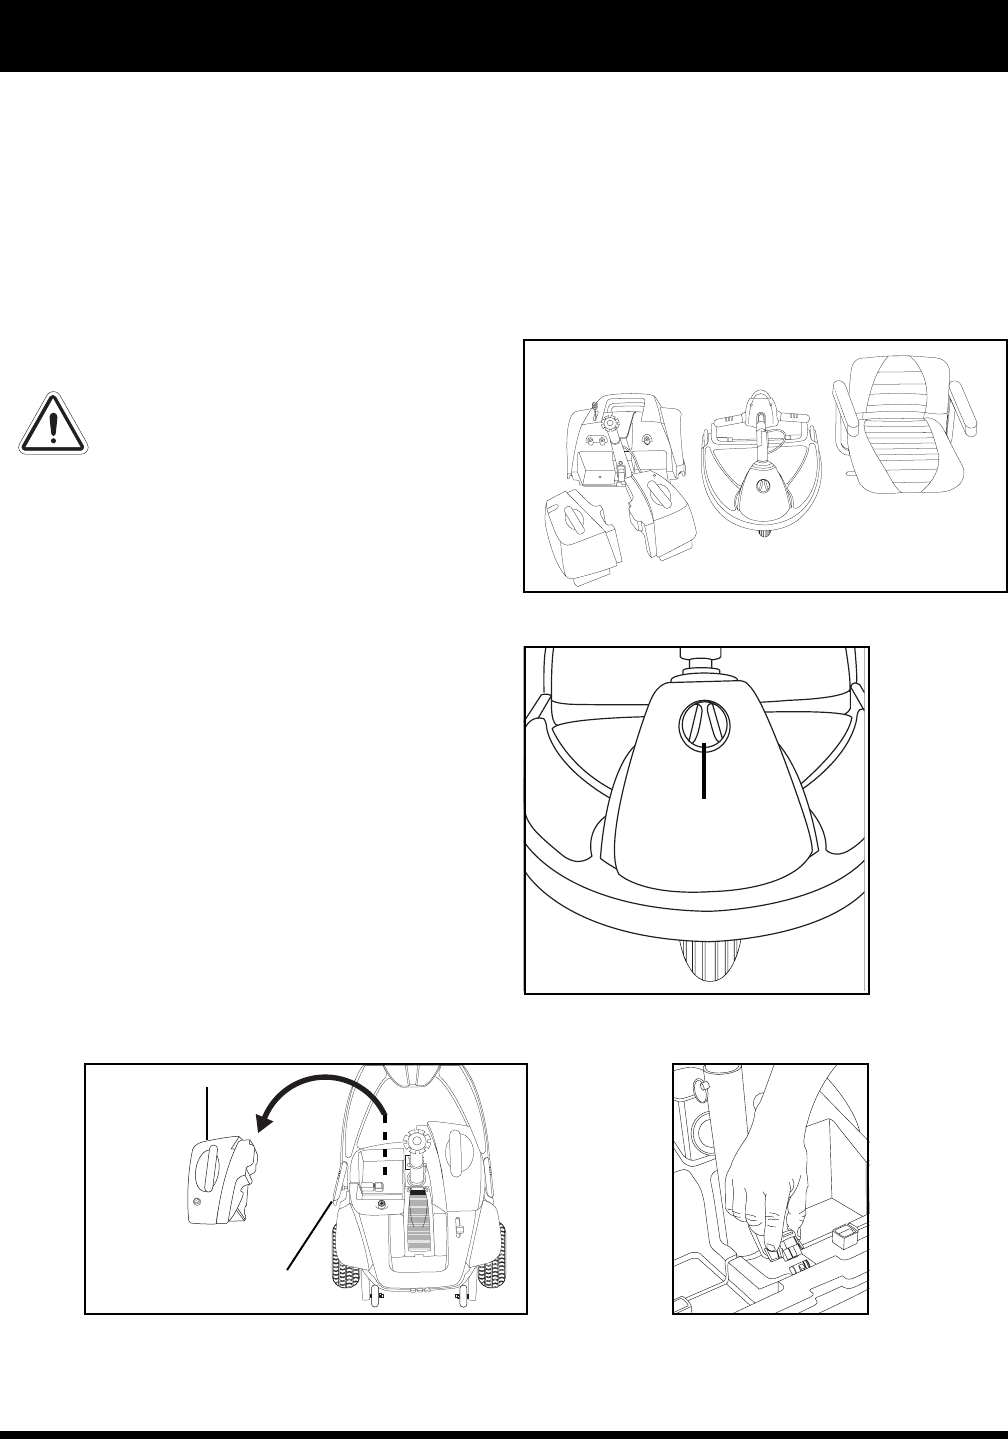
Figure 14. Tiller Lock Knob
SHOWN IN
UNLOCKED
POSITION
Figure 13. Scooter Components
REAR
SECTION
FRONT
SECTION
BATTERY PACKS
SEAT
To disassemble:
1. Remove the key and ensure that the manual free-
wheel lever is in the drive position.
2. Lock the tiller in place by positioning it forward
then pushing the tiller lock knob inward and turn-
ing it clockwise 90 degrees. See figure 14.
3. Remove the seat by pulling up on the seat rotation
lever, rotating the seat one-eighth of a turn, and
lifting the seat up and off of the scooter.
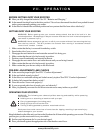
4. Disengage the left battery pack lock by pulling it
outward from the scooter. See figure 15.
5. Remove the left battery pack by lifting it straight
up and away from the scooter. See figure 15.
6. Remove the right battery pack in the same manner
as in the above step.
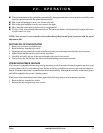
7. Unplug the front-to-rear harness. See figure 16.
WARNING! Lifting weight beyond your
physical capability may result in personal
injury. Ask for assistance when
necessary while disassembling or
assembling your scooter.