


Jet 7 www.pridemobility.com 25
VI. COMFORT ADJUSTMENTS
4. Tighten the jam nut to lock the adjustment screw into place.
Controller Extension
The controller can easily slide out away from the armrest, or in
toward the armrest.
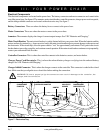
To extend the controller:
1. Flip up the armrest so it is perpendicular to the floor.
2. Loosen the setscrew on the controller bracket. See figure 23.
3. Slide the controller into or out of the armrest to the desired
position.
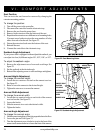
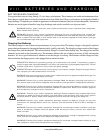
Controller Position
You can position the controller for either left-hand or right-hand use.
To change the controller position:
1. Turn off the power to the controller.
2. Disconnect the controller from the electronics tray.
3. Cut all wire ties that attach the controller cable to the armrest.
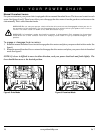
4. Flip up the armrest and loosen the setscrew. See figure 24.
5. Slide the controller out of the armrest.
6. Loosen the setscrew in the other armrest.
7. Place the controller in the other armrest.
8. Tighten the setscrew to secure the controller.
9. Use a wire tie to secure the controller cable to the armrest.
10. Connect the controller to the electronics tray.
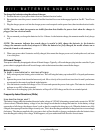
Foot Platform Height Adjustment
The foot platform height is easily adjusted to one of six different
heights, in one-inch increments.
To raise or lower the foot platform:
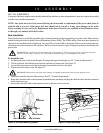
1. Remove the mounting hardware from the foot platform. See
figure 25.
2. Raise or lower the foot platform to the desired height.
3. Reinstall the mounting hardware into the foot platform and
tighten.
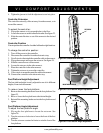
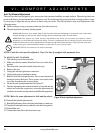
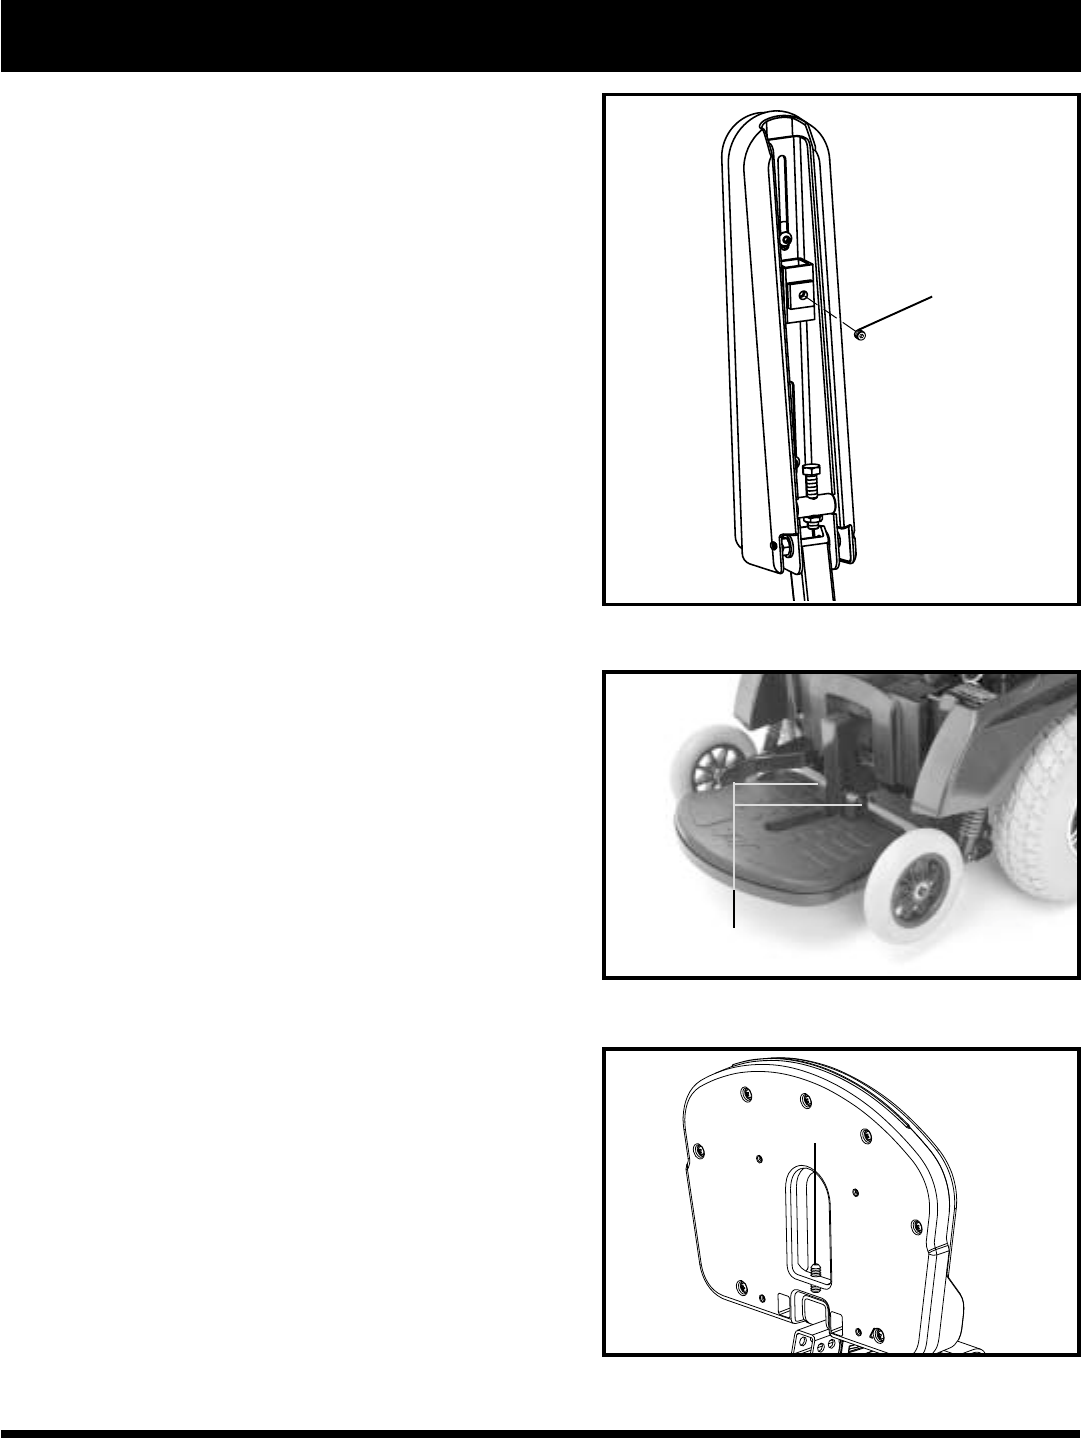
Foot Platform Angle Adjustment
To adjust the foot platform angle:
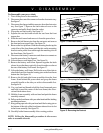
1. Flip up the foot platform to locate the setscrew. See
figure 26.
2. Turn the setscrew clockwise to lower the front of the foot
platform.
3. Turn the setscrew counterclockwise to raise the front of the
foot platform.
Figure 24. Underside of Armrest
MOUNTING HARDWARE
Figure 25. Foot Platform Height Adjustment
Figure 26. Foot Platform Angle Adjustment
SETSCREW
SETSCREW