


Jazzy 1400/Rev C/Sept02 www.pridemobility.com 17
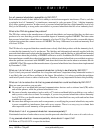
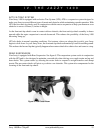
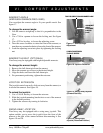
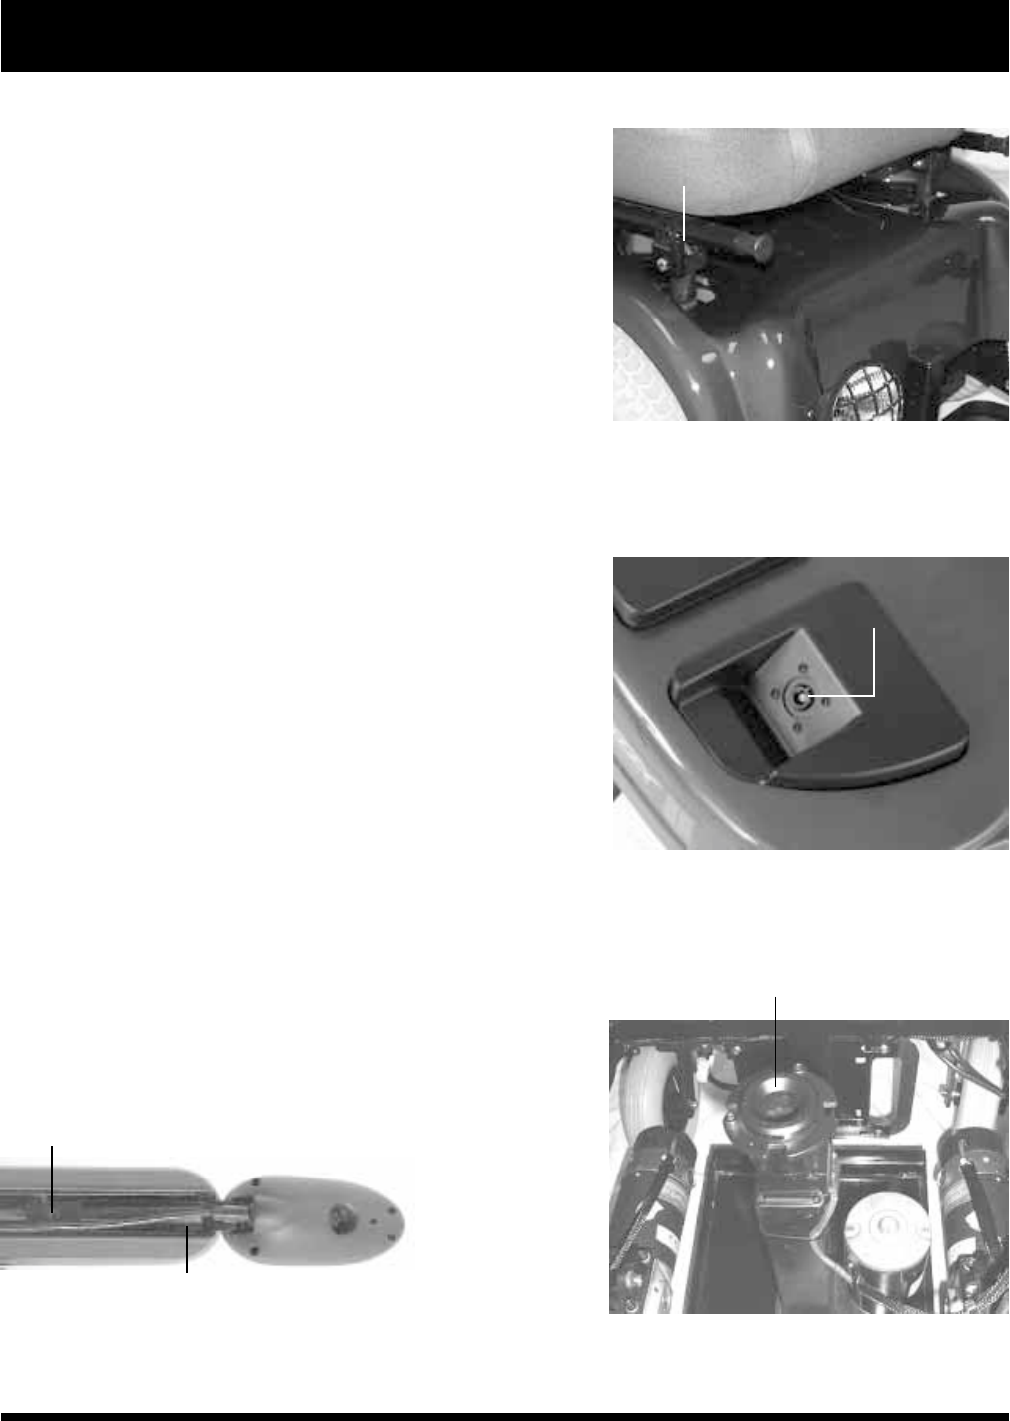
Figure 11. Front Seat Towers
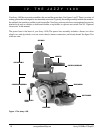
LOCK SEAT INTO
PLACE HERE
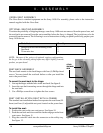
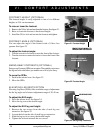
Figure 12. Controller Cable
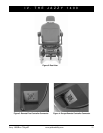
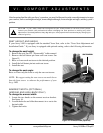
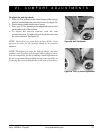
Figure 14. Power Seat Actuator
(Shroud and Batteries Removed for Clarity)
POWER SEAT ACTUATOR
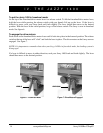
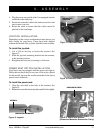
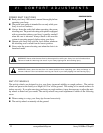
Figure 13. Joystick
SLIDE JOYSTICK INTO BRACKET
SETSCREW
V. ASSEMBLY
4. Plug the power seat switch cable (if so equipped) into the
connector on the utility tray.
5. Secure the controller cable to the armrest receiver with
one or more wire ties.
6. Route the cable to ensure that the cable cannot be
pinched in the seat hinge.
JOYSTICK INSTALLATION
Depending on the various configurations and options you
have chosen for your Jazzy, it may have been shipped
without the Remote Plus joystick installed in the armrest.
To install the joystick:
1. Use a 3/16-in. hex key to loosen the setscrew. See
figure 13.
2. Slide the joystick mounting bracket into the armrest,
to the desired position.
3. Retighten the setscrew by turning it clockwise.
POWER SEAT OPTION INSTALLATION
Your Jazzy may be equipped with the power seat option.
While the seat itself may be any one of the styles offered
for this model, the way the seat base attaches to the Jazzy
power base is different.
To install the power seat:
l. Align the seat shaft to the hole in the actuator. See
figure 14.
2. Rotate the seat to the forward position until it locks tightly.
PLUG IN CONTROLLER
CABLE HERE