


16 www.pridemobility.com Jazzy 1400/Rev C/Sept02
V. ASSEMBLY
VERSA SEAT ASSEMBLY
The Versa Seat is standard equipment on the Jazzy 1400. For assembly, please refer to the instruction
manual supplied with the Versa Seat.
OPTIONAL SEATING ASSEMBLY
To reduce the possibility of shipping damage, some Jazzy 1400 seats are removed from the power base, and
the seat-backs are removed from the seat assemblies before the Jazzy is shipped. The joystick may also be
removed from the armrest. The following is a set of instructions to help you quickly and easily prepare your
Jazzy 1400 for use.
Parts List Quantity
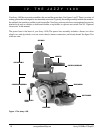
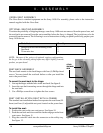
Figure 9. Seat-Back Assembly
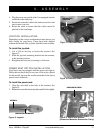
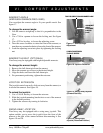
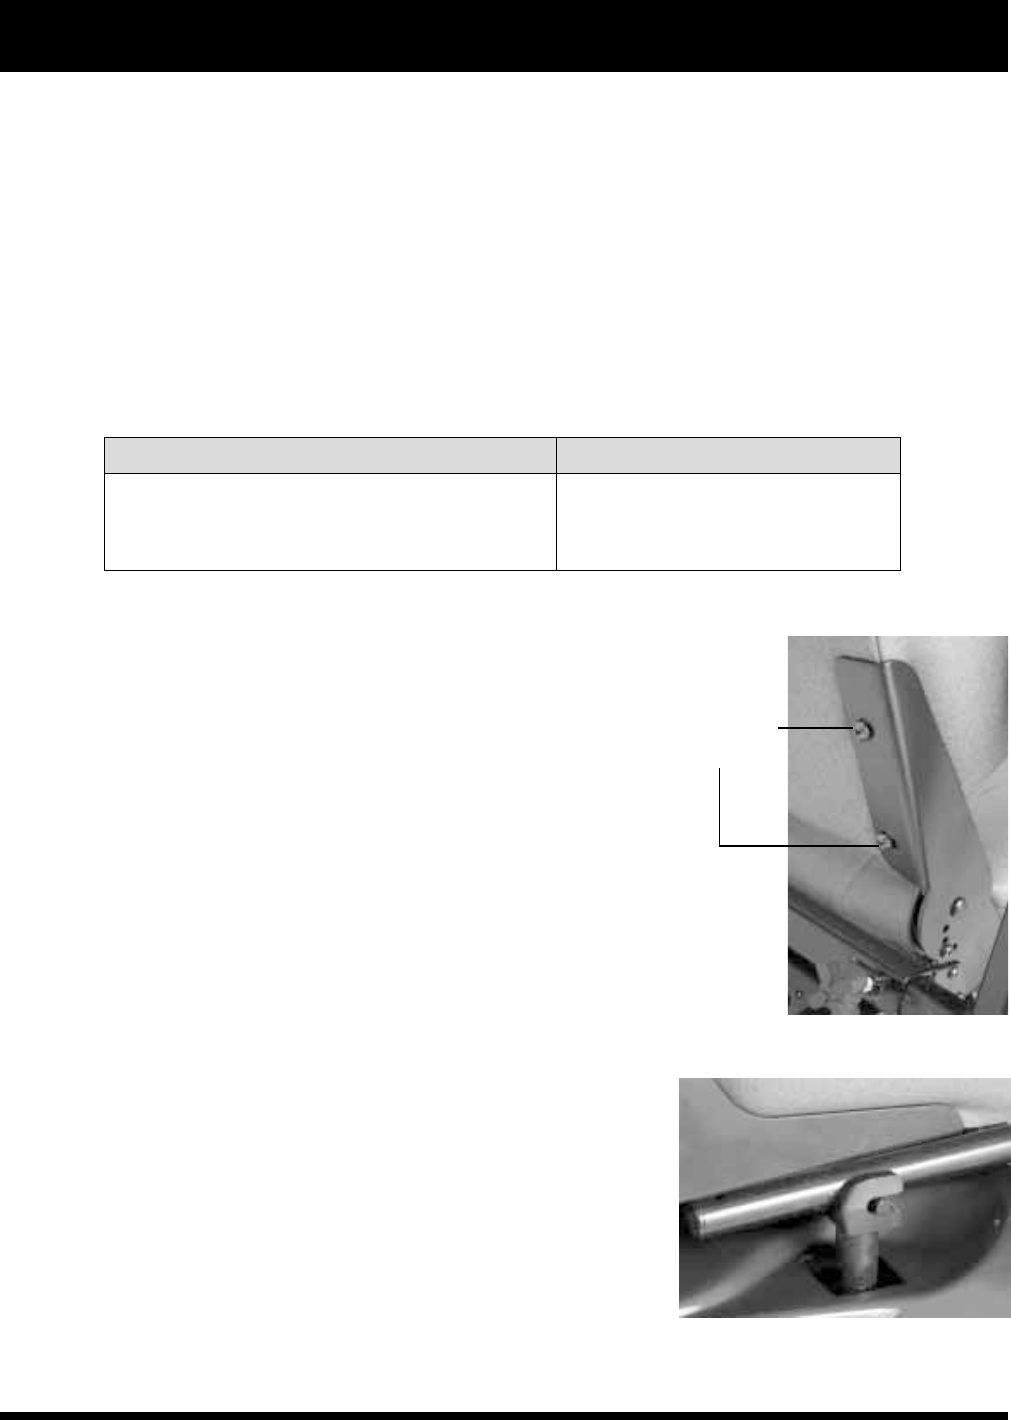
Figure 10. Rear Towers
SLIDE SEAT
ONTO TOWERS
ATTACH
SEAT-BACK
HERE
Phillips-head seat-back mounting screws 4
Seat-back 1
20-cm wire ties 4
NOTE
:
Because of the variety of optional seating configurations,
the Jazzys in the assembly photographs may differ slightly from the
product you purchased.
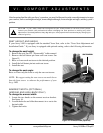
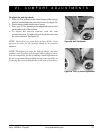
SEAT-BACK ASSEMBLY
The seat-back mounts to the back hinges with four (4) Phillips-head
screws. You may install the seat-back before or after you install the
seat to the power base.
To mount the seat-back to the hinge:
1. Line up the hinges with the holes in the seat-back. See figure 9.
2. Insert the seat-back mounting screws through the hinge and into
the seat-back.
3. Use a Phillips screwdriver to tighten the four screws.
SEAT INSTALLATION (SEAT WITH H-FRAME)
The standard seat installation method incorporates the seat frame (H-
frame) and four (4) adjustable seat posts located on the power base.
To install the seat:
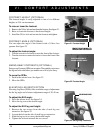
1. Position the seat on the rear seat towers. See figure 10.
2. Push the seat back and down until the latches engage on the front
seat towers. See figure 11.
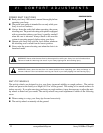
3. Plug the controller cable into the connector on the utility tray.
See figure 12.