


Erwin Sabio Philips CM12 Alignment & Setup Manual Page 7
Powering Up the Microscope
1.
Start by logging in to the computer connected to the
TEM. Login is a necessary step to prevent
unauthorized users from accessing the microscope.
Without login, the control panel is not accessible.
2.
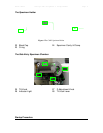
Turn on the control panel by pushing the Power Switch
[13] on the left hand side of the screen.
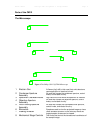
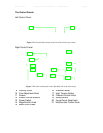
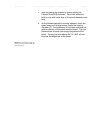
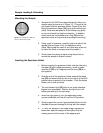
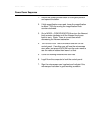
Figure 6 The main menu screen of the
CM12 TEM
3.
At this point, the main menu will appear on the computer
screen. (Note: pressing the READY [19] button at any
time will revert the screen back to this menu)
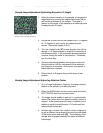
4.
Select VACUUM from the main menu to check for the
vacuum settings. P3 must be less than 50 while IGP
must be less than 35.
5.
Before powering the gun, go to MODE > TEM >
PARAMETER from the main screen to check the current
and voltage setting that will be applied to the gun.
Ideally the current should be around 3 and the voltage
at 100keV and should be kept at these levels.
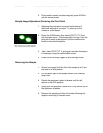
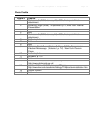
Figure 7 The needle will kick twice to
the right after the High Tension button
is turned on.
6.
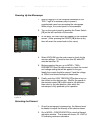
Finally, push the HIGH TENSION [17] button to turn on
the current on the electron gun. Wait for the needle in
the emission meter [16] to kick twice to full deflection
then return to the zero position, after which the
microscope is fully powered up for operation.
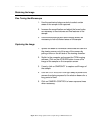
Saturating the Filament
1.
Once the microscope is powered up, the filament must
be heated to adjust the intensity of the electron beam.
2.
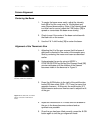
Go to MODE > CONFIGURATION to view the filament
saturation window. The screen will show a FIL LIMIT of
24 indicating maximum saturation.