


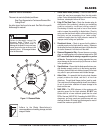


PAGE 22 — FCG16HA SAW • OPERATION AND PARTS MANUAL — REV. #1 (03/19/10)
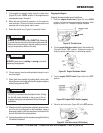
To adjust the blade to the desired cutting depth, perform the
following steps:
1. Mount the desired diamond blade on the shaft and secure
as instructed in the Blade Removal and Replacement
section.
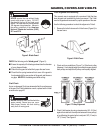
2. While holding the handle bars to support the weight of the
saw, grasp the knob of the Depth Stop Rod and move it
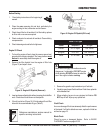
forward out of its keyhole slot. (Figure 14)
3. Gently allow the blade to contact the surface.
4. Rotate the Depth Stop Disk about the Screw Plunger and
line up the bottom edge of the Depth Stop Disk across
from desired depth line mark.. THIS LINE MARK WILL
COINCIDE WITH THE BLADE CUTTING DEPTH
REGARDLESS
OF BLADE DIAMETER USED.
5. Press down on the handlebars again to lift the blade until
the Depth Stop Rod drops into the back portion of the
keyhole slot.
6. You are ready to start cutting. Refer to the following pre-
inspection and operation sections.
7. Test the depth of cut by cutting a short distance, then measure
the depth of the cut.
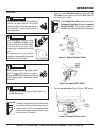
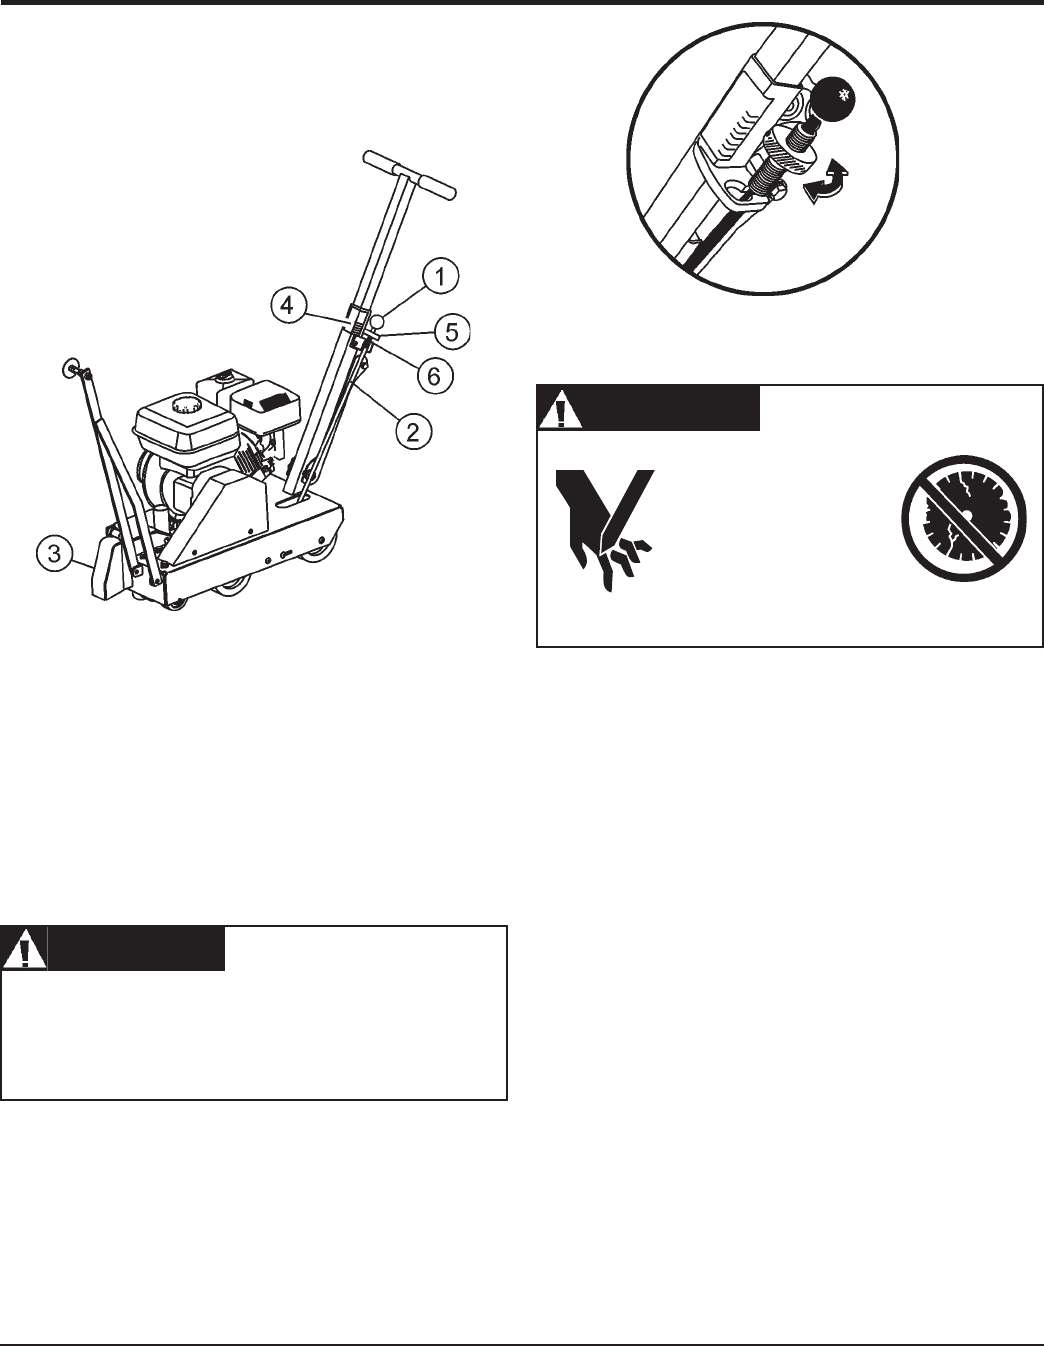
Cutting Depth Adjustment
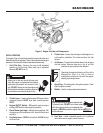
The FCG16HA Saw is equipped with a Raise/Lower Assembly
that is supported by the following components (Figure 13).
ALWAYS be certain the Shutdown switch and the engine
ON/OFF switch are in the "OFF" position and the blade
shaft has COMPLETELY STOPPED ROTATING before
performing the following operations.
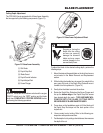
Figure 13. Raise/Lower Assembly
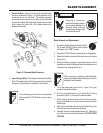
BLADE PLACEMENT
Figure 14. Raise/Lower Adjustment Wheel
Dropping or forcing the
blade onto the cutting
surface can severely
damage the diamond
blade and may cause
serious damage to the
saw and bodily harm.
(1) Shift Knob
(2) Depth Stop Rod
(3) Blade Guard
(4) Depth Control Indicator
(5) Depth Adjust Disk
(6) Screw Plunger
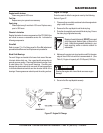
WARNINGWARNING
WARNINGWARNING
WARNING
WARNINGWARNING
WARNINGWARNING
WARNING