FCG16HA SAW • OPERATION AND PARTS MANUAL — REV. #1 (03/19/10) — PAGE 21
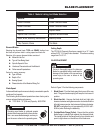
BLADE PLACEMENT
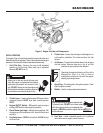
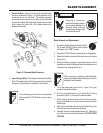
5. Inner Flange (Collar) - This flange is fixed upon the blade
shaft. The inside surface of the flange must be free of debris
and permit a tight closure on the surface of the blade.
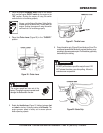
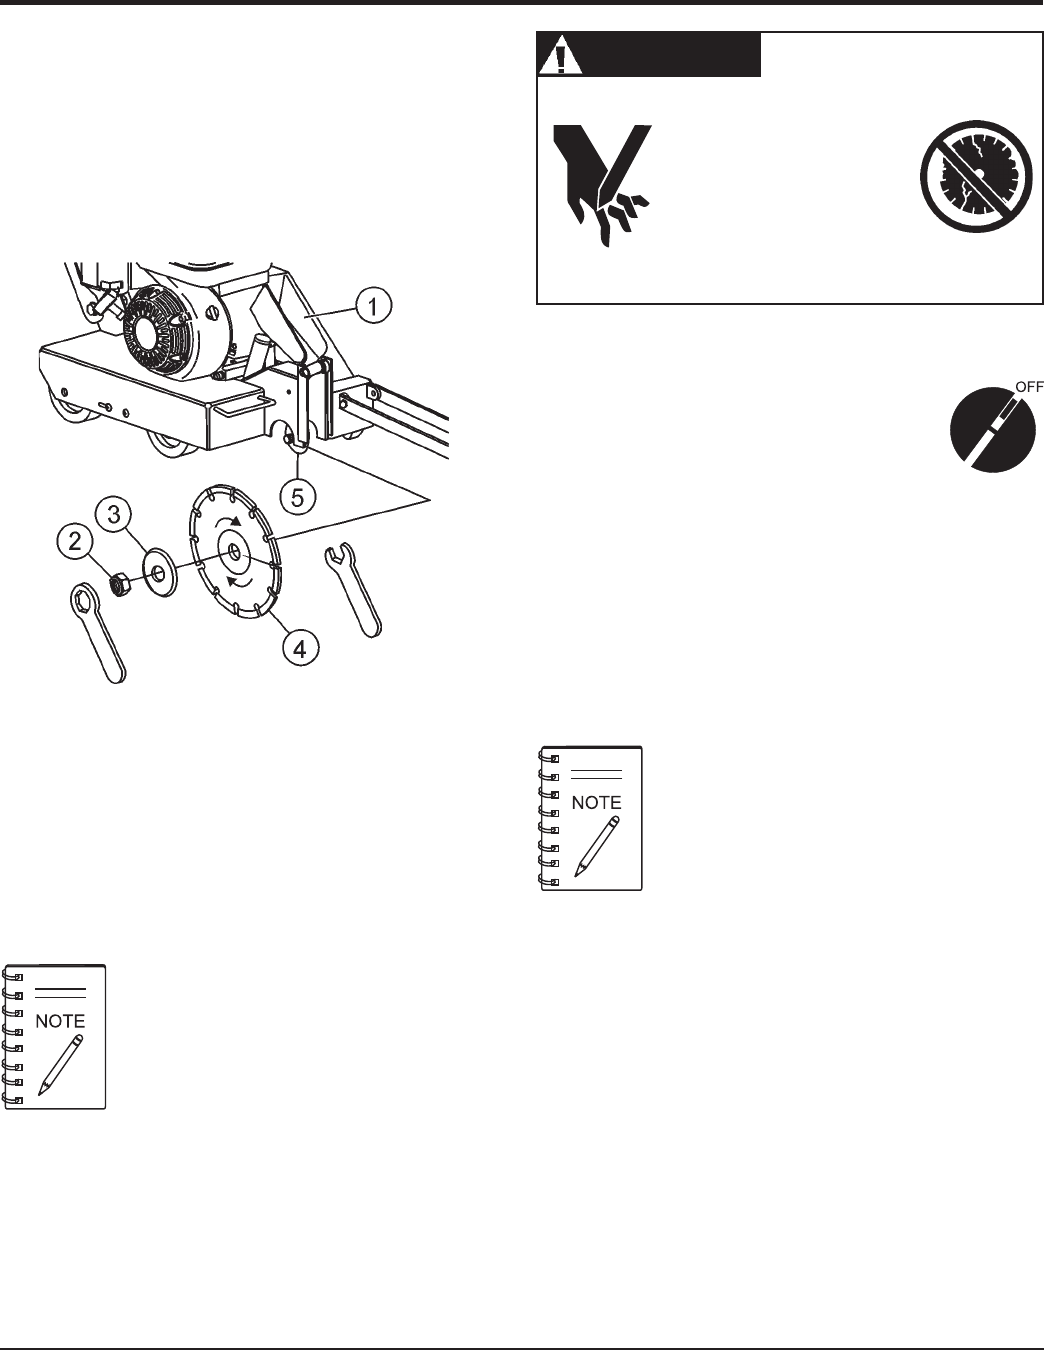
Figure 12. Diamond Blade Placement
The following steps should be accomplished
before using the FCG16HA Saw on any cutting
surface.
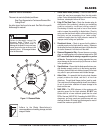
4. Diamond Blade - Ensure that the proper diamond blade
has been selected for the job. Pay close attention to the
directional arrows on the blade. The blade's operating
directional arrows must point in a "down-cutting" direction
to perform correctly. When placing the blade onto the blade
shaft, ensure the arbor hole of the blade matches the
diameter of the shaft.
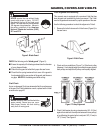
Dropping or forcing the
blade onto the cutting surface
can severely damage the
diamond blade and may
cause serious damage to the
saw and bodily harm.
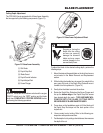
Blade Removal and Replacement
1. Ensure the Engine Shutdown switch (Item 22,
Fig.3) and the ON/OFF switch on the engine
are turned to the "OFF" position.
2. Place the FCG16HA Saw on a stable level working surface.
3. Ensure the blade is raised and the raise/lower rod is locked
into position.
4. Raise the blade by appling a downward pressure on the
handlebars to raise the blade and allow the raise/lower rod
to drop into the "raised-position" slot.
When removing or installing a diamond blade,
please note that the blade retaining nuts are left
and right-hand threaded.
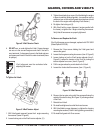
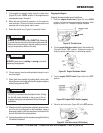
5. Lift up the blade guard cover (item 1 Figure 12) to gain
access to the diamond blade.
WARNINGWARNING
WARNINGWARNING
WARNING
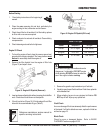
6. Use the provided blade nut and blade shaft locking
wrenches (Figure 12) to install the diamond blade.
7. While holding the blade shaft with the locking wrench,
remove the blade hex nut (clockwise direction) and outer
blade flange.
8. Remove the old blade and install a new blade in the same
rotational direction as marked on the blade.
9. Reinstall the outer blade flange and hex nut. Tighten the
nut firmly (counter-clockwise direction). DO NOT OVER
TIGHTEN.


