15
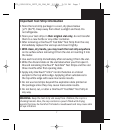
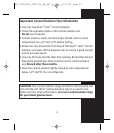
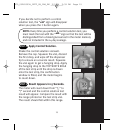
If you decide not to perform a control
solution test, the “
Ë
” sign will disappear
when you press the C button again.
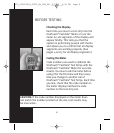
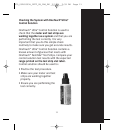
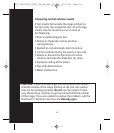
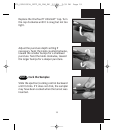
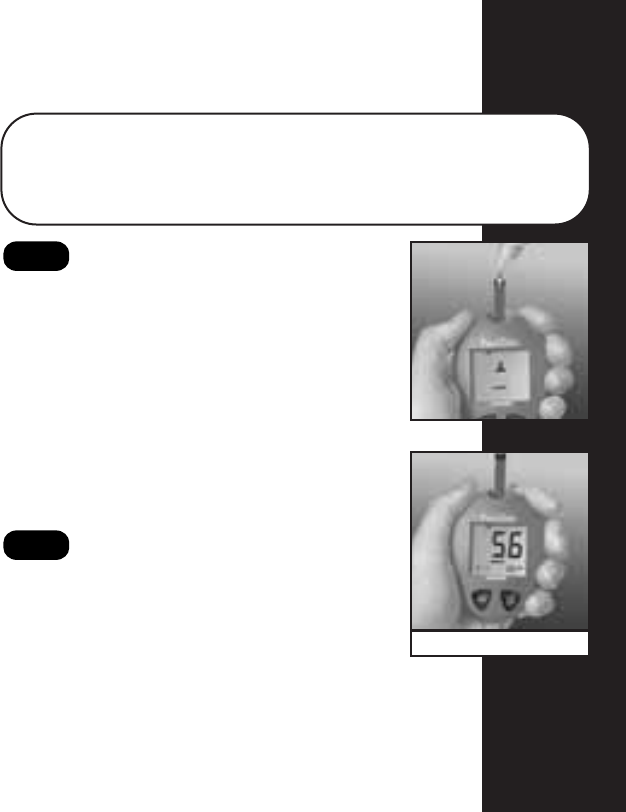
Shake the control solution vial well.
Remove the cap. Squeeze the vial, discard
the first drop, and wipe off the dispenser
tip to ensure an accurate result. Squeeze
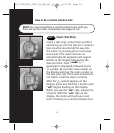
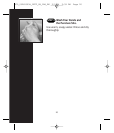
the vial again to get a hanging drop. Apply
the hanging drop to the TOP WHITE EDGE
of the test strip until the drop is drawn
onto the test strip, the confirmation
window is filled, and the meter begins
to count down.
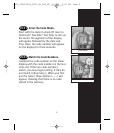
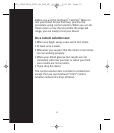
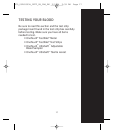
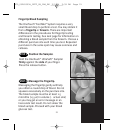
The meter will count down from “D” to
“A” second and the control solution test
result will appear. Compare the result with
the range printed on the test strip vial.
The result should fall within this range.
Result Appears in 15 Seconds.
STEP 3
Apply Control Solution.
STEP 2
(Example)
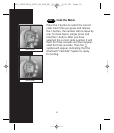
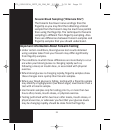
NOTE: Every time you perform a control solution test, you
must mark the test with the “
Ë
” sign so that the test will be
distinguished from a blood glucose test in the meter memory
and not included in the 14-day average.
DCO_05265303A_OTFT_OB_CAN_EN 2/2/04 2:39 PM Page 15


