


9
Hand Chain – Cutting and
Installing
To cut the hand chain in order to increase or
shorten:
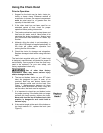
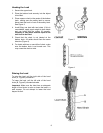
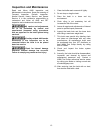
1. Insert one link lengthwise into the vise (Figure
6). Be sure that the side opposite the weld lies
completely below the surface of the vise jaw
(about 1/3 of a link). This prevents nicking or
cutting the lower part of the link.
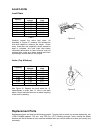
2. Using a hack saw, cut through the upper part of
the link at the weld.
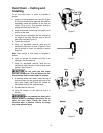
3. Loosen the link, reposition the link vertically at
the edge of the vise with the level of the cut
above the vise jaw (Figure 7).
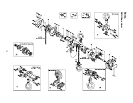
4. Tighten the vise jaw.
5. Using an adjustable wrench, twist the link
horizontally from front to back. (Figure 8) Open
just far enough to insert (or remove) a second
chain link.
Note: Chain length is now ready to lengthen or
shorten.
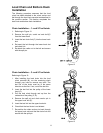
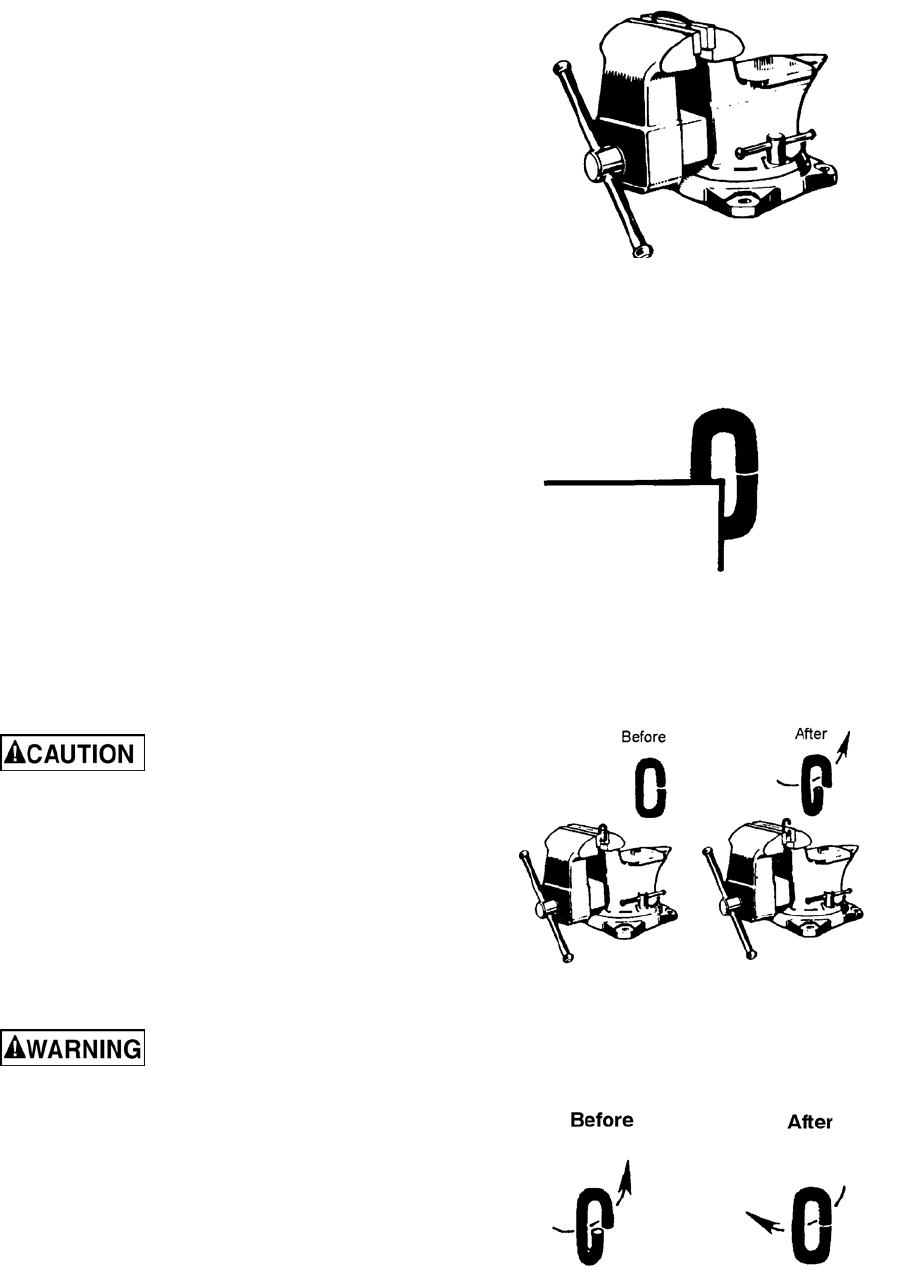
6. Insert or remove the second end link at the
opening in the first end link.
7. Using an adjustable wrench, twist the link
horizontally until the link is in the original closed
position. See Figure 9.
Do not push the link inward
from the curved ends. This will distort the link.
Check that the link is closed and free of twist.
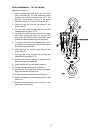
8. If installing entire new chain, insert the end of
the hand chain into the groove at the top of the
hand chain wheel (see Figure 10). Rotate the
handwheel and pull the chain through.
9. Re-weld the link at the cut.
10. Grind off excess on the weld so that it is
smooth.
Do not operate the hoist with a
twisted, kinked or damaged load chain. Do not
splice the load chain. Check the chain for
excessive wear or stretch. Failure to comply
may cause serious injury.
Figure 6
Figure 7
Figure 8
Figure 9