


4
ASSEMBLY INSTRUCTIONS
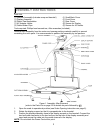
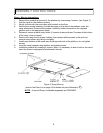
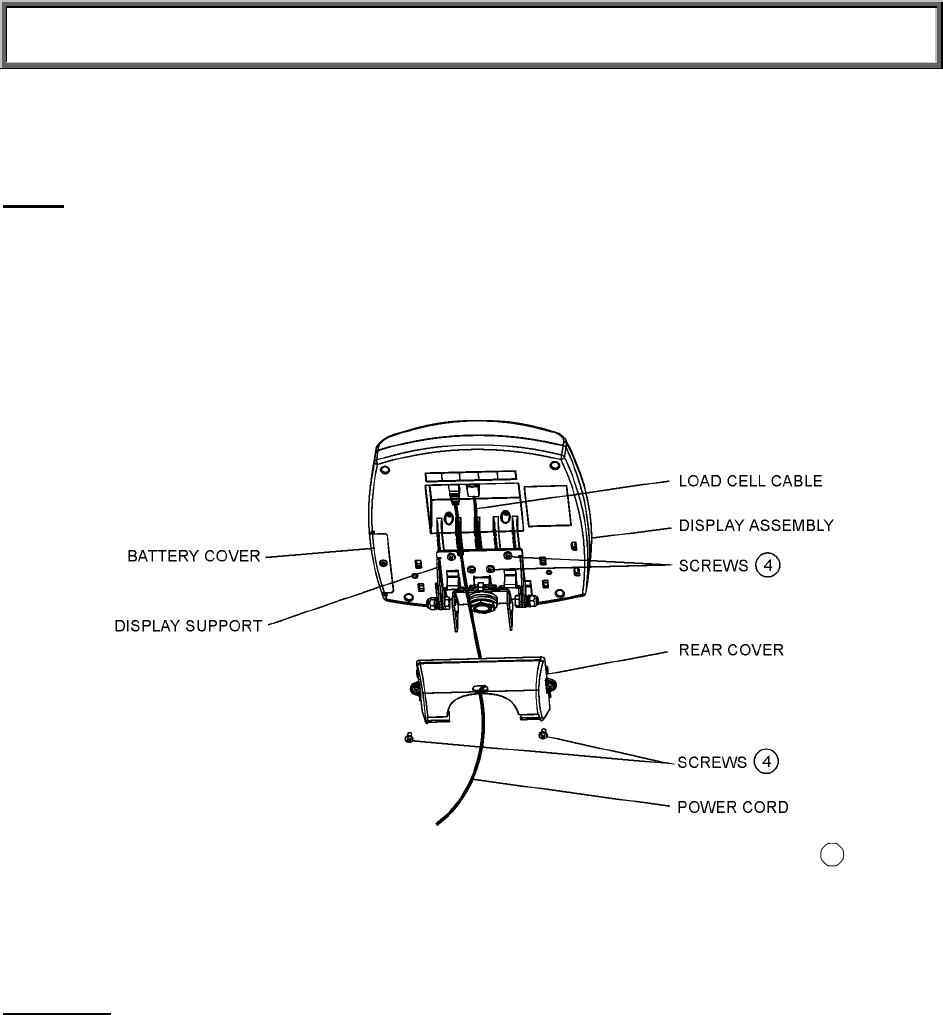
4. Slide the display assembly onto the display support by inserting the two metal supports
into the two slots in the rear display assembly. Tuck the excess load cell cable into the
handrail tube.
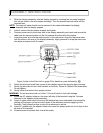
NOTE
: The load cell cable should now be secured in the channel between the display
assembly and the display support.
5. Insert 4 screws into the display support and tighten.
6. Connect power cord to the power port in the display assembly and insert and secure the
cable into the exposed portion of the 2nd channel from the left in the display.
7. Insert the power cord into the retaining slot on the rear cover. Align the rear cover tabs
with the slots on the rear of the display assembly. Apply pressure to snap the rear cover
into place and secure with 2 screws.
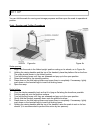
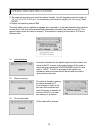
Figure 2 (refer to the Parts List on page 23 for details on parts followed by
#
)
8. Attach the front and small back covers to the display support by applying light pressure.
9. Gently tip the scale and lie it with handrail on the floor. Screw in 4 plastic feet assemblies.
Do not tighten.
10. Gently return the scale to the upright position.
WARNING
: Do not drop the scale on its feet. This could result in load cell damage.
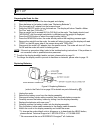
11. Install the AC adapter holder on the outer left side of the handrail using the 2 screws
attached to the adapter holder assembly.
12. Attach 2 cable holder clips to the inner left handrail and one underneath the handrail by
peeling off the paper covers from both sides of the adhesive pad and applying to the
handrail. Firmly press the clips on top of the adhesive to secure.
13. Insert AC adapter into the adapter holder and insert the power cable into the 3 clips on the
left side of the handrail
14. Screw/unscrew the plastic feet to level the scale.