


4-4 Dell PowerVault 200S, 201S, 210S, and 211S Storage Systems Installation and Service Guide
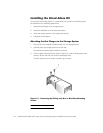
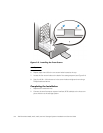
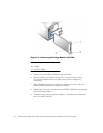
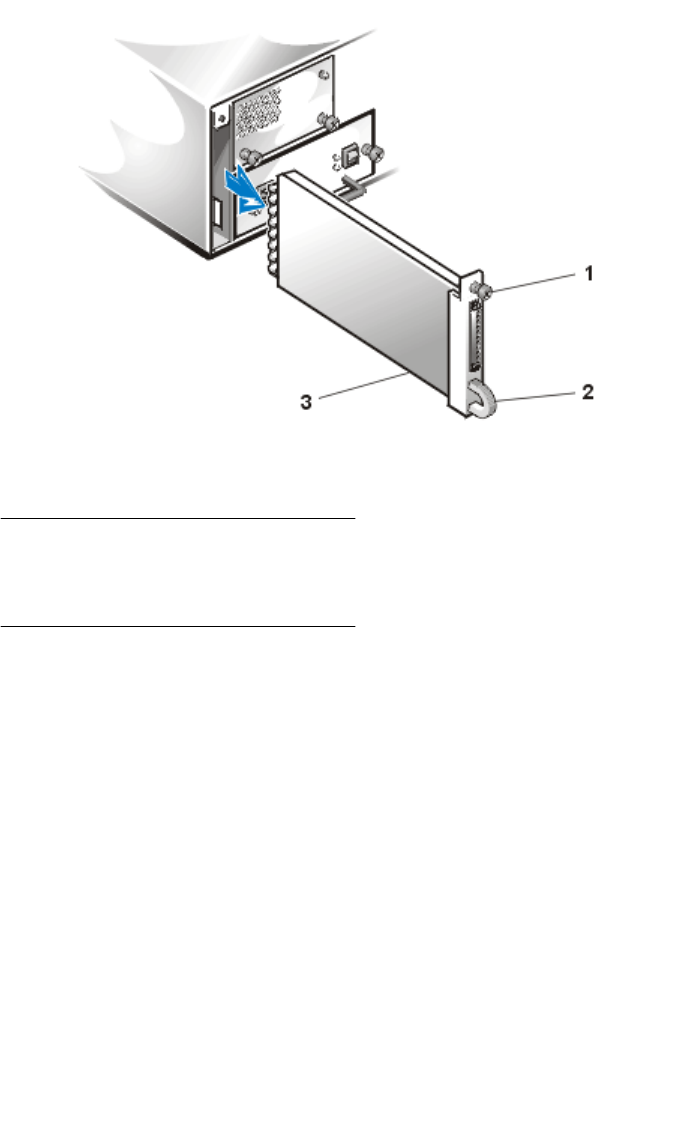
)LJXUH5HPRYLQJWKH([LVWLQJ0RGXOH/HIW6LGH
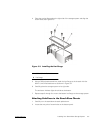
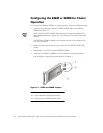
5. Carefully insert the ESEM or SEMM into the module bay.
6. Push the module to the back of the bay until it is seated in the connector.
The module is seated when its front plate is even with the neighboring
components.
7. Using a Phillips-head screwdriver, tighten the captive screw at the top of the
ESEM or SEMM to secure the module to the chassis.
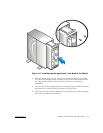
8. Repeat steps 3 through 7 to install the second ESEM or SEMM on the right-back
side of the storage system.
9. To validate proper cabling, proceed to Chapter 5, "Connecting Your Storage Sys-
tem to the Host Computer."
1 Captive screw
2 Handle
3 ESEM or SEMM