ENGLISH
115115
Setting the Memory Camcorder : Using USB Mode
With the provided USB cable and a PictBridge-supporting printer, you can print your
photo images directly without connecting to a PC.
1. Press the [POWER] button to turn on the Memory Camcorder.
◆
The Movie Record screen appears.
2. Set the System Settings mode by pressing the [MODE] button.
◆
The System Settings screen appears.
3. Move the [Joystick] left / right to select <USB Mode>.
4. Move the [Joystick] up / down to select <PictBridge> and then press
the [Joystick(OK)].
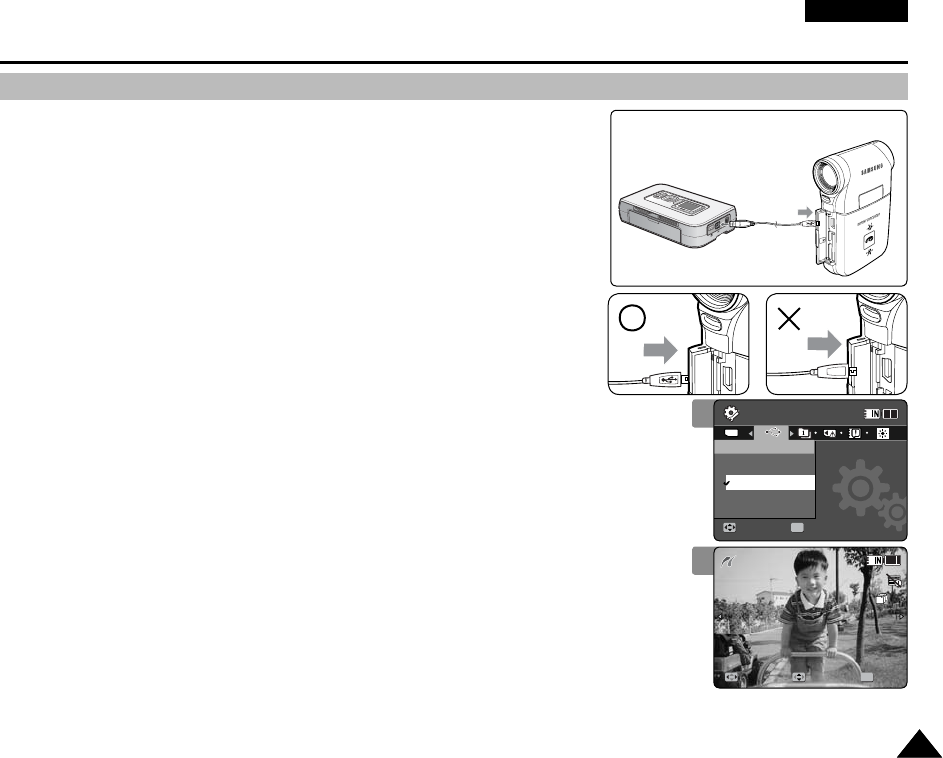
5. Connect the Memory Camcorder and the PictBridge supporting
printer with a USB cable.
6. Move the [Joystick] left/right to select the file you want to print.
7. Move the [Joystick] up/down to set the number of copies.
◆
Range of possibilities: 01 ~ 30
8. Press the [Joystick(OK)] to begin printing.
9. When finished, disconnect the USB cable.
[ Warning ]
✤
This function works only with printers that support PictBridge.
[ Notes ]
✤
For printing information, refer to the user's manual of the printer.
✤
Depending on the printer, printing failure may occur. In this case, download JPEG files directly
to the PC and print them.
✤
Depending on the printer, date and time option may not be supported. In this case, date
and time menu will not be displayed.
Printing with PictBridge
4
System Settings
Move Select
OK
USB Mode
Mass Storage
PictBridge
PC-Cam
100-0001
Search PrintCopies
01
TYPE
7
System Settings
Move Select
USB Mode
Mass Storage
PictBridge
PC-Cam
100-0001
Search PrintCopies
OK
01
PictBridge Supporting Printer
(sold separately)
VP-MM11-01064E-IB-UK.indb 115VP-MM11-01064E-IB-UK.indb 115 2006-05-22 오후 1:59:232006-05-22 오후 1:59:23


