65
Submenu items
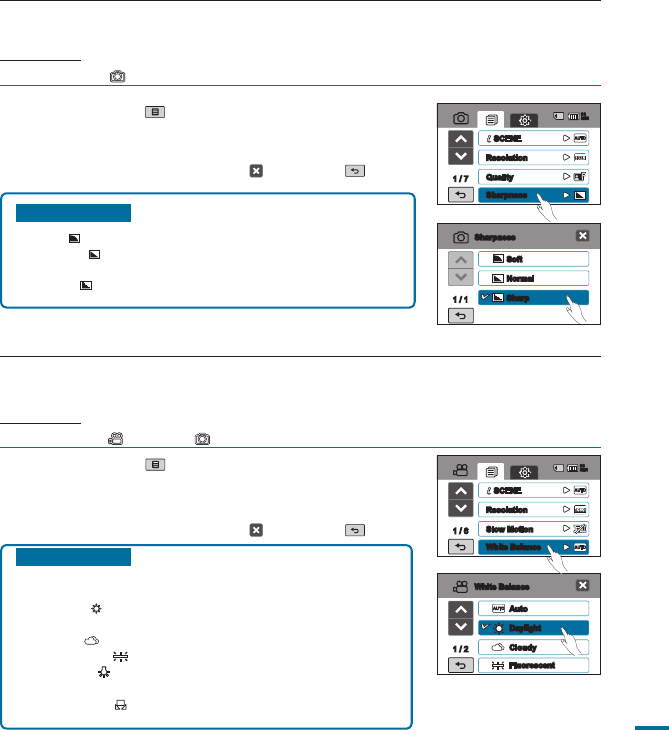
• Soft ( ): Smooths the edges of photo images.
•
Normal ( ): The photo images appear with sharp edges and
are suitable for printing.
•
Sharp ( ): Enhances to sharpen the edges of photo images.
1.
Touch the Menu ( ) tab
“Sharpness.”
2.
Touch a desired submenu item.
3.
To exit the menu, touch the Exit ( ) or Return ( ) tab.
Sharpness
This function allows the user to obtain sharper photo images by processing the image after
recording photos.
PRECHECK!
Select the Photo ( ) mode by pressing the MODE button.
page 33
Soft
Normal
Sharp
1 / 1
Sharpness
1 / 7
SCENE
Resolution
Quality
Sharpness
90
MIN
Submenu items
• Auto: Controls the white balance automatically depending on the
recording conditions.
•
Daylight ( ): Controls the white balance according to the
outdoor lighting.
•
Cloudy ( ): When recording in the shade or cloudy weather.
•
Fluorescent ( ): When recording under white fluorescent lights.
• Tungsten ( ): When recording under halogen lamps and
incandescent lights.
•
Custom WB ( ): You can manually adjust the white balance to
match the light source or situation.
1.
Touch the Menu ( ) tab
“White Balance.”
2.
Touch a desired submenu item.
• To set the white balance manually, see page 66.
3.
To exit the menu, touch the Exit ( ) or Return ( ) tab.
White Balance
This camcorder automatically adjusts the colour of the subject. You can record in natural colours
depending on the subject and lighting conditions.
PRECHECK!
Select the Video ( ) or Photo ( ) mode by pressing the MODE button.
page 33
Auto
Daylight
Cloudy
Fluorescent
1 / 2
White Balance
1 / 6
SCENE
Resolution
Slow Motion
White Balance
90
MIN


