Service Information
12
P6131 Instruction Manual
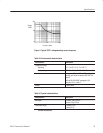
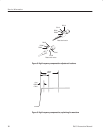
Over compensated
Under compensated
Correct
Figure 7: Low-frequency compensation, optimizing the waveform
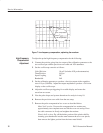
To adjust the probe high-frequency compensation do the following:
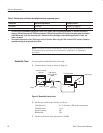
1. Connect the positive-going fast-rise output of the calibration generator to the
test oscilloscope with the precision coax cable and 10X attenuator.
2. Set the oscilloscope controls as follows:
Volts /Division 10 mV (includes 10X probe attenuation)
Time/Division 0.02 ms
Input Coupling DC
Bandwidth Full
3. Set the calibration generator to produce a fast-rise output with a repetition
rate of 10 ms (100 kHz). Adjust the output amplitude to produce a 5 division
display on the oscilloscope.
4. Adjust the oscilloscope triggering for a stable display and center the
waveform on screen.
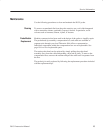
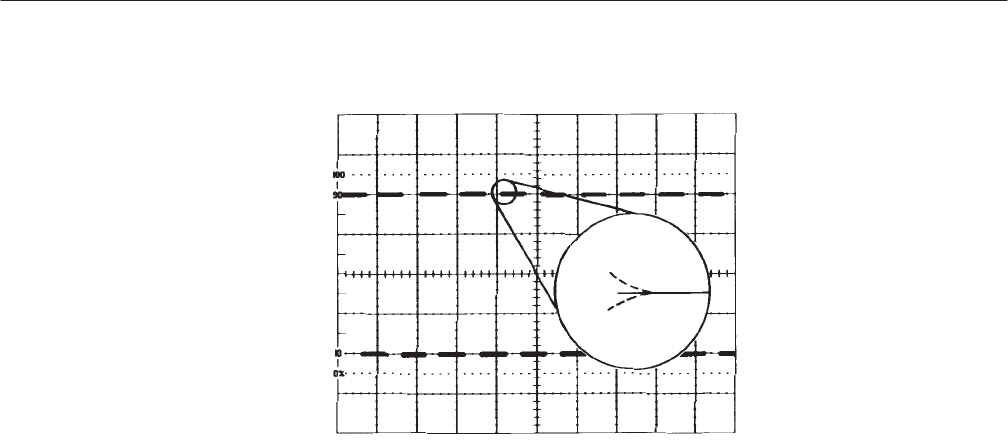
5. Note the pulse shape and system aberrations for analysis in step 10.
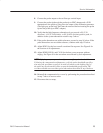
6. Remove the precision coax cable from the test setup.
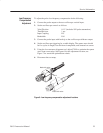
7. Remove the probe compensation box cover as described below.
Metal shell version: Unscrew the compensation box retainer nut
approximately two complete turns and lift the cover out and up. Press
the cable connector in firmly and retighten the retainer.
Plastic shell version: Pry off the darker portion of the plastic shell by
inserting your thumbnails into the seam between the two cover pieces;
then remove the lighter portion from the inner metal shield.
High-Frequency
Compensation
Adjustment


