


38 www.pridemobility.com Hurricane
IX. CARE AND MAINTENANCE
10. Reinstall the drive wheel nut and washer onto the axle and tighten.
WARNING! Make sure both the nut and washer are reinstalled and tightened properly.
11. Inflate pneumatic tires to the psi/bar/kPa air pressure rating indicated on each tire.
12. Remove the block from beneath the PMV.
WIRING HARNESSES
Regularly check all wiring connections.
Regularly check all wiring insulation, including the charger power cord, for wear or damage.
Have your authorized Pride Provider repair or replace any damaged connector, connection, or insula-
tion that you find before using your PMV again.
WARNING! Even though the PMV has passed the necessary testing requirements for
ingress of liquids, you should keep electrical connections away from sources of
dampness, including direct exposure to water or bodily fluids and incontinence. Check
electrical components frequently for signs of corrosion and replace as necessary.
ABS PLASTIC SHROUDS
The front tiller shroud, front shroud, and the rear shroud are formed from durable ABS plastic and are
coated with an advanced formula urethane paint.
A light application of car wax will help the shrouds retain their high gloss.
NYLON LOCK NUT REPLACEMENT
Any nylon insert lock nut removed during the periodic maintenance, assembly or disassembly of the PMV
must be replaced with a new nut. Nylon insert lock nuts should not be reused as it may cause damage to
the nylon insert, resulting in a less secure fit. Replacement nylon insert lock nuts are available at local
hardware stores or through your authorized Pride Provider.
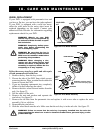
FUSE REPLACEMENT
In the event a fuse should cease to work:
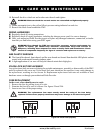
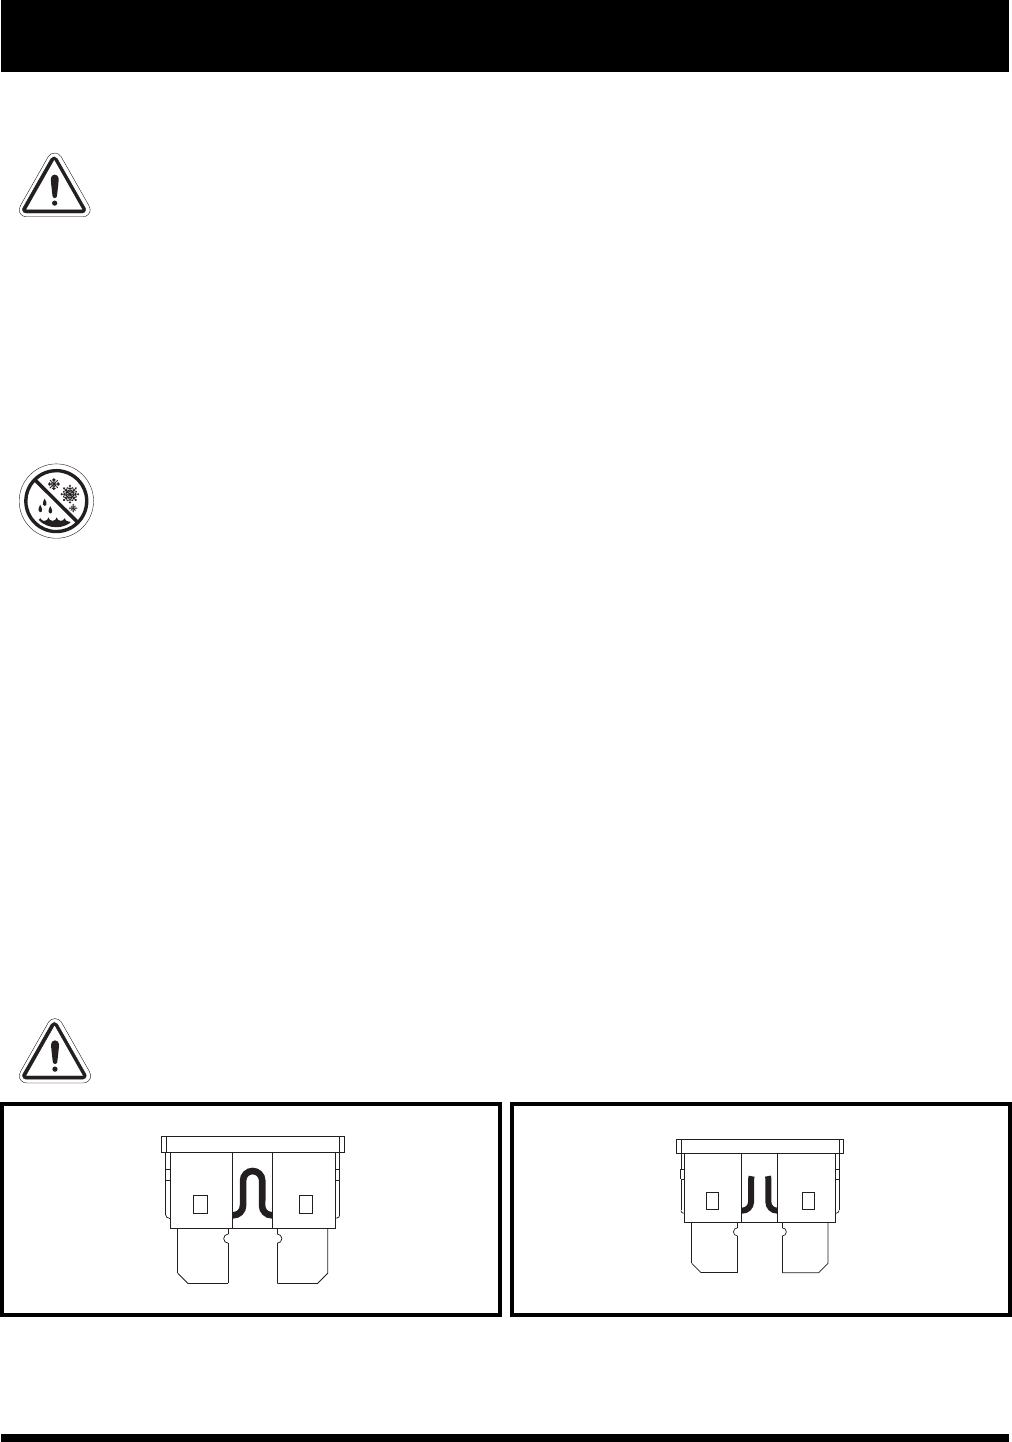
1. Remove the fuse by pulling it out of its slot.
2. Examine the fuse to be sure it is blown. See figures 24 and 24A.
3. Insert a new fuse of the proper rating.
WARNING! The replacement fuse must exactly match the rating of the fuse being
replaced. Failure to use properly rated fuses may cause damage to the electrical system.
Figure 24. Working Fuse
Figure 24A. Blown Fuse (Replace)