


16 Jazzy 1120
2000
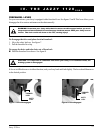
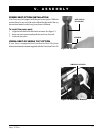
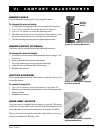
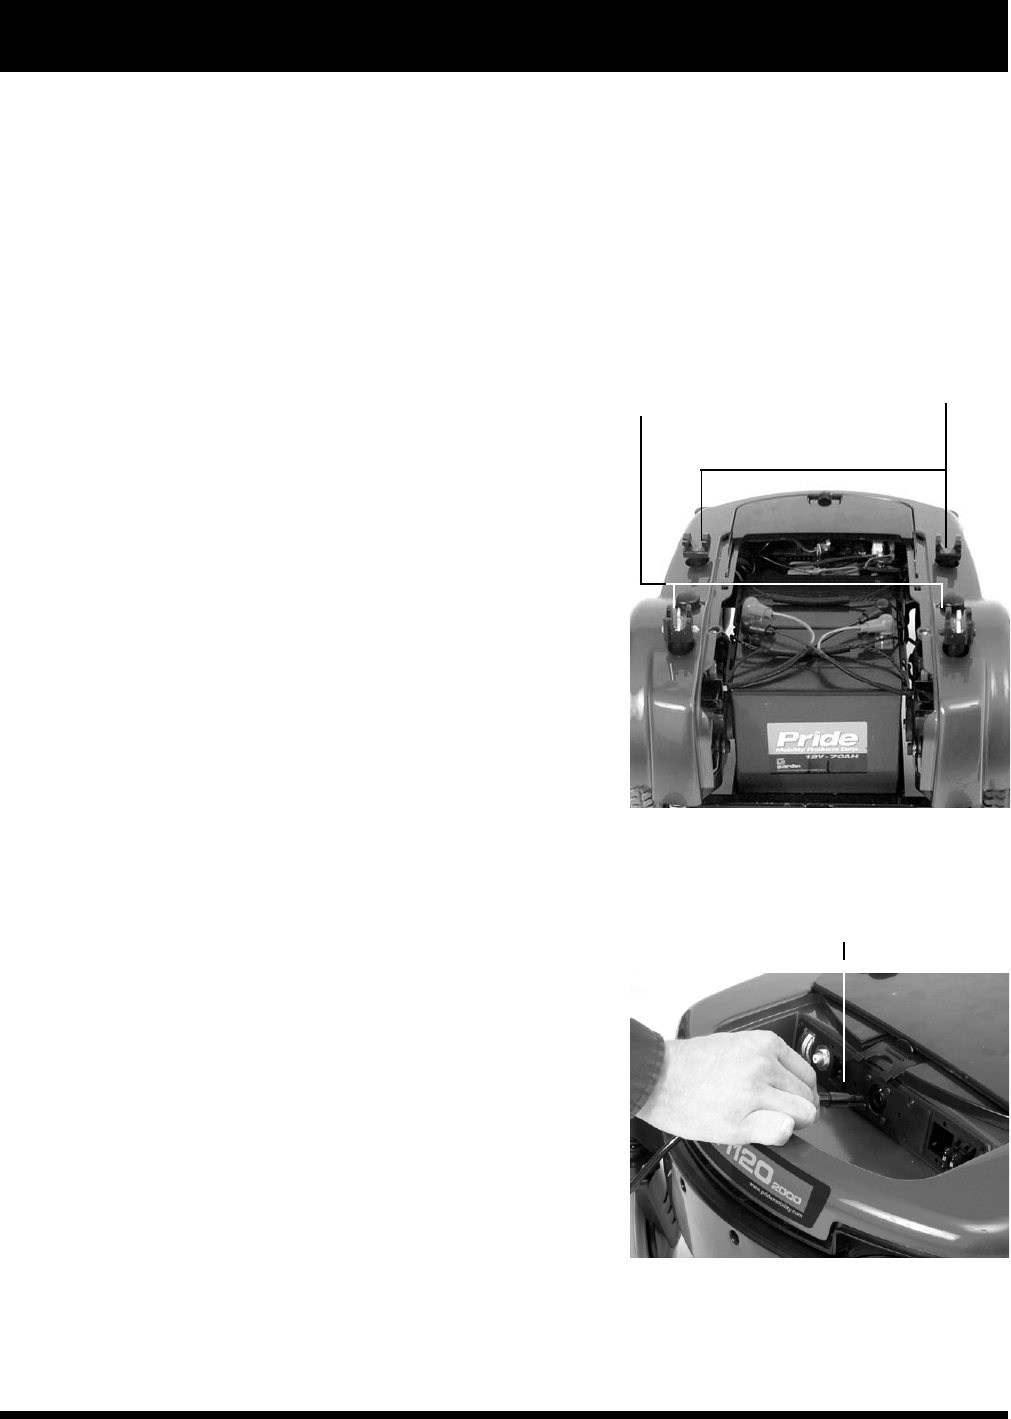
Figure 11. Controller Cable Connection
V. ASSEMBLY
SEAT ANGLE ADJUSTMENT
The seatback can be adjusted at four different angles, depending on user preference. A 90º, 102º, 105º, or 107 º
angle can be set.
To adjust the seat angle:
1. Use a hex key and a 3/8-in. wrench to remove the adjustable bolt on both seat hinges.
2. Set at desired angle.
3. Reinstall the bolt and tighten.
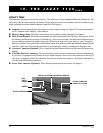
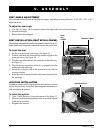
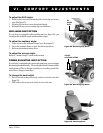
Figure 10. Seat Towers
REAR SEAT TOWERS
FRONT
SEAT
TOWERS
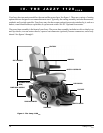
SEAT INSTALLATION (SEAT WITH H-FRAME)
The standard seat installation method incorporates the seat frame (H-
frame) and four (4) adjustable seatposts located on the power base.
To install the seat:
1. Set the seat on the rear seat towers. See figure 10.
2. Push the seat back and down until the latches engage on the
front seat towers. See figure 10.
3. Plug the controller cable into the connector on the utility tray.
See figure 11.
4. Plug the power seat switch cable (if so equipped) into the
connector on the utility tray.
5. Secure the controller cable to the armrest receiver with one
or more wire ties.
6. Route the cable to ensure that the cable cannot be pinched in
the seat hinge.
JOYSTICK INSTALLATION
Depending on the various configurations and options you have
chosen for your Jazzy, it may have been shipped without the joy-
stick installed in the armrest.
To install the joystick:
1. Use a 3/16-in. hex key to loosen the setscrew. See figure 12.
2. Slide the joystick mounting bracket into or out of the armrest
to the desired position.
3. Retighten the setscrew.
CONTROLLER CABLE