


Jazzy 1104 Rev F/Feb03 www.pridemobility.com 21
V. ASSEMBLY
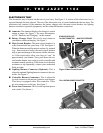
To reduce the possibility of shipping damage, your Jazzy 1104s seat is removed from the power base, and
the seat back is removed from the seat assembly before your Jazzy is shipped. The joystick may also have
been removed from the armrest. The following is a set of instructions to help you quickly and easily prepare
your Jazzy 1104 for immediate use.
Required Tool: Phillips screwdriver
SEAT BACK ASSEMBLY
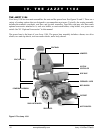
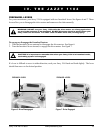
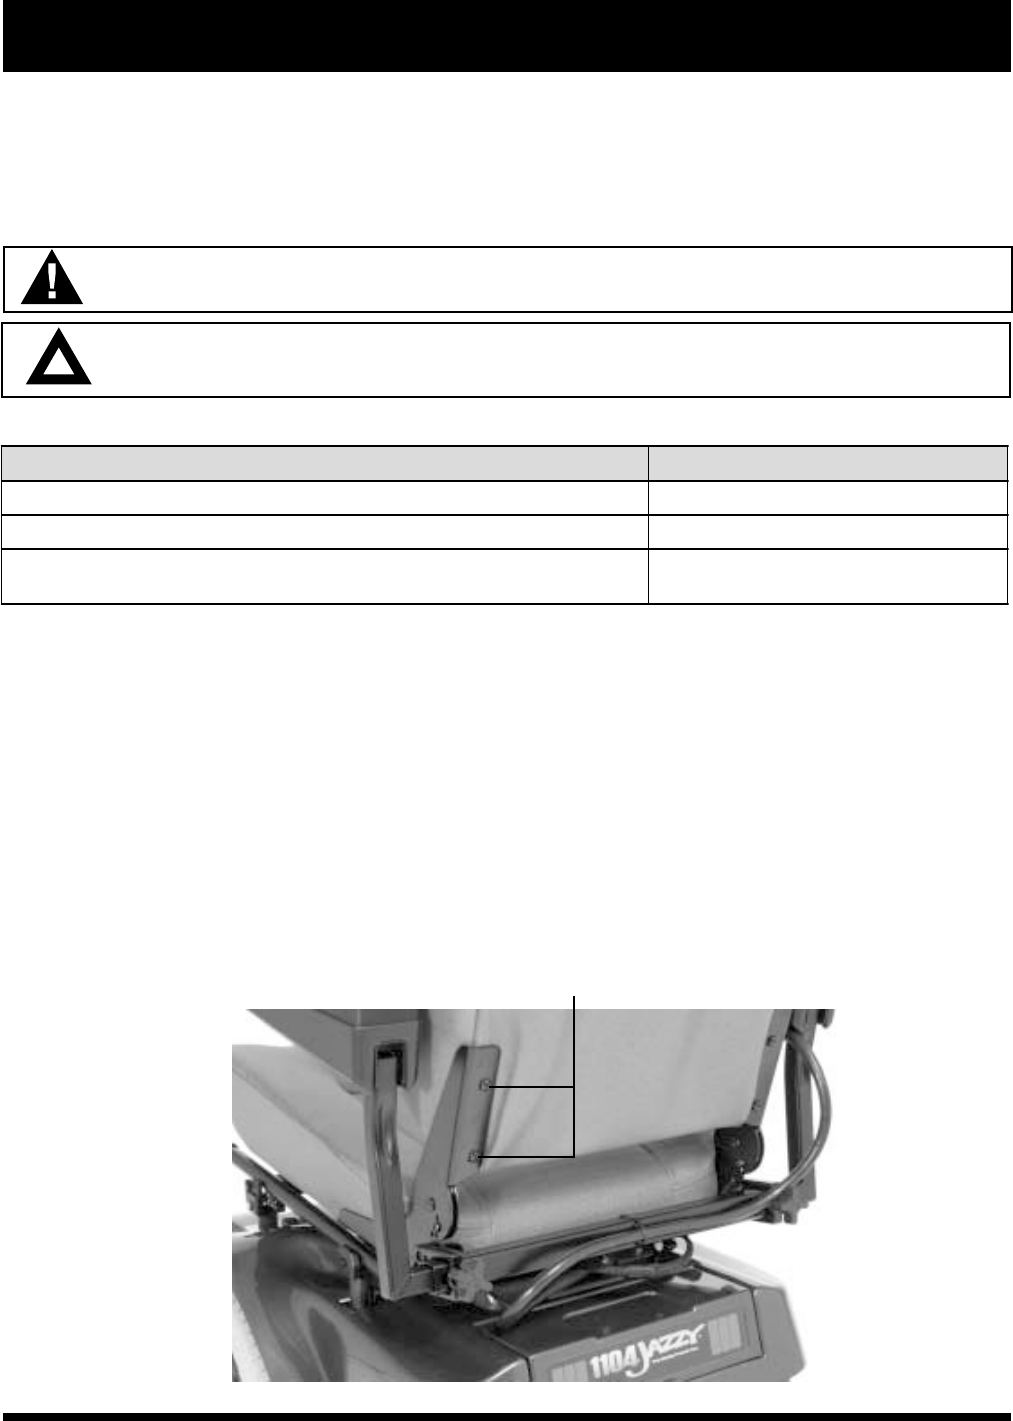
The seat back mounts to the back hinges with four (4) Phillips-head screws. You may install the seat back
before or after you install the seat to the power base.
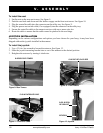
To mount the seat back to the hinge:
1. Line up the hinges with the holes in the seat back. See figure 8.
2. Insert the seat back mounting screws through the hinge and into the seat back.
3. Tighten the four screws.
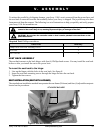
SEAT INSTALLATION (SEAT WITH H-FRAME)
The standard seat installation method incorporates the seat frame (H-frame) and four (4) adjustable seatposts
located on the powerbase.
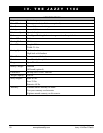
tsiLstraP ytitnauQ
swercsgnitnuomkcabtaesdaeh-spillihP 4
kcabtaeS 1
seiteriw.ni-8 4
Figure 8. Seat Back Assembly
ATTACH SEAT BACK HERE
WARNING
!
Do not pick up the seat frame by the armrests. They are free to pivot, and you may lose
control of the seat if they do so, resulting in personal injury or damage to the chair.
CAUTION! Do not place the controller cable so that it can be pinched in the seat frame or the
power base frame.